Whitelist Your Original IP Address
When it comes to securing your website or server, one of the most effective ways is by whitelisting your original IP address. Whitelisting allows you to specify which IP addresses are allowed to access your resources, while blocking all others. This can help prevent unauthorized access, protect against hacks, and ensure that only trusted users can interact with your website or server.
Whitelisting your IP address is a simple yet powerful security measure that can provide peace of mind knowing that only designated IP addresses have permission to access your resources. In this article, we’ll explore why whitelisting your original IP address is important, how to whitelist your IP address, and the benefits of implementing this security measure.
Why Whitelist Your Original IP Address?
There are several reasons why whitelisting your original IP address is crucial for your website or server’s security:
- Prevent Unauthorized Access: By whitelisting your IP address, you can block all other IP addresses from accessing your resources, preventing unauthorized access and potential security breaches.
- Protect Against Hacks: Whitelisting can help protect your website or server from hacking attempts, as only designated IP addresses will have permission to interact with your resources.
- Control Access: Whitelisting gives you control over who can access your resources, allowing you to specify which IP addresses are trusted and authorized to interact with your website or server.
How to Whitelist Your IP Address?
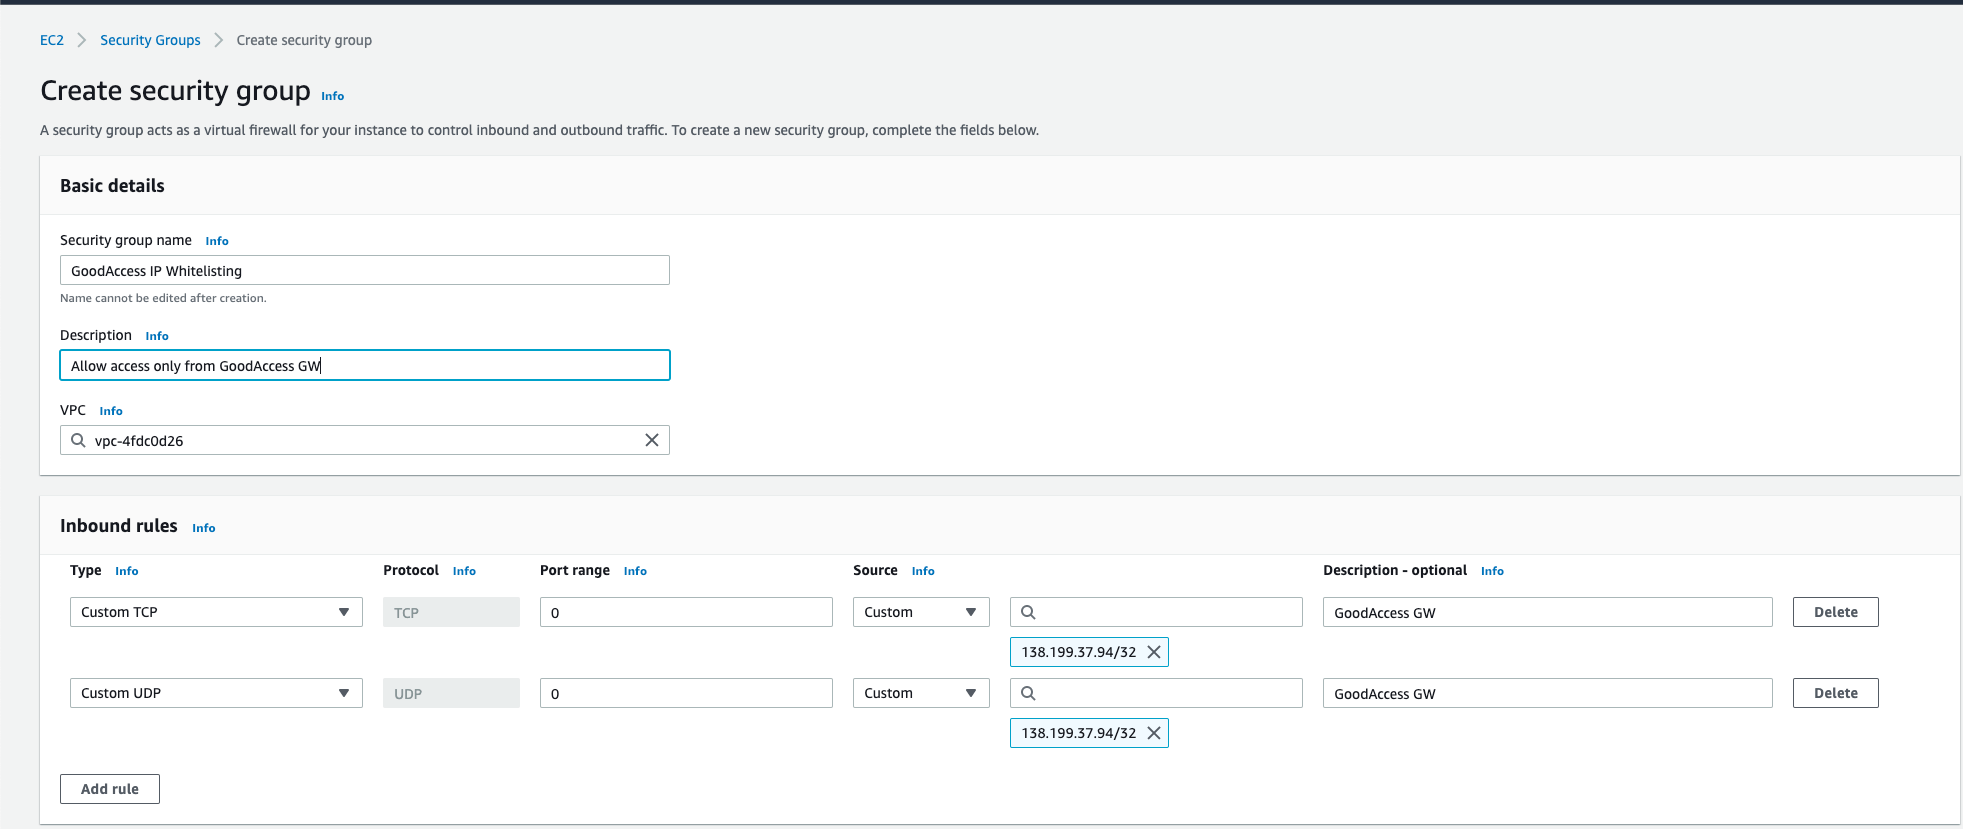
Whitelisting your IP address is a straightforward process that can be done through your server settings or firewall configuration. Here are the general steps to whitelist your IP address:
- Identify Your Public IP Address: Begin by identifying your public IP address, which is the unique identifier assigned to your network by your internet service provider.
- Access Your Server or Firewall Settings: Log in to your server or firewall settings, where you can usually find the option to whitelist IP addresses.
- Add Your IP Address to the Whitelist: Enter your public IP address into the whitelist configuration, ensuring that only your designated IP address has permission to access your resources.
- Save and Apply the Changes: Save your changes and apply them to ensure that your IP address is now whitelisted and protected from unauthorized access.
Benefits of Whitelisting Your IP Address
There are numerous benefits to whitelisting your original IP address, including:
- Enhanced Security: By whitelisting your IP address, you can enhance the security of your website or server, protecting against unauthorized access and potential security threats.
- Improved Control: Whitelisting gives you greater control over who can access your resources, allowing you to specify trusted IP addresses and restrict access to unauthorized users.
- Peace of Mind: Knowing that only designated IP addresses have permission to interact with your website or server can provide peace of mind and confidence in your security measures.
Overall, whitelisting your IP address is an essential security measure that can help protect your website or server from unauthorized access, hacking attempts, and security breaches. By following the simple steps outlined in this article, you can enhance the security of your resources and ensure that only trusted users can interact with your website or server.