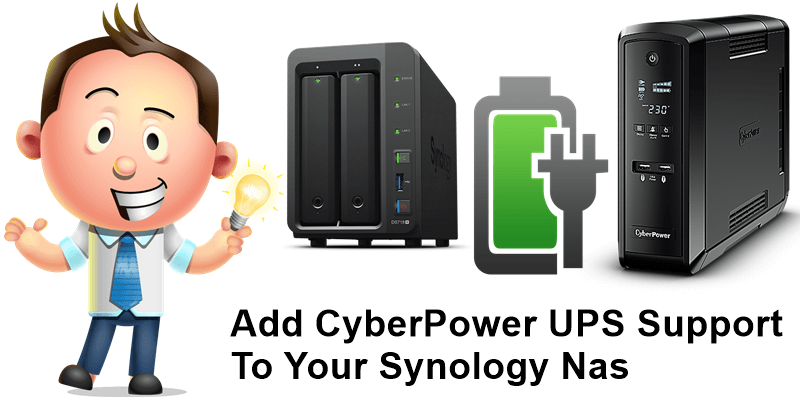
Synology NAS UPS Setup: Everything You Need to Know
Synology NAS devices are an essential part of many small businesses and home networks, providing easy access to files and data storage. However, power outages can wreak havoc on these systems, leading to data loss and potential hardware damage.
One way to protect your Synology NAS from power interruptions is by setting up a UPS (Uninterruptible Power Supply). In this article, we’ll guide you through the process of setting up a UPS for your Synology NAS, ensuring that your data is safe and secure at all times.
What is a UPS?
A UPS is a device that provides emergency power to a load when the input power source fails. Essentially, it acts as a battery backup, allowing your critical devices – such as the Synology NAS – to continue running during power outages or fluctuations.
UPS devices come in various sizes and capacities, so it’s essential to choose one that can support your Synology NAS and any other connected devices. Make sure to consider factors such as runtime, load capacity, and surge protection when selecting a UPS for your setup.
Synology NAS UPS Compatibility
Before setting up a UPS with your Synology NAS, it’s crucial to ensure compatibility between the two devices. Synology has a list of compatible UPS models on its website, so be sure to check if your UPS is supported before proceeding with the setup.
Additionally, you’ll need to connect the UPS to your Synology NAS via a USB cable to enable communication between the two devices. This connection allows the NAS to receive notifications from the UPS and initiate automatic shutdown procedures in the event of a power outage.
Setting Up a UPS with Synology NAS
Now that you have a compatible UPS and have established a connection to your Synology NAS, it’s time to configure the UPS settings. Here’s a step-by-step guide to help you set up the UPS with your NAS:
- Log in to your Synology NAS’s DiskStation Manager (DSM) interface.
- Navigate to Control Panel > Hardware & Power > UPS.
- Click on the “Enable UPS support” checkbox to activate UPS support on your NAS.
- Choose your UPS device from the drop-down menu and click “Apply.”
- Configure the UPS settings, such as battery capacity, runtime, and shutdown scripts.
- Test the UPS setup by performing a simulated power outage to ensure that the NAS initiates an automatic shutdown.
Once you’ve completed these steps, your Synology NAS should now be protected by the UPS, ensuring that your data remains safe and secure even during power interruptions. Additionally, you can customize UPS notifications and alerts to keep you informed of the UPS status and any power-related events.
Conclusion
Setting up a UPS for your Synology NAS is a crucial step in safeguarding your data against power interruptions. By following the steps outlined in this article, you can ensure that your NAS remains operational and your data remains protected during unexpected outages.
Remember to regularly test your UPS setup and monitor UPS notifications to ensure that everything is functioning correctly. With the right UPS in place, you can have peace of mind knowing that your data is secure and accessible at all times.
