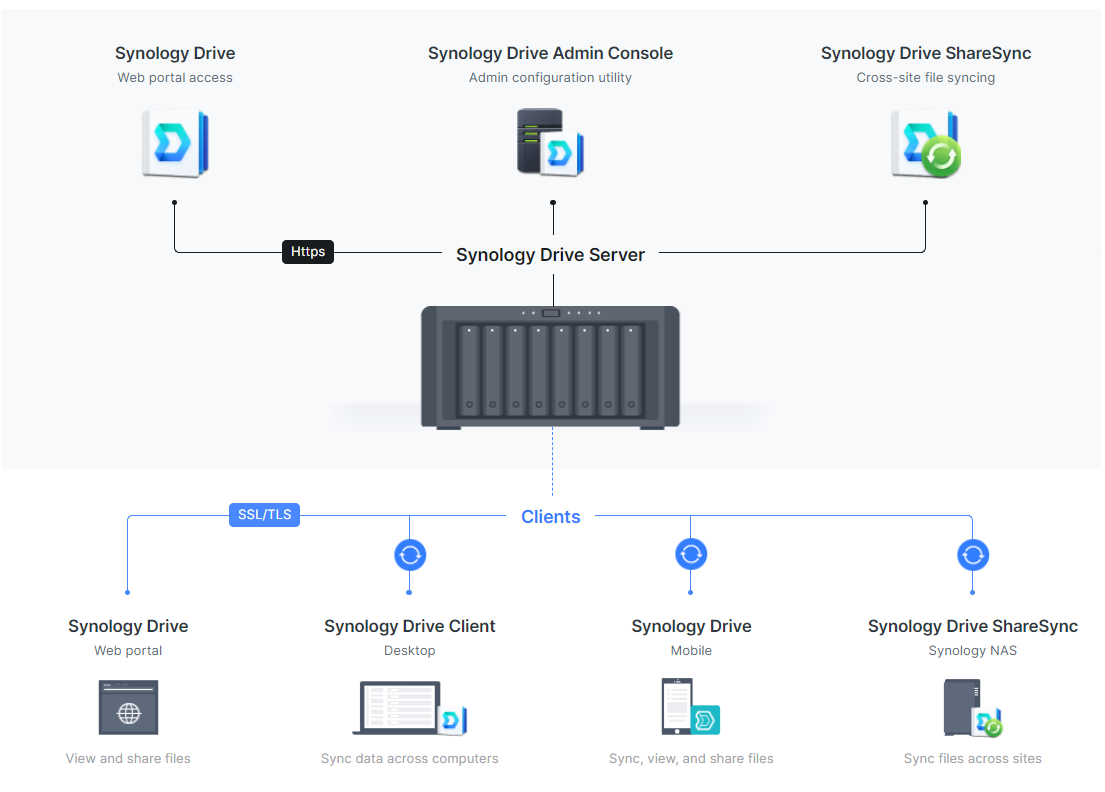
Synology NAS Network Setup
Synology NAS devices are incredibly versatile tools for storing your data securely and accessing it from anywhere in the world. Setting up a Synology NAS on your network is a straightforward process, but it’s essential to follow the proper steps to ensure everything works correctly. In this guide, we’ll walk you through the necessary steps to set up your Synology NAS network effectively.
Step 1: Choose the Right NAS Device
Before you begin the network setup process, you need to choose the right Synology NAS device for your needs. Consider factors such as storage capacity, processor speed, and the number of bays you require. Once you’ve selected the right device, you can move on to setting it up on your network.
Step 2: Physical Connection
The first step in setting up your Synology NAS on your network is to physically connect it. Plug the Ethernet cable into the NAS device and connect the other end to your router. Power on the NAS device, and it should start booting up.
Step 3: Accessing the Web Interface
Once the NAS device has finished booting up, you can access the web interface by typing the IP address of the device into your web browser. The IP address can typically be found in your router’s settings or by using a network scanning tool. Enter the default username and password, and you should be greeted with the Synology DSM interface.
Step 4: Initial Setup
During the initial setup, you’ll be prompted to create a new administrator account and set up a secure password. You’ll also need to configure your network settings, including setting a static IP address for the NAS device. Make sure to follow the on-screen instructions carefully to ensure everything is set up correctly.
Step 5: Creating Shared Folders
After completing the initial setup, you can start creating shared folders on your Synology NAS. Shared folders are used to store your data and can be accessed by other devices on your network. You can customize permissions for each shared folder to control who has access to them.
Step 6: Setting Up Remote Access
One of the significant advantages of a Synology NAS is the ability to access your data remotely. To set up remote access, you’ll need to configure QuickConnect or set up a VPN on your NAS device. With remote access enabled, you can access your data from anywhere in the world securely.
Step 7: Data Protection and Backup
It’s crucial to protect your data on your Synology NAS by setting up regular backups. You can configure the built-in backup tools to automatically back up your data to an external drive or cloud storage service. This ensures that your data is safe in case of a hardware failure or accidental deletion.
Step 8: Regular Maintenance
Once your Synology NAS is set up on your network, it’s essential to perform regular maintenance to keep it running smoothly. This includes installing software updates, monitoring disk health, and optimizing storage space. By taking care of your NAS device, you can ensure that your data is always accessible and secure.
Setting up a Synology NAS on your network is a straightforward process that can provide you with a secure and convenient way to store and access your data. By following the steps outlined in this guide, you can set up your NAS device quickly and efficiently. Enjoy the benefits of having your data at your fingertips with a Synology NAS!
