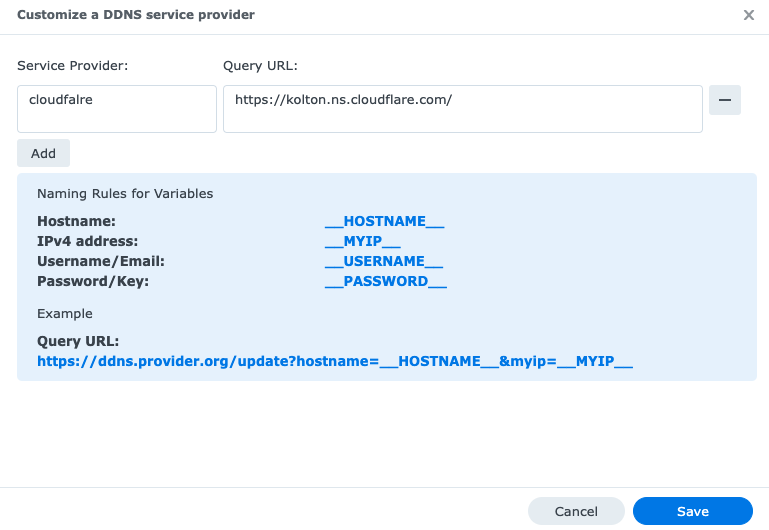
Setup Dynamic DNS with Cloudflare
Dynamic DNS (DDNS) allows you to access your home network remotely by automatically updating your domain name when your IP address changes. In this article, we’ll show you how to set up DDNS with Cloudflare, a leading provider of web performance and security services.
Step 1: Create a Cloudflare Account
If you don’t already have a Cloudflare account, you’ll need to create one. Simply go to the Cloudflare website and sign up for an account. Once you’re logged in, you’ll be able to access the dashboard where you can manage your domains and settings.
Step 2: Add Your Domain to Cloudflare
Next, you’ll need to add your domain to Cloudflare. This involves changing your domain’s nameservers to point to Cloudflare’s servers. Simply follow the instructions on the Cloudflare dashboard to complete this step.
Step 3: Create a Dynamic DNS Record
Now that your domain is added to Cloudflare, you can create a Dynamic DNS record. This will automatically update your domain’s IP address whenever it changes. To do this, go to the DNS settings in the Cloudflare dashboard and add a new A record with the desired subdomain (e.g. ddns.yourdomain.com).
Step 4: Install a DDNS Client
In order for the Dynamic DNS record to work, you’ll need to install a DDNS client on your network. This client will periodically check your IP address and update Cloudflare with the new information. There are many DDNS clients available, so choose one that is compatible with your router or operating system.
Step 5: Configure the DDNS Client
Once you’ve installed the DDNS client, you’ll need to configure it with your Cloudflare account details. This typically involves entering your Cloudflare API key and the domain/subdomain you created the Dynamic DNS record for. Follow the instructions provided by the DDNS client to complete this step.
Step 6: Test the Dynamic DNS Setup
Finally, it’s time to test your Dynamic DNS setup. Simply check the Cloudflare dashboard to ensure that your IP address is being updated correctly. You can also try accessing your domain remotely to see if the DDNS is working as expected.
By following these steps, you can easily set up Dynamic DNS with Cloudflare and access your home network remotely with ease. Remember to periodically check your settings to ensure everything is running smoothly.
