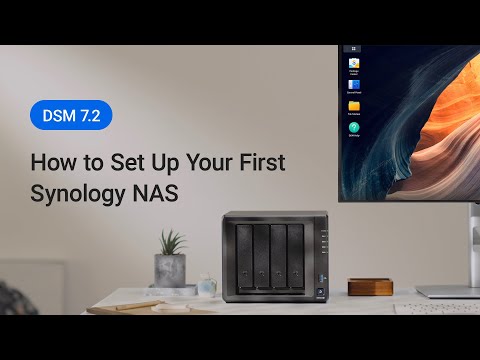
Setting up a Synology NAS
Setting up your own Network Attached Storage (NAS) can be a great way to have a centralized location to store and access all of your files. Synology NAS devices are known for their easy setup and user-friendly interface, making them a popular choice for both home and small business users. In this guide, we will walk you through the process of setting up your Synology NAS step by step.
Step 1: Unboxing and Initial Setup
The first thing you will need to do is unbox your Synology NAS device and plug it in. Make sure to connect it to your router using an Ethernet cable. Once you have done this, power on the device and wait for it to boot up. You will need to download the Synology DiskStation Manager (DSM) software onto your computer in order to set up your NAS.
Step 2: Accessing DSM and Setting Up Your NAS
Open your web browser and enter the IP address of your NAS into the address bar. This will bring you to the DSM login screen. The default username is “admin” and the default password is “admin”. Once you have logged in, you will be prompted to create a new password for security purposes.
Next, you will need to set up your storage volume. Click on the “Storage Manager” icon in the DSM interface and follow the prompts to create a new volume. You can choose between a Basic volume, RAID 1, RAID 5, or RAID 6 depending on your needs.
Step 3: Configuring Your NAS
Once you have set up your storage volume, you can start configuring your NAS. You can create shared folders, set up user accounts, and configure access controls to keep your data secure. You can also install additional packages such as Plex Media Server, File Station, and Surveillance Station to enhance the functionality of your NAS.
Step 4: Remote Access and Backup
One of the key benefits of having a NAS is the ability to access your files remotely. You can set up remote access by enabling QuickConnect in the DSM settings. This will allow you to access your NAS from anywhere using a web interface or mobile app.
It is also important to set up regular backups of your data to ensure that it is safe in case of hardware failure or other issues. You can use the Synology Hyper Backup package to create scheduled backups to external hard drives, cloud storage services, or other NAS devices.
Step 5: Monitoring and Maintenance
Once your Synology NAS is up and running, it is important to monitor its performance and perform regular maintenance tasks. You can use the Resource Monitor package to monitor CPU and memory usage, disk activity, and network traffic. You should also check for software updates regularly to ensure that your NAS is secure and running efficiently.
Following these steps will help you set up your Synology NAS and get the most out of its features. Whether you are using it for personal file storage, media streaming, or as a backup solution, a Synology NAS can be a valuable addition to your home or business network.