Setting up a Proxmox Server
If you’re looking to set up a Proxmox server, you’ve come to the right place. Proxmox is a powerful open-source virtualization platform that allows you to run virtual machines and containers on a single host. In this guide, we’ll walk you through the steps to get your Proxmox server up and running.
Step 1: Installing Proxmox VE
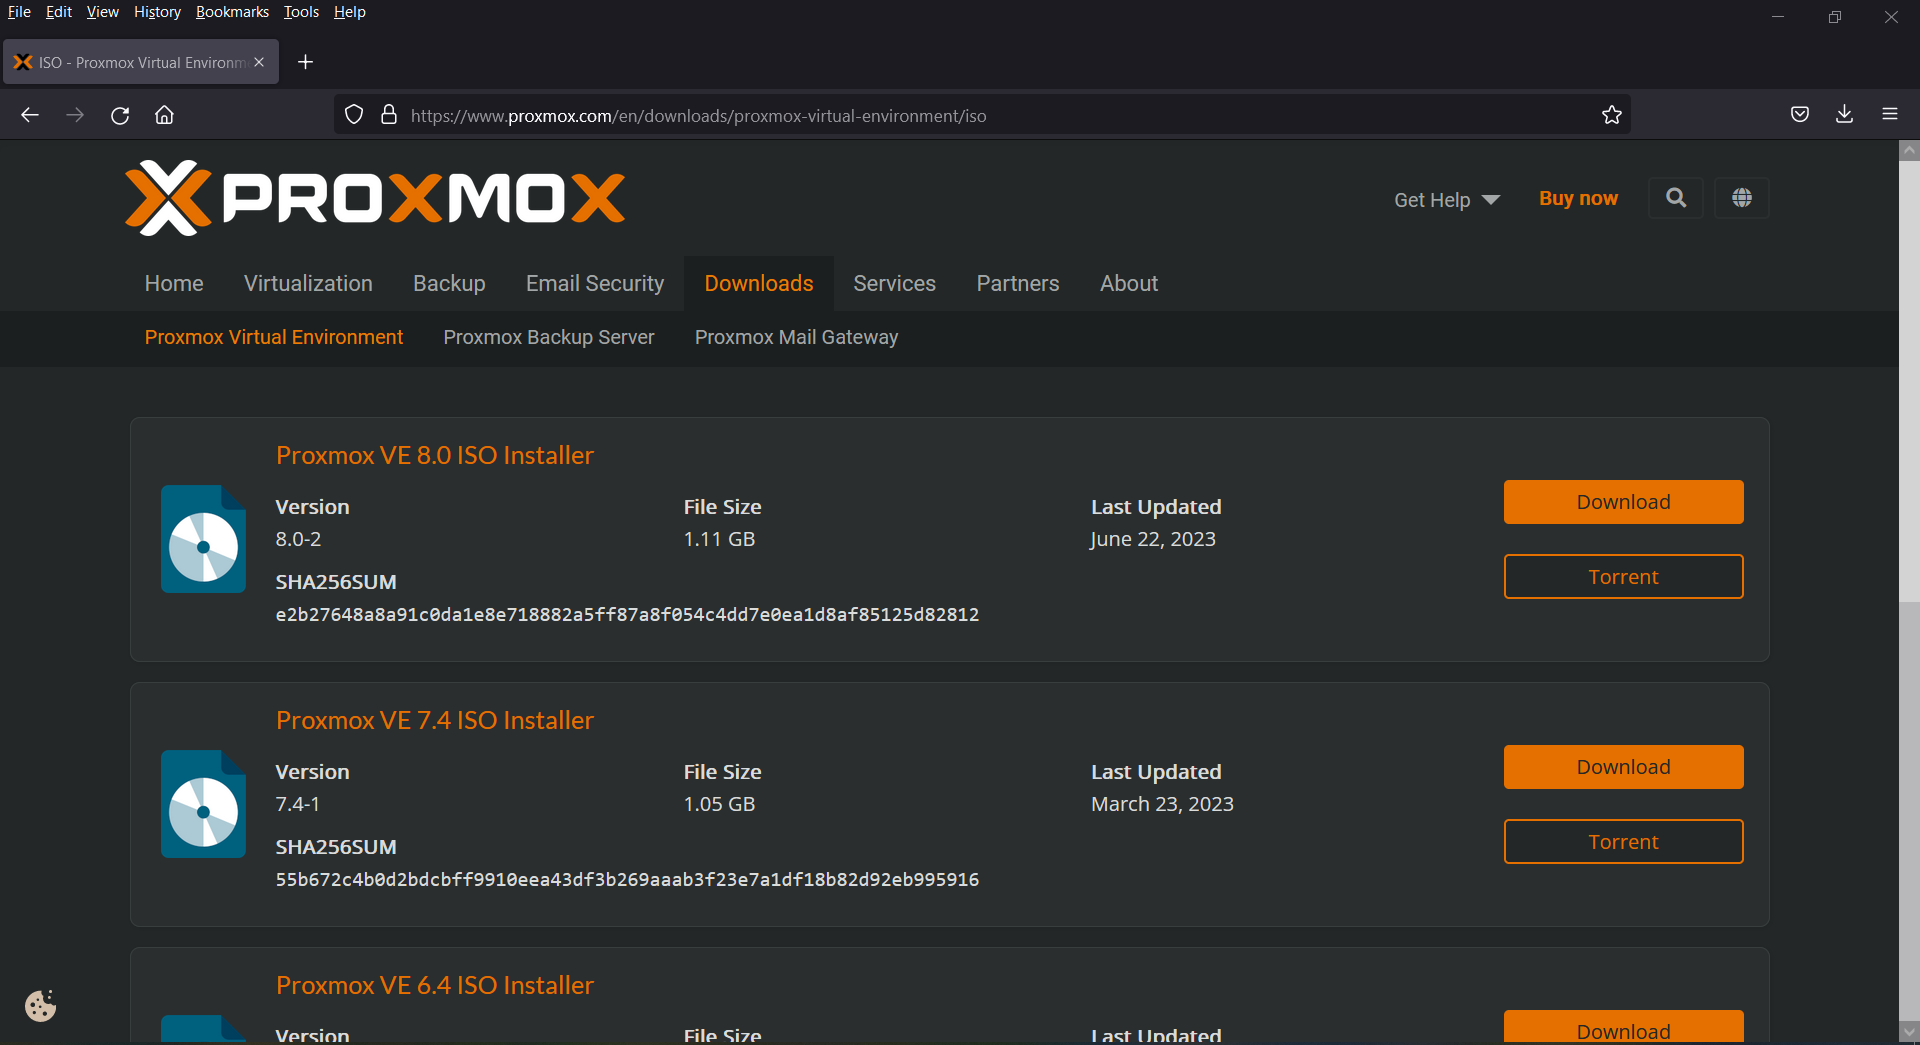
The first step in setting up your Proxmox server is to install Proxmox VE. You can download the latest version of Proxmox VE from the Proxmox website. Once you have downloaded the ISO file, you can burn it to a CD or create a bootable USB drive.
Boot your server from the Proxmox VE installation media and follow the on-screen instructions to install Proxmox VE on your server. The installation process should be straightforward, but if you run into any issues, refer to the Proxmox documentation for help.
Step 2: Configuring Proxmox VE
Once you have installed Proxmox VE, you can access the web-based management interface by navigating to the IP address of your Proxmox server in a web browser. You will be prompted to log in with the username “root” and the password you set during the installation process.
From the Proxmox web interface, you can configure your Proxmox server, create virtual machines and containers, and manage your storage and network settings. Take some time to familiarize yourself with the interface and explore the different features that Proxmox has to offer.
Step 3: Creating Virtual Machines and Containers
One of the key features of Proxmox is its ability to run both virtual machines and containers on the same host. To create a virtual machine or container, navigate to the “Create VM” or “Create CT” option in the Proxmox web interface and follow the on-screen instructions.
You can choose from a variety of operating systems and templates when creating a virtual machine or container, and you can customize the settings to meet your specific requirements. Once you have created your VM or CT, you can start it up and begin using it right away.
Step 4: Managing Storage and Networking
Proxmox allows you to easily manage your storage and networking settings through the web interface. You can add new storage devices, create storage pools, and configure network bridges to connect your virtual machines and containers to the network.
Take some time to configure your storage and networking settings based on your specific needs. By properly managing your storage and networking, you can ensure that your virtual machines and containers perform at their best.
Step 5: Securing Your Proxmox Server
Finally, it’s important to secure your Proxmox server to protect it from unauthorized access and potential security threats. Make sure to create strong passwords for the root and user accounts, enable firewall rules, and keep your Proxmox server up to date with the latest security patches.
By following these steps, you can set up a Proxmox server that is secure, well-configured, and ready to handle your virtualization needs. Have fun exploring the world of virtualization with Proxmox!
