Setting Up DNS on CentOS 7
Setting up DNS on CentOS 7 is an essential task for anyone managing a server. DNS, or Domain Name System, is responsible for translating domain names into IP addresses, allowing users to access websites and other online resources by name rather than a string of numbers.
In this guide, we will walk you through the steps to set up and configure DNS on CentOS 7. Whether you are a beginner or an experienced system administrator, this tutorial will help you get your DNS up and running smoothly.
Step 1: Install BIND
The first step in setting up DNS on CentOS 7 is to install the BIND software, which is the most widely used DNS software on the internet. To install BIND, open a terminal window and run the following command:
yum install bind
Once the installation is complete, you can start configuring the BIND service on your CentOS 7 server.
Step 2: Configure BIND
Next, you will need to configure the BIND service to define your DNS zones and records. The configuration files for BIND are located in the /etc/named/ directory.
To configure BIND, you can edit the main configuration file named.conf using a text editor such as vi or nano. Here is an example of how to define a basic DNS zone:
zone "example.com" {
    type master;
    file "example.com.zone";
};
Remember to replace example.com with your actual domain name and create a corresponding zone file with the proper DNS records.
Step 3: Start and Enable BIND
After configuring BIND, you can start the service and enable it to automatically start at boot time. Run the following commands in your terminal:
systemctl start named
systemctl enable named
Now your DNS service is up and running on CentOS 7. You can test the configuration by querying your DNS server using tools such as dig or nslookup.
Step 4: Configure DNS Resolvers
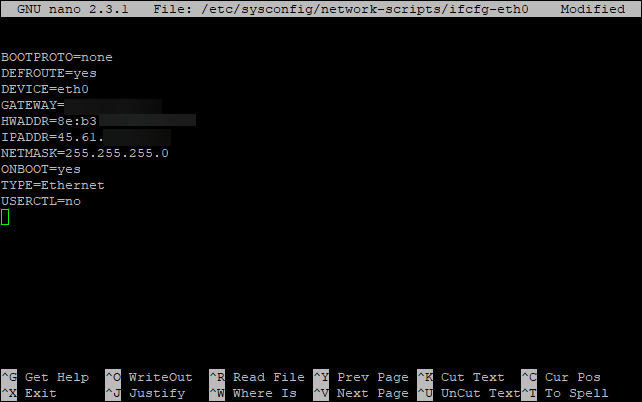
Lastly, you may need to configure your server to use specific DNS resolvers for domain name resolution. You can do this by editing the /etc/resolv.conf file and adding the IP addresses of your preferred DNS servers.
Here is an example of how to add Google’s public DNS servers to your resolv.conf file:
nameserver 8.8.8.8
nameserver 8.8.4.4
Save the file and restart the network service to apply the changes. Your CentOS 7 server should now be using the specified DNS resolvers for domain name resolution.
Setting up DNS on CentOS 7 may seem daunting at first, but with this guide, you can easily configure your server to handle domain name resolution efficiently. By following these steps, you can ensure that your server is accessible by domain name, making it easier for users to access your online services.
Thank you for reading our guide on setting up DNS on CentOS 7. We hope this tutorial has been helpful in getting your DNS services up and running smoothly. If you have any questions or need further assistance, feel free to reach out to our support team. Happy DNS configuring!
