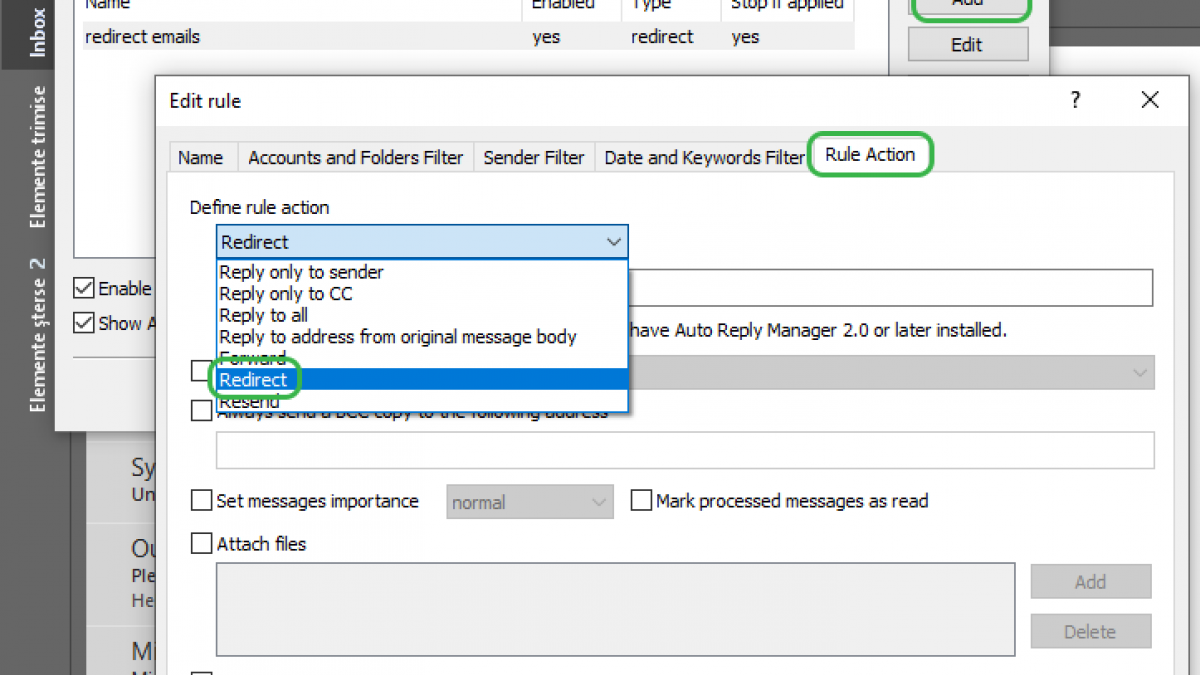
Routing emails in Outlook: A Beginner’s Guide
Ever wondered how to efficiently manage your emails in Outlook? Routing emails can be a game-changer when it comes to organizing your inbox and ensuring that important messages don’t get lost in the shuffle. In this beginner’s guide, we will walk you through the steps to effectively route emails in Outlook.
Setting up Rules in Outlook
The first step in routing emails in Outlook is to set up rules. Rules are criteria that you can define to automatically sort and manage your emails. To do this, follow these simple steps:
- Open Outlook and go to the “File” menu
- Select “Manage Rules & Alerts” under the “Info” tab
- Click on “New Rule” and choose “Apply rule on messages I receive”
- Define the criteria for your rule (e.g., sender, subject, keywords)
- Choose the action to take when the rule is met (e.g., move to a specific folder, flag it)
Once you have set up your rule, Outlook will automatically apply it to incoming emails that meet the criteria you defined.
Creating Folders for Routing
Another key aspect of routing emails in Outlook is creating folders to organize your emails. Folders allow you to segment your inbox and easily locate specific emails. Here’s how you can create folders in Outlook:
- Right-click on your inbox from the folder pane
- Select “New Folder” and give it a name
- Drag and drop emails into the newly created folder
By creating folders and setting up rules, you can effectively route emails in Outlook and streamline your inbox management process.
Using Flags and Categories
Flags and categories are additional tools you can use to route and prioritize emails in Outlook. Flags allow you to mark emails for follow-up or categorize them based on their importance. Categories, on the other hand, enable you to color-code emails for easy identification.
To use flags and categories:
- Click on the flag icon next to an email to mark it for follow-up
- Right-click on an email and select “Categorize” to assign a color category
- Filter or sort emails based on flags or categories to focus on specific messages
By leveraging flags and categories alongside rules and folders, you can customize your email routing strategy in Outlook to suit your workflow and preferences.
Automating Responses with Quick Steps
If you find yourself frequently sending similar responses or performing repetitive actions in Outlook, Quick Steps can be a lifesaver. Quick Steps allow you to automate common tasks with just one click. Here’s how you can create a Quick Step:
- Go to the “Home” tab in Outlook
- Click on “Create New” in the Quick Steps group
- Choose an action to automate (e.g., move to folder, forward, reply)
- Customize the settings for your Quick Step and give it a name
- Click “Finish” to save your Quick Step
With Quick Steps, you can streamline your email workflow by automating routine tasks and responses, saving you time and effort.
Monitoring and Adjusting Rules
As you continue to use rules, folders, flags, and categories to route your emails in Outlook, it’s essential to periodically review and adjust your settings. Monitor how your routing strategy is working and make changes as needed to optimize your workflow.
By fine-tuning your rules and organization system, you can ensure that your inbox stays clutter-free, and you never miss crucial messages.
Routing emails in Outlook doesn’t have to be a daunting task. With the right tools and strategies in place, you can effectively manage your inbox and stay on top of your email communications. Give these tips a try and see how you can transform your email routing experience in Outlook!
