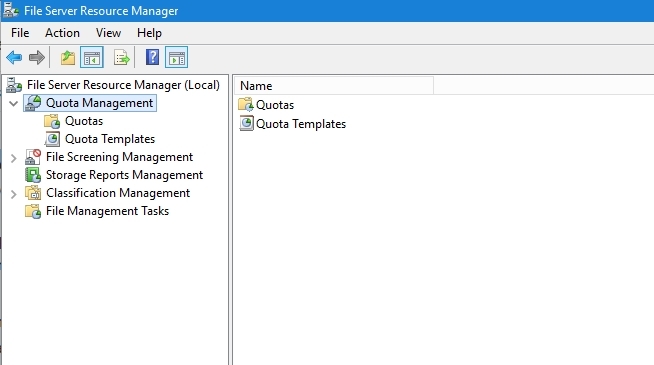
Quota Management in Windows
Managing disk space usage is crucial for maintaining a well-functioning computer system. Windows operating systems provide powerful tools for managing disk quotas to ensure efficient use of storage resources. In this article, we will explore how to set up and manage disk quotas in Windows.
What is Disk Quota?
Disk quota is a feature in Windows that allows you to limit the amount of disk space a user or group of users can consume on a particular volume. By setting up disk quotas, you can prevent users from exceeding their allocated storage space, thus avoiding disk space shortages and performance degradation.
How to Enable Disk Quotas in Windows
Before you can start using disk quotas, you need to enable the feature on your Windows system. Here’s how you can do it:
- Open the “File Explorer” and right-click on the volume you want to enable disk quotas for.
- Select “Properties” from the context menu.
- Go to the “Quota” tab and check the box next to “Enable quota management.”
- Click “Apply” and then “OK” to save the changes.
Setting Up Disk Quotas
Now that you have enabled disk quotas, you can proceed to set up quotas for specific users or groups. Follow these steps to configure disk quotas:
- Go to the “Quota” tab in the volume properties window.
- Click on “Quota Entries” to add a new quota entry.
- Select the user or group you want to set the quota for.
- Specify the amount of disk space you want to allocate to the user or group.
- Click “Apply” to save the changes.
Monitoring Disk Quotas
Once you have set up disk quotas, you can monitor disk space usage for each user or group. To view the disk quota usage, follow these steps:
- Go to the “Quota” tab in the volume properties window.
- Click on “Quota Entries” to view the list of users and groups with allocated quotas.
- You can see the amount of disk space used and the limit for each user or group.
Managing Disk Quotas
As an administrator, you have the ability to manage disk quotas by modifying quota entries or generating reports on disk usage. Here are some tasks you can perform to manage disk quotas effectively:
- Edit quota entries to adjust the allocated disk space for users or groups.
- Delete quota entries to remove quotas for users or groups.
- Generate quota reports to analyze disk space usage trends and identify potential issues.
Conclusion
By implementing disk quotas in Windows, you can control disk space usage and prevent storage issues that can impact system performance. Use the built-in tools in Windows to enable, set up, monitor, and manage disk quotas to optimize disk space utilization effectively.
