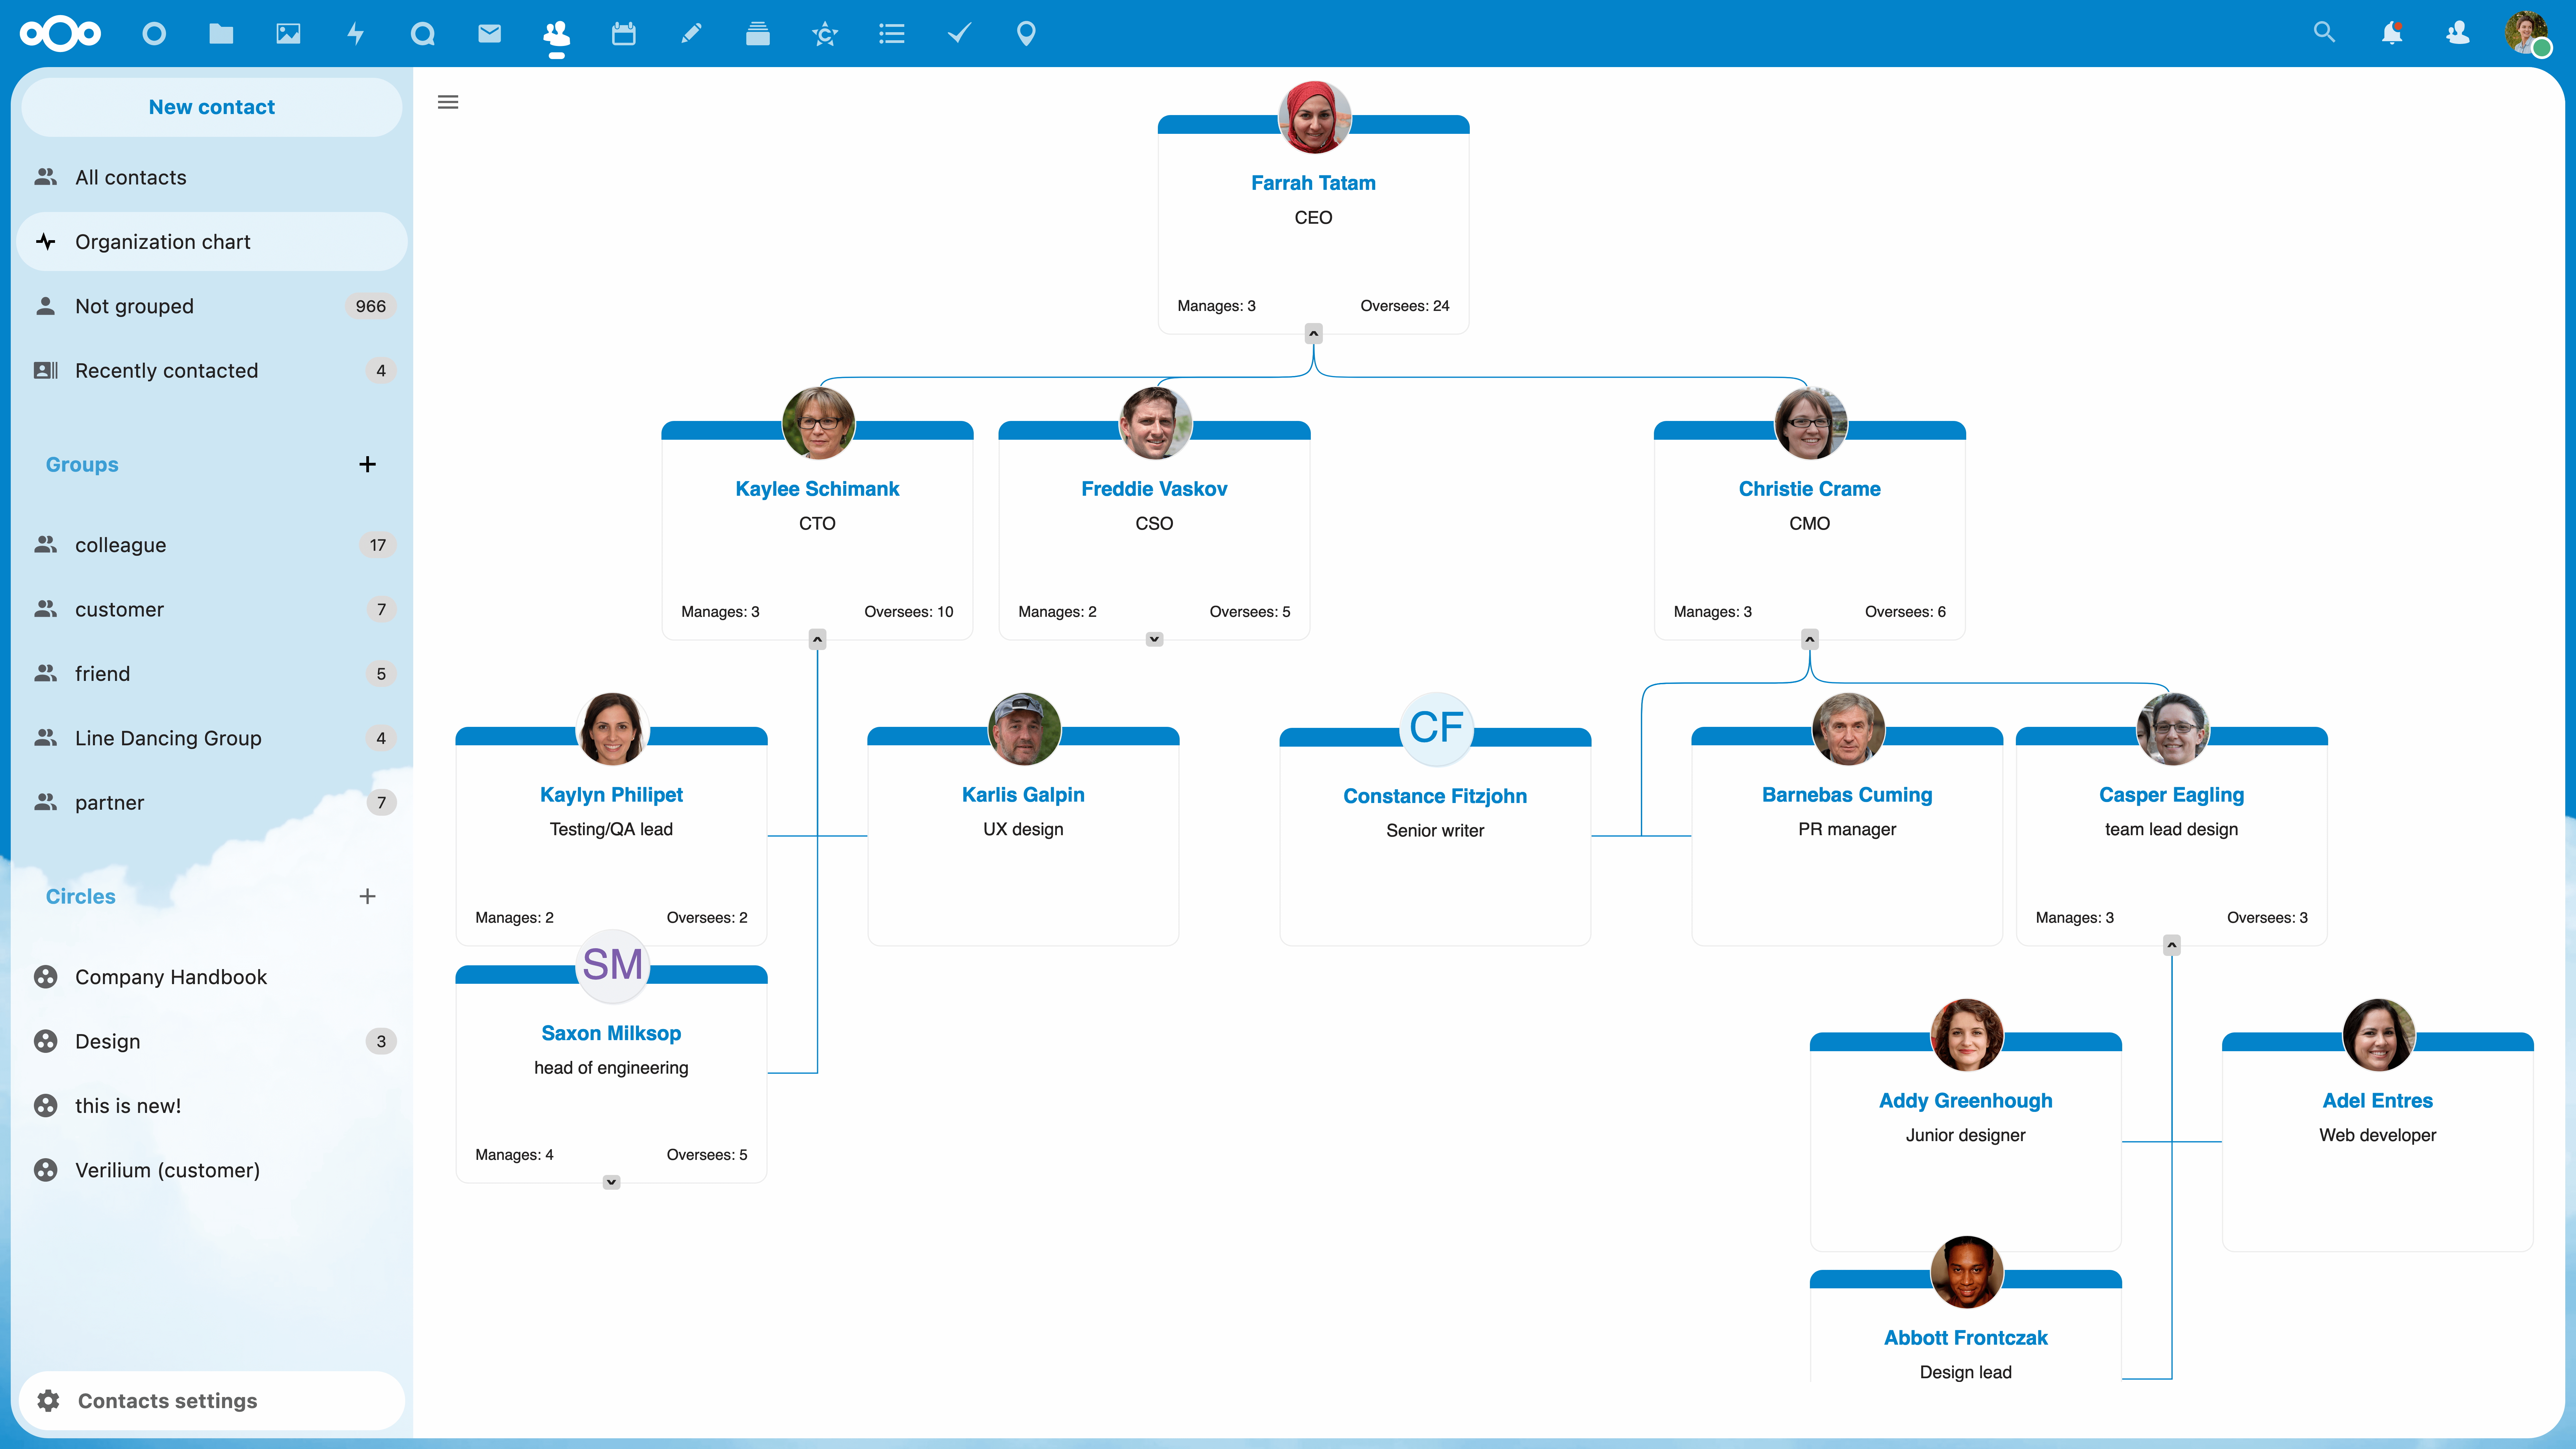
Nextcloud Self Hosted Guide
Nextcloud is a powerful open-source software that allows you to store, share, and access your files securely. By self-hosting Nextcloud, you have full control over your data and can customize it to suit your needs. In this guide, we will walk you through the process of setting up a Nextcloud server on your own domain.
Why Self-Host Nextcloud?
Self-hosting Nextcloud gives you the freedom to store your data on your own server and not rely on third-party cloud services. This means you have full control over your files, ensuring your privacy and security. Additionally, self-hosting allows you to customize Nextcloud to meet your specific needs, giving you flexibility in how you manage your data.
Setting Up Your Nextcloud Server
Before you begin, make sure you have a domain name and a server with root access. Follow these steps to set up your Nextcloud server:
Step 1: Install LAMP Stack
The first step is to install the LAMP (Linux, Apache, MySQL, PHP) stack on your server. This will provide the necessary infrastructure for running Nextcloud. You can install the LAMP stack using the following commands:
sudo apt update
sudo apt install apache2 mysql-server php libapache2-mod-php php-mysql
Step 2: Download Nextcloud
Next, download the latest version of Nextcloud from their official website. You can do this by running the following commands on your server:
wget https://download.nextcloud.com/server/releases/nextcloud-22.2.1.zip
unzip nextcloud-22.2.1.zip
Step 3: Configure Apache
Next, you need to configure Apache to serve Nextcloud. Create a new virtual host configuration file by running the following command:
sudo nano /etc/apache2/sites-available/nextcloud.conf
Then add the following configuration to the file:
<VirtualHost *:80>
   DocumentRoot /var/www/html/nextcloud/
   ServerName yourdomain.com

   <Directory /var/www/html/nextcloud/>
      Require all granted
      AllowOverride All
      Options FollowSymLinks MultiViews

      <IfModule mod_dav.c>
         Dav off
      </IfModule>

   </Directory>

</VirtualHost>
Save the file and enable the virtual host by running the following commands:
sudo a2ensite nextcloud.conf
sudo systemctl reload apache2
Step 4: Finish Installation
Finally, navigate to your domain in a web browser to complete the installation of Nextcloud. Follow the on-screen instructions to set up your admin account and configure the initial settings. Once done, you can start using Nextcloud to store and share your files securely.
Conclusion
Self-hosting Nextcloud is a great way to take control of your data and ensure its privacy and security. By following this guide, you can set up your own Nextcloud server and enjoy the many benefits it offers. So why wait? Start self-hosting Nextcloud today!
