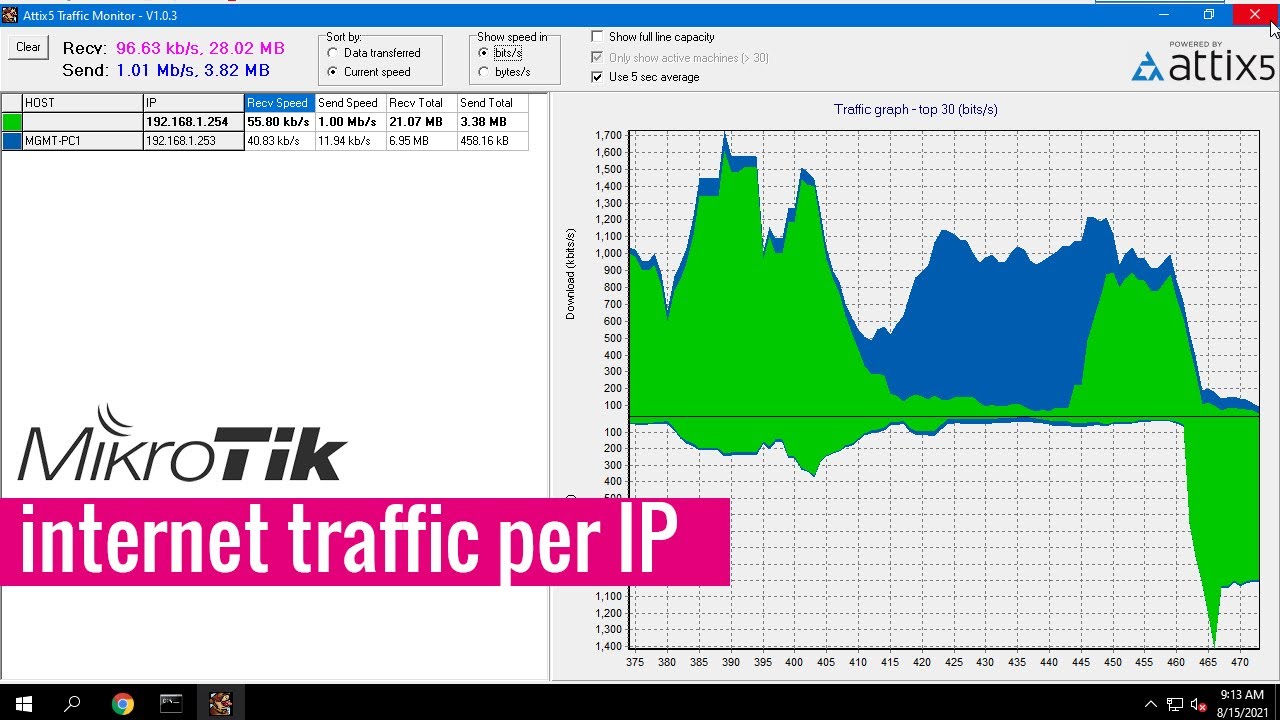
Mikrotik Monitor Traffic per IP
Do you want to keep track of the internet usage of each device on your network? With Mikrotik routers, you can monitor traffic per IP address easily. This allows you to see which devices are using the most bandwidth, helping you to optimize your network performance.
In this article, we will guide you on how to set up traffic monitoring per IP on a Mikrotik router.
Step 1: Accessing the Mikrotik Router
First, you need to access your Mikrotik router’s web interface. Open your web browser and type in the IP address of your router in the address bar. Log in using your username and password.
Step 2: Setting up IP Traffic Monitoring
Once you are logged in to your router, navigate to the ‘IP’ menu on the left-hand side of the screen. Click on ‘Firewall’ and then ‘Connection Tracking’. Here, you can enable connection tracking to monitor traffic per IP.
Next, go to the ‘IP’ menu again and click on ‘Firewall’ followed by ‘NAT’. Create a new rule to mark connections with the ‘new-connection-mark’ option.
Now, go to ‘Queues’ under the ‘Queues’ menu and create a new queue to track the marked connections. Set the target address to the IP address you want to monitor.
Step 3: Viewing Traffic per IP
To view the traffic per IP, go to the ‘Queues’ menu and click on ‘Simple Queue’. Here, you will see a list of all IP addresses being monitored along with their traffic usage.
You can also generate reports and graphs to visualize the traffic patterns of each IP address over time.
Conclusion
Monitoring traffic per IP on a Mikrotik router is essential for network management and optimization. By following the steps outlined in this article, you can easily keep track of internet usage on your network and identify any devices causing congestion.
Take control of your network traffic today with Mikrotik!
