Step 7: Configure WHMCS
Now that WHMCS is installed, it’s time to configure it to meet your business needs. Set up your products and services, customize your client area, and configure your payment gateways. WHMCS offers a wide range of customization options, so take your time to explore all the features and make the most of this powerful platform.
Conclusion
Installing WHMCS on cPanel is a straightforward process that can bring immense benefits to your web hosting business. By following this step-by-step guide, you’ll be able to set up WHMCS on your cPanel server in no time. Take advantage of WHMCS’s powerful features and watch your hosting business thrive.
Step 6: Complete the Installation
Once you’ve entered all the required information, the installation wizard will configure WHMCS on your cPanel server. After the installation is complete, you’ll be able to log in to the WHMCS admin area using the credentials you set during the installation process.
Step 7: Configure WHMCS
Now that WHMCS is installed, it’s time to configure it to meet your business needs. Set up your products and services, customize your client area, and configure your payment gateways. WHMCS offers a wide range of customization options, so take your time to explore all the features and make the most of this powerful platform.
Conclusion
Installing WHMCS on cPanel is a straightforward process that can bring immense benefits to your web hosting business. By following this step-by-step guide, you’ll be able to set up WHMCS on your cPanel server in no time. Take advantage of WHMCS’s powerful features and watch your hosting business thrive.
Step 5: Run the Installation Wizard
Open your web browser and navigate to the directory where you uploaded the WHMCS files on your server. You should see the WHMCS installation wizard. Follow the on-screen instructions, enter your license key, and fill in the database details that you created in the previous step.
Step 6: Complete the Installation
Once you’ve entered all the required information, the installation wizard will configure WHMCS on your cPanel server. After the installation is complete, you’ll be able to log in to the WHMCS admin area using the credentials you set during the installation process.
Step 7: Configure WHMCS
Now that WHMCS is installed, it’s time to configure it to meet your business needs. Set up your products and services, customize your client area, and configure your payment gateways. WHMCS offers a wide range of customization options, so take your time to explore all the features and make the most of this powerful platform.
Conclusion
Installing WHMCS on cPanel is a straightforward process that can bring immense benefits to your web hosting business. By following this step-by-step guide, you’ll be able to set up WHMCS on your cPanel server in no time. Take advantage of WHMCS’s powerful features and watch your hosting business thrive.
How to Install WHMCS on cPanel: A Step-by-Step Guide
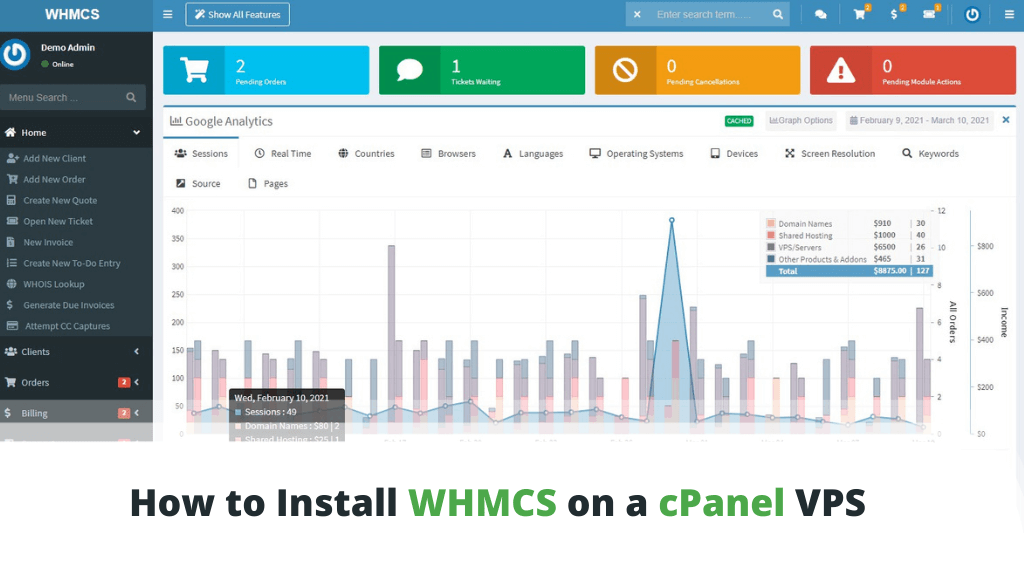
If you’re in the web hosting business, you’ve probably heard of WHMCS. This powerful platform is the go-to solution for managing your hosting business, automate your billing, and provide top-notch customer support. If you’re ready to take your hosting business to the next level, installing WHMCS on cPanel is a must. In this article, we’ll guide you through the step-by-step process of installing WHMCS on cPanel.
Step 1: Purchase a License
Before you can install WHMCS on cPanel, you’ll need to purchase a license from the WHMCS website. Choose the license that best suits your needs and budget, and complete the purchase process. Once you have your license key, you’re ready to move on to the next step.
Step 2: Download WHMCS
After purchasing your license, log in to the WHMCS Client Area and download the latest version of WHMCS. Make sure to download the version that is compatible with your cPanel server. Once the download is complete, unzip the file on your local computer.
Step 3: Upload Files to cPanel
Next, you’ll need to upload the WHMCS files to your cPanel server. You can do this using either FTP or cPanel’s File Manager. Create a new directory for WHMCS on your server, and upload all of the files from the WHMCS folder on your computer to this directory.
Step 4: Create a Database
Now, you’ll need to create a new database for WHMCS on your cPanel server. Log in to cPanel, navigate to the MySQL Databases section, and create a new database. Make sure to note down the database name, username, and password, as you’ll need these in the next step.
Step 5: Run the Installation Wizard
Open your web browser and navigate to the directory where you uploaded the WHMCS files on your server. You should see the WHMCS installation wizard. Follow the on-screen instructions, enter your license key, and fill in the database details that you created in the previous step.
Step 6: Complete the Installation
Once you’ve entered all the required information, the installation wizard will configure WHMCS on your cPanel server. After the installation is complete, you’ll be able to log in to the WHMCS admin area using the credentials you set during the installation process.
Step 7: Configure WHMCS
Now that WHMCS is installed, it’s time to configure it to meet your business needs. Set up your products and services, customize your client area, and configure your payment gateways. WHMCS offers a wide range of customization options, so take your time to explore all the features and make the most of this powerful platform.
Conclusion
Installing WHMCS on cPanel is a straightforward process that can bring immense benefits to your web hosting business. By following this step-by-step guide, you’ll be able to set up WHMCS on your cPanel server in no time. Take advantage of WHMCS’s powerful features and watch your hosting business thrive.
