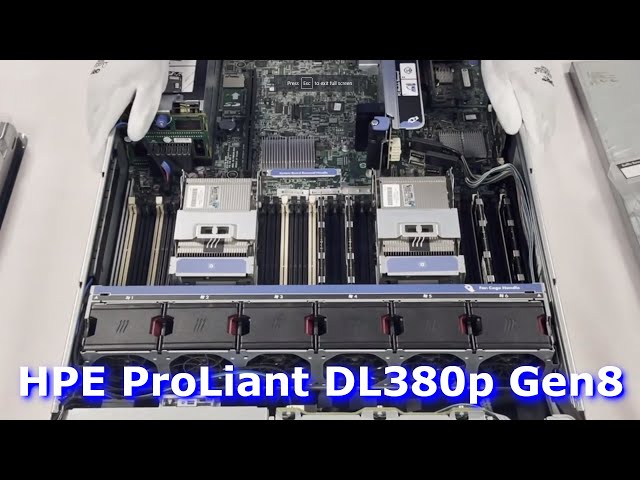
Setting Up Your HP ProLiant DL380p Gen8 Server
Are you looking to set up your HP ProLiant DL380p Gen8 server but feeling a bit overwhelmed by the process? Don’t worry; we’ve got you covered! In this guide, we will walk you through the steps to get your server up and running in no time. Whether you’re a seasoned IT pro or a beginner, this article will help you navigate through the setup process with ease.
Step 1: Unboxing and Physical Setup
The first step in setting up your HP ProLiant DL380p Gen8 server is unboxing the unit and performing the physical setup. Make sure you have all the necessary components, including the server itself, power cord, keyboard, monitor, and mouse. Once you have everything ready, follow these steps:
- Place the server on a stable surface, ensuring proper ventilation
- Connect the power cord and power on the server
- Connect the keyboard, monitor, and mouse to the server
- Follow the on-screen instructions to complete the initial setup
Step 2: Accessing the BIOS
Once you have completed the physical setup, you will need to access the server’s BIOS to configure the system settings. To do this, follow these steps:
- Restart the server
- During the boot process, press the designated key to enter the BIOS (typically F9 or ESC)
- Navigate through the BIOS menu to configure settings such as boot order, RAID configuration, and power management
- Save your changes and exit the BIOS
Step 3: Installing the Operating System
With the BIOS configured, you are now ready to install the operating system on your HP ProLiant DL380p Gen8 server. Follow these steps to complete the installation:
- Insert the OS installation media (CD/DVD or USB)
- Restart the server and boot from the installation media
- Follow the on-screen instructions to complete the installation process
- Once the installation is complete, remove the installation media and restart the server
Step 4: Configuring Network Settings
After installing the operating system, you will need to configure the network settings on your HP ProLiant DL380p Gen8 server. Follow these steps to set up your network connection:
- Access the network settings on your operating system
- Enter your network details, including IP address, subnet mask, default gateway, and DNS servers
- Save your changes and restart the server
- Test your network connection to ensure connectivity
Step 5: Additional Configuration
Depending on your specific requirements, you may need to perform additional configuration on your HP ProLiant DL380p Gen8 server. This could include setting up user accounts, installing software applications, and configuring security settings. Take the time to customize your server to meet your needs.
Conclusion
Setting up your HP ProLiant DL380p Gen8 server may seem like a daunting task, but with the right guidance, it can be a straightforward process. By following the steps outlined in this guide, you’ll have your server up and running in no time. Remember to take your time, read through the instructions carefully, and reach out for help if needed. Good luck!
