How to Whitelist IP Addresses
IP whitelisting is a security measure that allows only specific IP addresses to access your website or server. By setting up an IP whitelist, you can block unwanted traffic and prevent unauthorized access to your resources. In this article, we will guide you through the process of whitelisting IP addresses on your server or firewall.
Step 1: Identify the IPs to Whitelist
The first step in whitelisting IP addresses is to identify the IPs that you want to allow access to your server or website. You can whitelist individual IP addresses or entire ranges of IP addresses.
Step 2: Access Your Server or Firewall Settings
Once you have identified the IP addresses to whitelist, you will need to log in to your server or firewall settings. This can usually be done through a web-based interface or using SSH access.
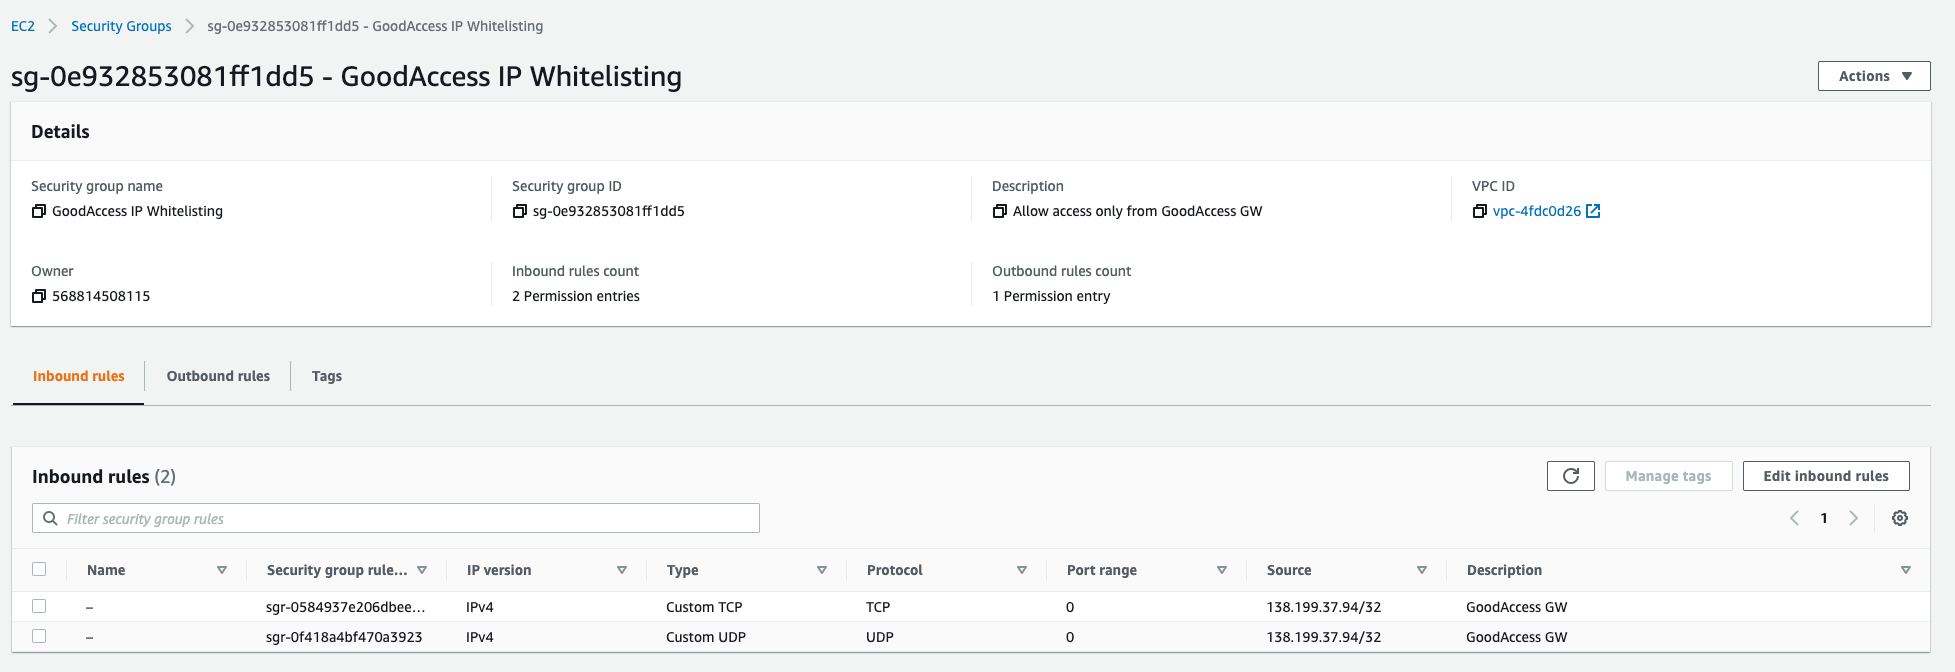
Step 3: Add the IP Addresses to the Whitelist
Next, you will need to locate the whitelist settings in your server or firewall configuration. You can usually find this under the security or firewall settings. Add the IP addresses that you want to whitelist and save your changes.
Step 4: Test the Whitelist
After adding the IP addresses to the whitelist, it is important to test the whitelist to ensure that only the specified IPs can access your server or website. You can do this by trying to access your server from an IP address that is not whitelisted.
Step 5: Monitor and Update the Whitelist
Once you have set up the whitelist, it is important to regularly monitor and update the list of whitelisted IP addresses. This will help ensure that your server or website remains secure and protected from unauthorized access.
Conclusion
Whitelisting IP addresses is an effective way to enhance the security of your server or website. By following the steps outlined in this article, you can easily set up an IP whitelist and protect your resources from unauthorized access. Remember to regularly monitor and update your whitelist to keep your server secure.
