How to Whitelist a Domain
Whitelisting a domain is an important step in ensuring that emails and messages from a particular website or email address are not marked as spam by your email provider. By whitelisting a domain, you are essentially telling your email provider that emails from that address or website are safe and should be delivered to your inbox.
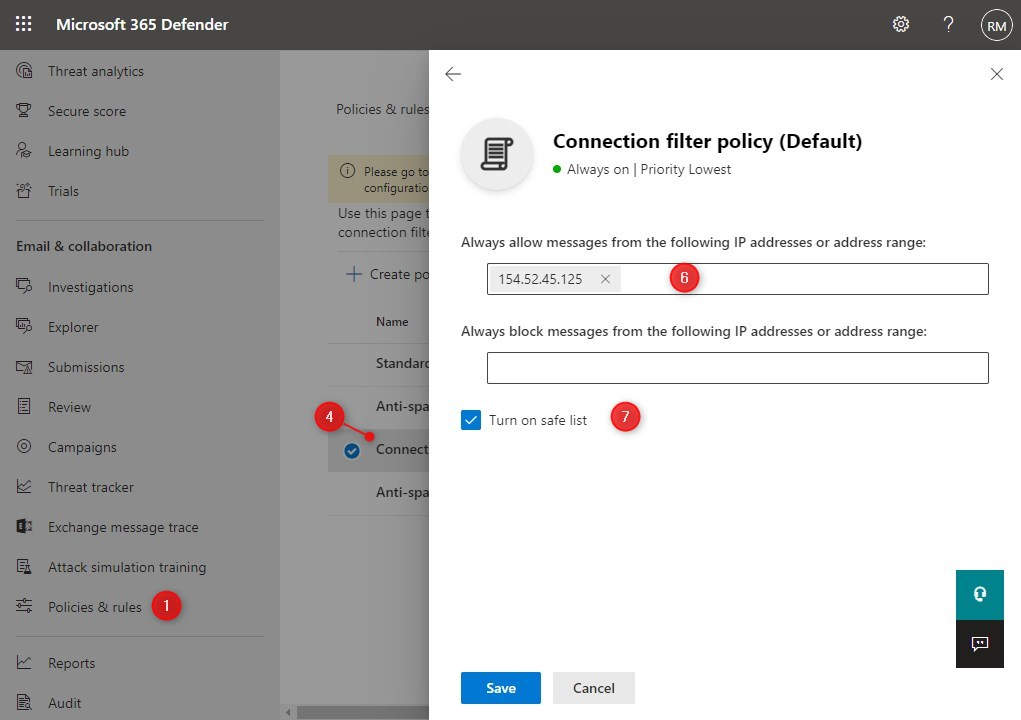
Below are the steps you can follow to whitelist a domain:
Step 1: Access Your Email Settings
The first step in whitelisting a domain is to access your email settings. This can usually be done by logging into your email account and navigating to the settings or options section.
Step 2: Locate the Whitelist or Safe Senders List
Once you are in the settings section of your email account, look for options related to whitelisting or safe senders list. This is where you will add the domain that you want to whitelist.
Step 3: Add the Domain to the Whitelist
After locating the whitelist or safe senders list section, you can add the domain you want to whitelist. This is usually done by entering the domain name or email address into the designated field and saving the changes.
Step 4: Confirm the Whitelisted Domain
Once you have added the domain to the whitelist, it is important to confirm that the domain has been successfully whitelisted. You can do this by sending a test email from the whitelisted domain and checking if it reaches your inbox.
Step 5: Update Settings as Needed
It is important to periodically review and update your whitelisted domains list. If you no longer wish to receive emails from a particular domain, make sure to remove it from the whitelist to avoid any unwanted emails.
Conclusion
Whitelisting a domain is a simple yet effective way to ensure that important emails and messages are not marked as spam. By following the steps outlined above, you can easily whitelist a domain and prevent any future delivery issues.
