How to Setup OpenVPN on Linux
OpenVPN is a popular open-source VPN protocol that allows you to create secure connections over the internet. In this guide, we will show you how to set up OpenVPN on a Linux system.
Step 1: Install OpenVPN
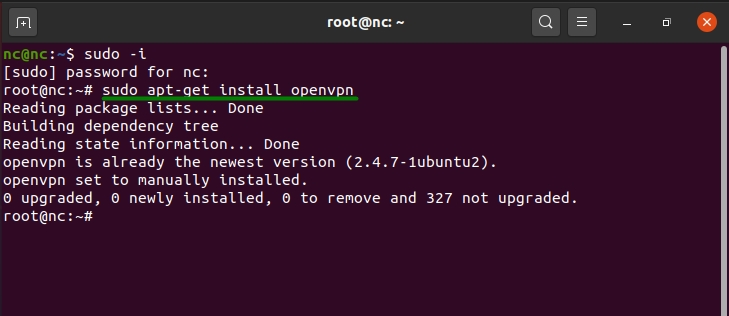
The first step is to install OpenVPN on your Linux system. You can do this by running the following command in your terminal:
sudo apt-get update
sudo apt-get install openvpn
Step 2: Download OpenVPN configuration files
Next, you will need to download the OpenVPN configuration files. You can do this from your VPN provider’s website or by contacting their support team. Once you have downloaded the files, save them to a secure location on your system.
Step 3: Configure OpenVPN
Now, you need to configure OpenVPN to use the downloaded configuration files. You can do this by following these steps:
- Move the configuration files to the /etc/openvpn/ directory.
- Open your terminal and navigate to the /etc/openvpn/ directory.
- Run the following command to start the OpenVPN service:
sudo openvpn --config your_configuration_file.ovpn
Step 4: Verify the connection
Once you have configured OpenVPN, you can verify the connection by running the following command in your terminal:
ip addr show tun0
Step 5: Set up auto-start (optional)
If you want OpenVPN to start automatically when you boot up your system, you can do so by following these steps:
- Create a systemd service file by running the command:
- Edit the service file with your preferred text editor.
- Add the following lines to the file:
[Unit]
Description=OpenVPN Client
After=network.target

[Service]
Type=forking
ExecStart=/usr/sbin/openvpn --config /etc/openvpn/your_configuration_file.ovpn

[Install]
WantedBy=multi-user.target
Save the file and enable the service by running the following command:
sudo systemctl enable your_service_file.service
That’s it! You have successfully set up OpenVPN on your Linux system. You can now enjoy secure and private internet connections with ease.
