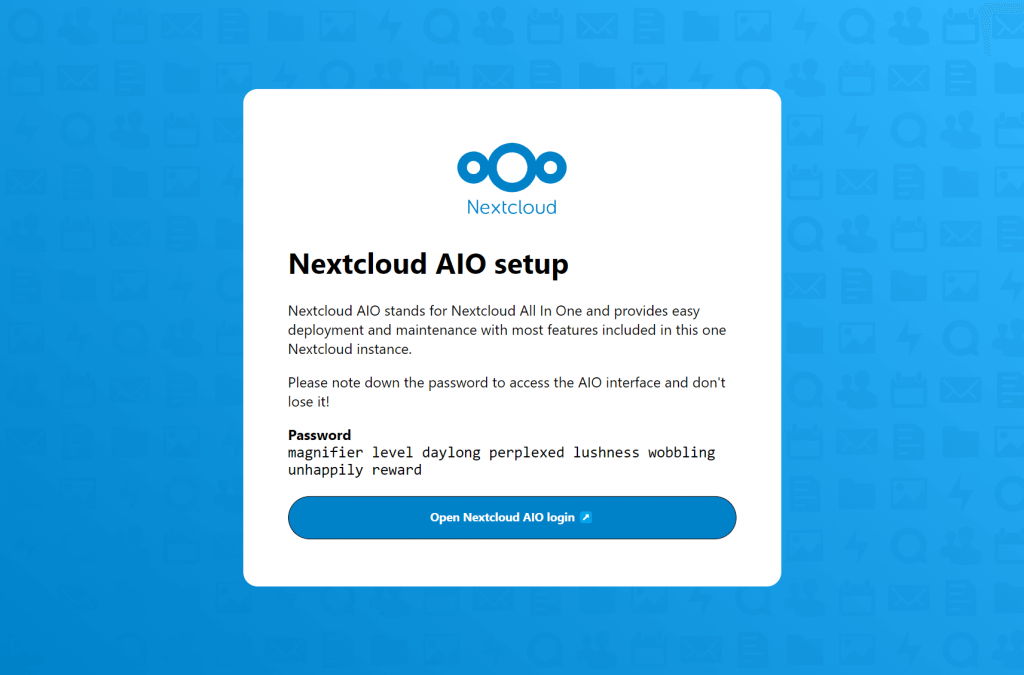
How to Setup Nextcloud Server
Nextcloud is a powerful open-source software that allows you to set up your own cloud server for storing files, photos, contacts, calendars, and more. In this guide, we will walk you through the process of setting up a Nextcloud server on your own server.
Before you begin, make sure you have a server with root access and running a supported version of Linux (Ubuntu, Debian, CentOS, etc.).
Step 1: Install Apache, MariaDB, PHP, and other dependencies
The first step is to install the required software packages on your server. You can do this by running the following commands:
sudo apt update
sudo apt install apache2 mariadb-server libapache2-mod-php php-gd php-json php-mysql php-curl php-mbstring php-intl php-imagick php-xml php-zip
Once the installation is complete, you will need to secure your MariaDB installation by running:
sudo mysql_secure_installation
Step 2: Create a database for Nextcloud
Next, you will need to create a new database and user for Nextcloud. You can do this by logging into the MariaDB shell and running the following commands:
sudo mysql -u root -p
CREATE DATABASE nextcloud;
CREATE USER 'nextclouduser'@'localhost' IDENTIFIED BY 'password';
GRANT ALL PRIVILEGES ON nextcloud.* TO 'nextclouduser'@'localhost';
FLUSH PRIVILEGES;
EXIT;
Step 3: Download and install Nextcloud
Now, it’s time to download the latest version of Nextcloud and extract it to your Apache web directory. You can do this by running:
cd /var/www/html
sudo wget https://download.nextcloud.com/server/releases/nextcloud-x.y.z.zip
sudo unzip nextcloud-x.y.z.zip
sudo chown -R www-data:www-data /var/www/html/nextcloud
sudo chmod -R 755 /var/www/html/nextcloud
After extracting the files, you will need to configure Apache to serve the Nextcloud site. Create a new virtual host file for Nextcloud:
sudo nano /etc/apache2/sites-available/nextcloud.conf
And add the following configuration:
Alias /nextcloud "/var/www/html/nextcloud/"
Dav off
SetEnv HOME /var/www/html/nextcloud
SetEnv HTTP_HOME /var/www/html/nextcloud
Finally, enable the virtual host and restart Apache:
sudo a2ensite nextcloud.conf
sudo a2enmod rewrite
sudo systemctl restart apache2
Step 4: Complete the Nextcloud setup
Open your web browser and navigate to http://your-server-ip/nextcloud to access the Nextcloud setup wizard. Follow the on-screen instructions to complete the setup by providing the database information you created earlier.
Once the setup is complete, you can create user accounts, upload files, and start using your own Nextcloud server for secure and private cloud storage.
Congratulations, you have successfully set up your own Nextcloud server! Enjoy the benefits of having your own cloud storage solution.
