How to Setup FTP on QNAP NAS
Setting up FTP on your QNAP NAS device can be a useful feature for transferring files between devices on your network. In this article, we will guide you through the process of setting up FTP on your QNAP NAS.
Step 1: Accessing your QNAP NAS Dashboard
The first step in setting up FTP on your QNAP NAS is to access your QNAP NAS dashboard. Open your web browser and enter the IP address of your NAS device in the address bar. Enter your login credentials to access the dashboard.
Step 2: Enabling FTP Service
Once you have accessed the dashboard, navigate to the Control Panel and then select Applications. Click on FTP Service and toggle the switch to enable the FTP service on your QNAP NAS.
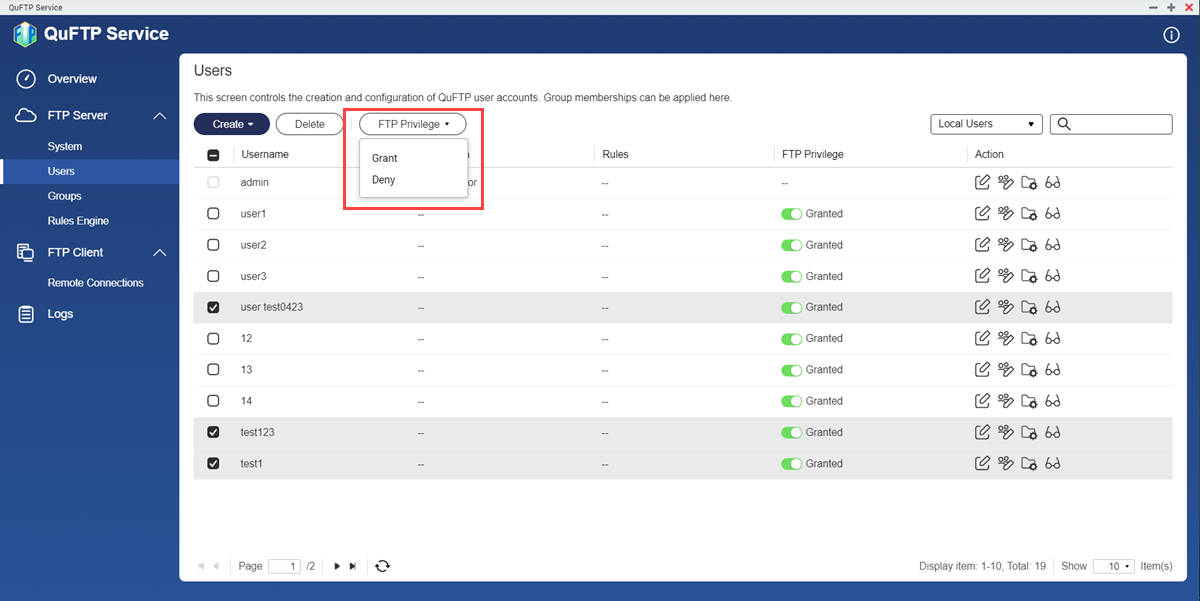
Step 3: Creating FTP Users
To create FTP users, navigate to the Control Panel and then select Users. Click on Create and enter the necessary details such as username and password for the FTP user. Assign appropriate permissions to the user.
Step 4: Configuring FTP Settings
After creating FTP users, navigate to the Control Panel and then select FTP Server. Configure the settings such as port number, passive mode, and encryption based on your requirements. Click on Apply to save the settings.
Step 5: Accessing FTP on QNAP NAS
Once you have completed the setup, you can access FTP on your QNAP NAS by using an FTP client such as FileZilla. Enter the hostname of your NAS device, username, and password to establish a connection.
Conclusion
Setting up FTP on your QNAP NAS can enable easy file transfers between devices on your network. By following the steps outlined in this article, you can quickly set up FTP on your QNAP NAS and start transferring files seamlessly.
