How to Set Up DNS Records
Setting up DNS records may seem intimidating at first, but it is crucial for ensuring that your website is accessible to users around the world. DNS, or Domain Name System, is responsible for translating domain names into IP addresses, which are used by computers to communicate over the internet. In this guide, we will walk you through the process of setting up DNS records for your website.
Step 1: Access Your DNS Management Console
The first step in setting up DNS records is to access your DNS management console. This is usually provided by your domain registrar or web hosting provider. Look for a section labeled “DNS settings” or “DNS management” in your account dashboard.
Step 2: Understand the Different Types of DNS Records
Before you begin setting up DNS records, it is important to understand the different types of records that exist:
- A Record: Maps a domain name to an IP address
- CNAME Record: Points one domain name to another domain name
- MX Record: Specifies the mail servers for a domain
- TXT Record: Stores text information related to the domain
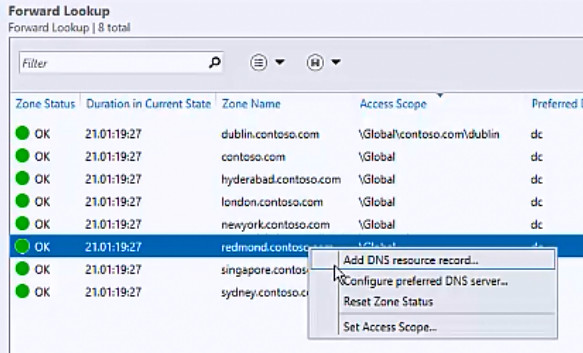
Step 3: Add DNS Records
Once you have accessed your DNS management console and understood the different types of records, you can start adding DNS records for your website. Here is how you can add a new record:
- A Record: Enter the domain name and the IP address you want to map it to.
- CNAME Record: Enter the alias and the domain name you want to point it to.
- MX Record: Enter the mail server address and its priority.
- TXT Record: Enter the text information you want to store.
Step 4: Verify Your DNS Records
After adding DNS records, it is essential to verify that they have been set up correctly. You can use online tools like MXToolbox or DNS Checker to check the status of your DNS records.
Step 5: Update Your Name Servers
Once you have added and verified your DNS records, the final step is to update your name servers. This step varies depending on your domain registrar or web hosting provider, so be sure to follow their specific instructions.
And that’s it! By following these steps, you can successfully set up DNS records for your website and ensure that it is accessible to users worldwide.