How to Set Up an Email Filter
Are you tired of wading through a cluttered inbox every time you check your email? Email filters are here to save the day! By setting up filters, you can automatically sort incoming emails into specific folders, making it easier to find and prioritize important messages. In this guide, we will walk you through the steps to set up email filters in popular email services like Gmail, Outlook, and Yahoo. Let’s get started!
Gmail
If you’re using Gmail, follow these steps to set up email filters:
- Open Gmail and log in to your account
- Click on the gear icon in the top right corner and select Settings
- Go to the Filters and Blocked Addresses tab
- Click on Create a new filter
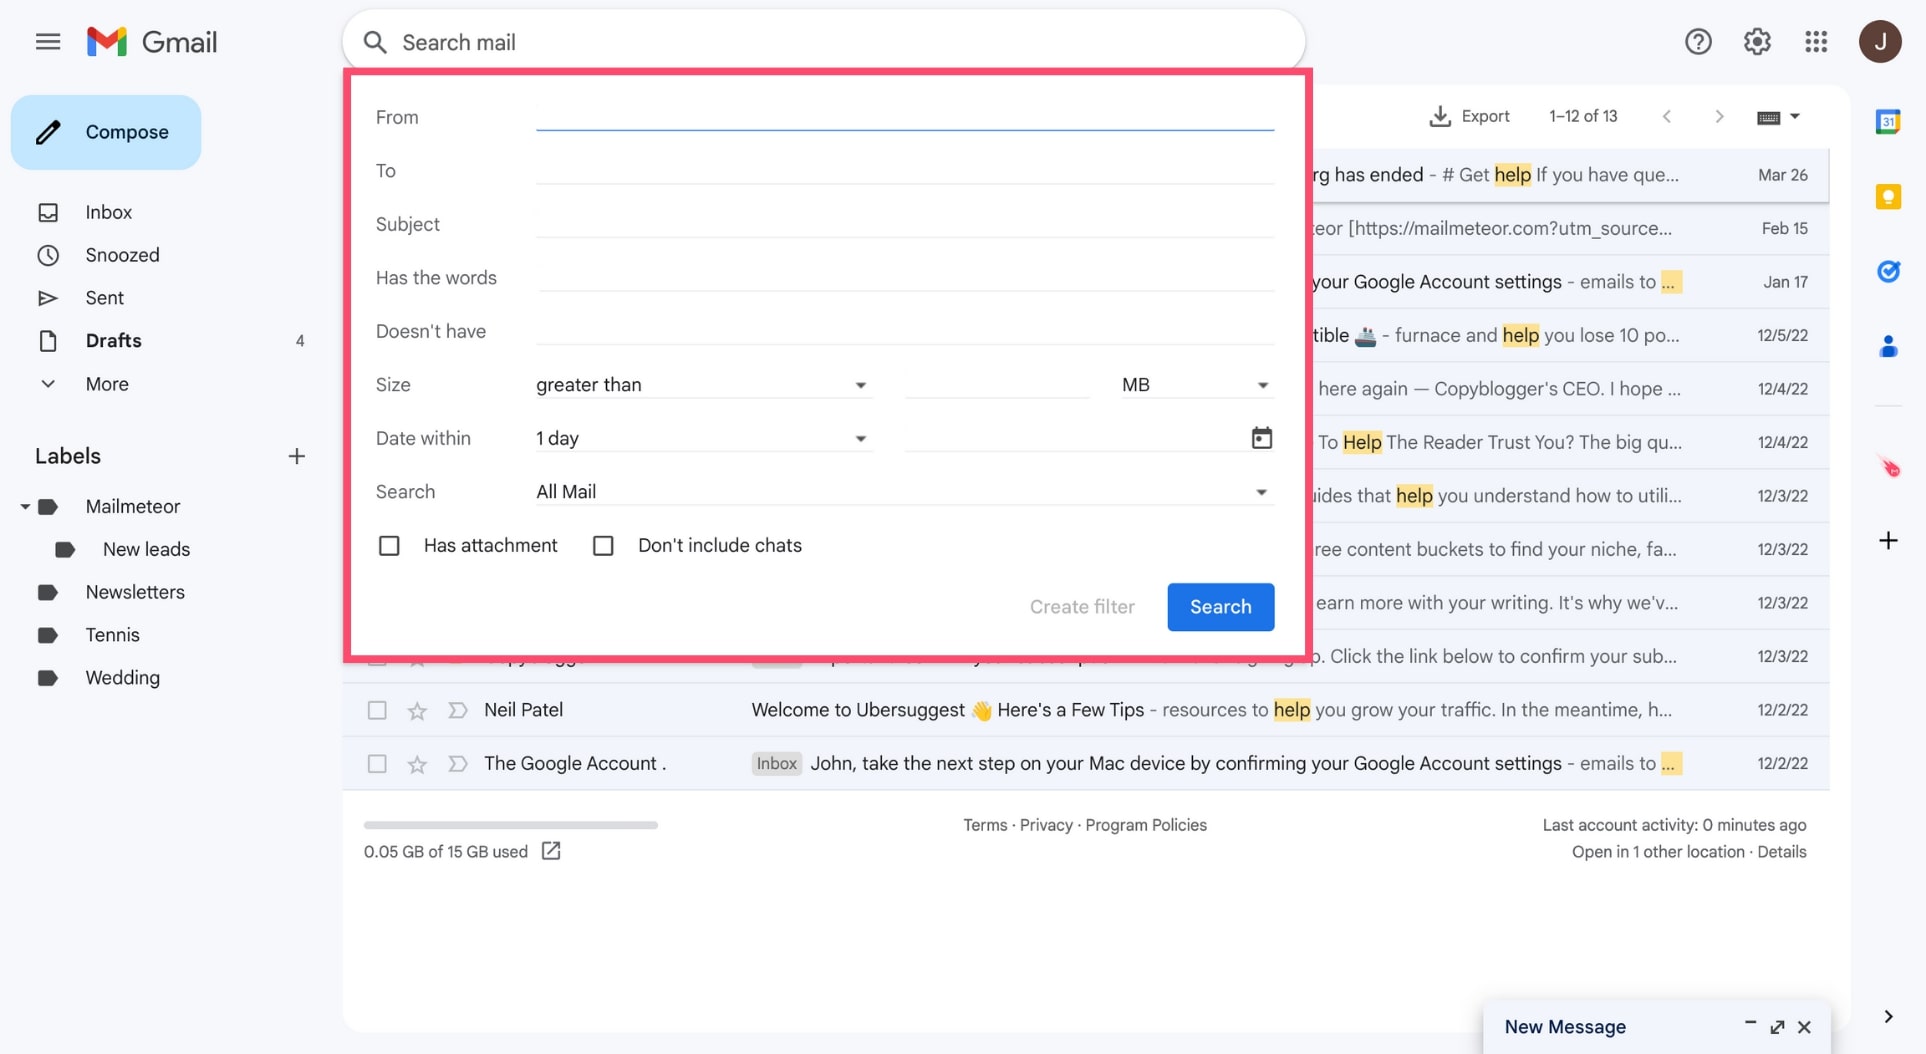
- Enter the filter criteria (e.g., sender’s email address, subject line, keywords)
- Click Create filter
- Choose what action you want the filter to take (e.g., move to a folder, mark as important)
- Click Create filter again
- Voila! Your email filter is now set up
Outlook
For Outlook users, here’s how you can create email filters:
- Open Outlook and log in to your account
- Go to Settings and click on View all Outlook settings
- Click on Mail and then Rules
- Click on + Add new rule
- Enter the filter criteria (e.g., sender’s address, subject)
- Choose what action you want the filter to perform (e.g., move to folder, delete)
- Click Save
Yahoo
Yahoo Mail users, follow these steps to set up email filters:
- Log in to your Yahoo Mail account
- Click on the Settings gear icon
- Go to More Settings
- Click on Filters
- Click Add to create a new filter
- Enter the filter criteria
- Choose the folder where you want the filtered emails to go
- Save your changes
That’s it! With these simple steps, you can declutter your inbox and ensure that important emails are never missed. Setting up email filters is a great way to stay organized and prioritize your communication. Give it a try today!
