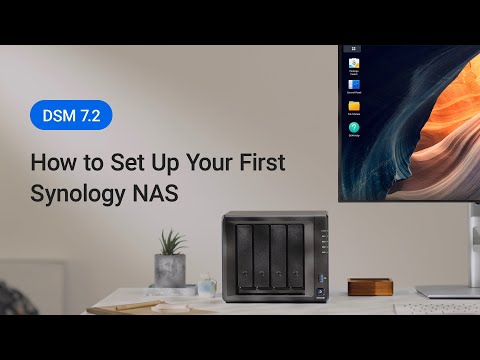
How to Set Up a Synology NAS
Setting up a Synology NAS (Network Attached Storage) can seem like a daunting task, but with the right guidance, it can be a straightforward process. Whether you’re a beginner or an experienced user, this guide will help you navigate through the initial setup of your Synology NAS. Let’s dive in!
1. Unbox Your Synology NAS
The first step is to unbox your Synology NAS and check that all the included components are present. These typically include the NAS unit itself, power adapter, Ethernet cable, and any additional accessories.
2. Connect Your Synology NAS to Power and Network
Next, plug in the power adapter to your Synology NAS and connect it to a power source. Then, connect one end of the Ethernet cable to the NAS and the other end to your router or switch. Ensure that your NAS and network devices are powered on.
3. Access Synology NAS Web Interface
To access the Synology NAS web interface, open a web browser on your computer and enter the default IP address of your NAS in the address bar. You can find the default IP address on the product label or through your router’s admin interface.
4. Set Up Synology DSM
Once you’ve accessed the web interface, you’ll be prompted to set up your Synology DSM (DiskStation Manager) software. Follow the on-screen instructions to create an administrator account, set up your network settings, and configure your storage options.
5. Install Apps and Packages
After setting up your DSM software, you can explore the Synology Package Center to install various apps and packages to enhance your NAS functionality. From media servers to backup solutions, there are plenty of options to customize your NAS to suit your needs.
6. Create Shared Folders and Users
Organize your data by creating shared folders on your Synology NAS and setting up user accounts with specific access permissions. This will allow you to securely store and share files with colleagues, family members, or friends.
7. Back Up Your Data
Speaking of data, don’t forget to set up regular backups of your important files and folders to ensure that your data is safe and secure. Synology NAS offers various backup solutions, including local backups, cloud backups, and network backups.
8. Access Your Synology NAS Remotely
With Synology QuickConnect or Synology DDNS, you can access your NAS remotely from anywhere in the world. This feature allows you to stream media, access files, and manage your NAS settings on the go.
9. Keep Your Synology NAS Updated
It’s essential to keep your Synology NAS software up to date to ensure optimal performance and security. Check for updates regularly through the DSM control panel and install any available updates to keep your NAS running smoothly.
10. Explore Advanced Features
Once you’ve set up the basics, dive deeper into the advanced features of your Synology NAS. From virtual machines and surveillance stations to Docker containers and VPN servers, there are endless possibilities to explore and expand the capabilities of your NAS.
By following these steps and tips, you’ll be able to set up your Synology NAS with ease and make the most out of its versatile features. Whether you’re using it for personal storage, media streaming, or business applications, a Synology NAS can be a valuable addition to your home or office setup. Happy NAS-ing!
