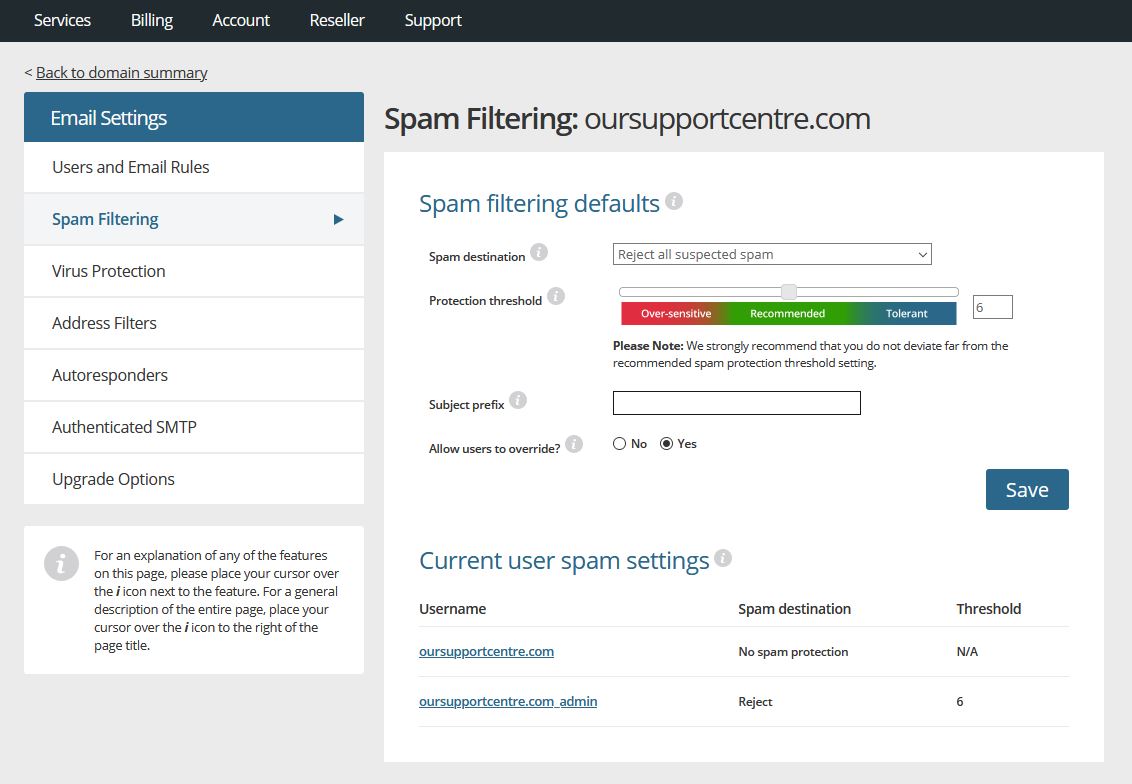
How to Set up a Spam Filter
Spam emails are not only annoying, but they can also be harmful to your computer. Setting up a spam filter is a great way to protect yourself from unwanted emails and potential threats. In this article, we will walk you through the steps to set up a spam filter on your email account.
Step 1: Login to Your Email Account
The first step in setting up a spam filter is to login to your email account. This can be done through your email provider’s website or through an email client like Outlook or Gmail.
Step 2: Locate the Settings Option
Once you are logged in to your email account, you will need to locate the settings option. This is usually found in the top right corner of the screen or in the dropdown menu under your account name.
Step 3: Find the Spam Filter Settings
After clicking on the settings option, look for the spam filter settings. This may be labeled as “spam filter”, “junk mail settings”, or something similar depending on your email provider.
Step 4: Adjust the Filter Settings
Once you have located the spam filter settings, you can adjust them to suit your preferences. Most email providers allow you to choose from different levels of filtering, from low to high. You can also create a list of trusted senders to ensure their emails are not marked as spam.
Step 5: Save Your Changes
After you have adjusted the filter settings to your liking, be sure to save your changes. This will ensure that your spam filter is active and working properly.
Step 6: Check Your Spam Folder Regularly
It’s important to check your spam folder regularly to ensure that legitimate emails are not being marked as spam. If you find that this is happening, you may need to adjust your filter settings accordingly.
Conclusion
Setting up a spam filter is a simple and effective way to protect yourself from unwanted emails and potential threats. By following the steps outlined in this article, you can ensure that your email account is safe and secure.
