How to Set Email Filters
Do you find yourself drowning in a sea of unimportant emails every day? Are you tired of sorting through spam and clutter just to find the important messages in your inbox? Email filters can be a lifesaver when it comes to organizing and prioritizing your emails. In this guide, we’ll show you how to set up email filters to streamline your inbox and make your email experience more efficient.
What are Email Filters?
Email filters are like virtual assistants for your inbox. They are rules that you can set up to automatically sort, label, archive, or delete incoming emails based on certain criteria. By using email filters, you can keep your inbox organized, prioritize important messages, and reduce the time you spend managing your emails.
How to Set Up Email Filters
Setting up email filters is easy and can be done in just a few simple steps. Here’s a step-by-step guide on how to set up email filters on some of the most popular email platforms:
Gmail
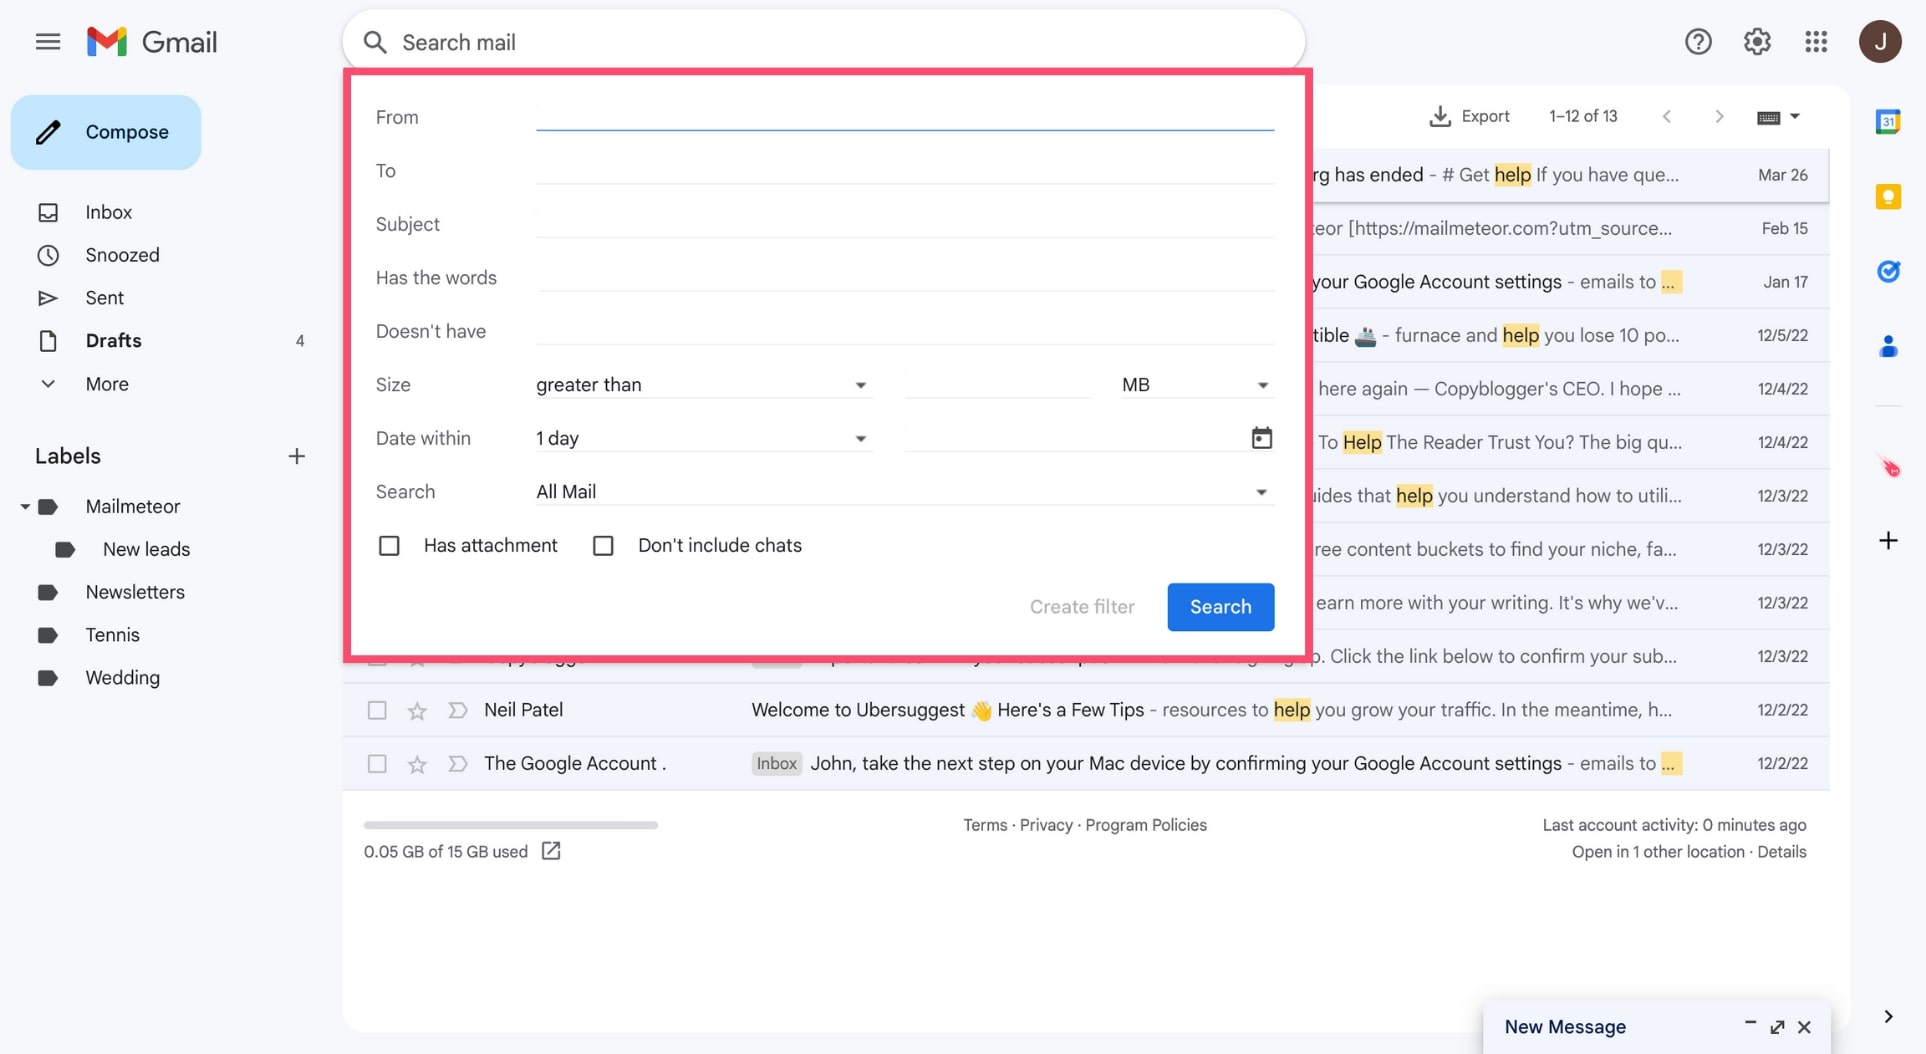
– Log in to your Gmail account.
– Click on the gear icon in the top right corner and select “Settings” from the dropdown menu.
– Go to the “Filters and Blocked Addresses” tab.
– Click on “Create a new filter”.
– Enter the criteria for your filter, such as sender, subject, or keywords.
– Choose what action you want the filter to take, such as apply a label, archive, delete, or mark as important.
– Click on “Create filter”.
Outlook
– Log in to your Outlook account.
– Click on the gear icon in the top right corner and select “View all Outlook settings” at the bottom of the dropdown menu.
– Go to the “Mail” tab and select “Rules”.
– Click on “Add a new rule”.
– Enter the criteria for your rule, such as sender, subject, or keywords.
– Choose what action you want the rule to take, such as move to a folder, delete, or mark as read.
– Click on “Save”.
Yahoo Mail
– Log in to your Yahoo Mail account.
– Click on the gear icon in the top right corner and select “More Settings” from the dropdown menu.
– Go to the “Filters” tab.
– Click on “Add new filters”.
– Enter the criteria for your filter, such as sender, subject, or keywords.
– Choose what action you want the filter to take, such as move to a folder or mark as read.
– Click on “Save”.
Benefits of Email Filters
Using email filters can have many benefits, such as:
- Reducing email overload and clutter in your inbox
- Prioritizing important emails and responding to them more efficiently
- Automatically categorizing emails for better organization
- Protecting your inbox from spam and phishing emails
Conclusion
Setting up email filters is a simple and effective way to manage your inbox and make your email experience more efficient. By following the steps outlined in this guide, you can create filters that automatically sort and prioritize your emails, saving you time and ensuring that you never miss an important message again.
