How to Restore Full Backup in cPanel
Backing up your website is crucial to ensure you can quickly recover in case of any unexpected data loss. In this article, we will guide you through the process of restoring a full backup in cPanel.
Step 1: Access cPanel
First, log in to your cPanel account using your username and password. If you are unsure how to access cPanel, contact your hosting provider for assistance.
Step 2: Locate Backup Section
Once you are logged in, navigate to the “Files” section in cPanel. Look for the “Backups” or “Backup Wizard” option.
Step 3: Choose Restore Option
Click on the “Restore” option within the Backup Wizard. You will have the choice to restore files, databases, or a full backup. Select the “Full Backup” option.
Step 4: Upload Backup File
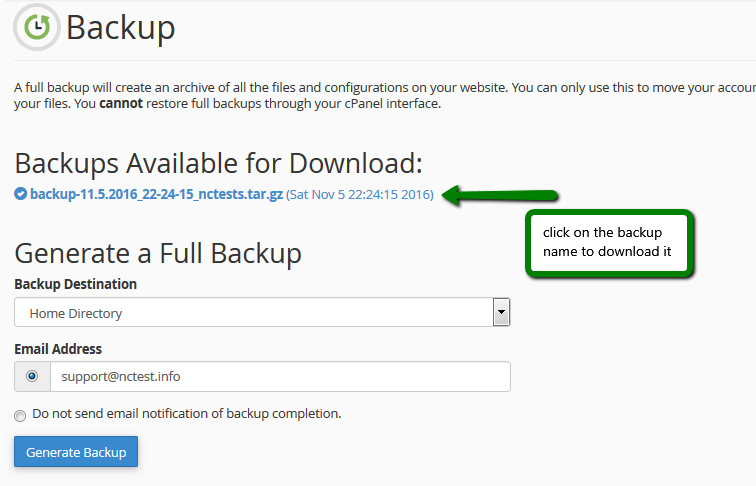
Next, upload the full backup file from your computer. Make sure the file name is in the correct format, such as “backup-23-09-2022.tar.gz”.
Step 5: Restore Backup
Click on the “Restore” button to begin the restoration process. Depending on the size of your backup file, this may take some time. Do not close the browser window until the process is complete.
Step 6: Verify Restoration
Once the restoration process is complete, verify that all your files and databases have been successfully restored. Check your website to ensure everything is working correctly.
Conclusion
Restoring a full backup in cPanel is a straightforward process that can save you from potential data loss. Remember to regularly back up your website to ensure you can easily recover in case of emergencies.
By following the steps outlined in this article, you can effectively restore a full backup in cPanel and have peace of mind knowing your website is secure.
