How to Open Database in phpMyAdmin
Are you looking to access your database using phpMyAdmin? Look no further! In this guide, we will walk you through the step-by-step process of how to open your database using phpMyAdmin. Let’s dive in!
Step 1: Log in to phpMyAdmin
The first step to open your database in phpMyAdmin is to log in to the phpMyAdmin dashboard. You can do this by entering your username and password in the login screen.
Step 2: Select the Database
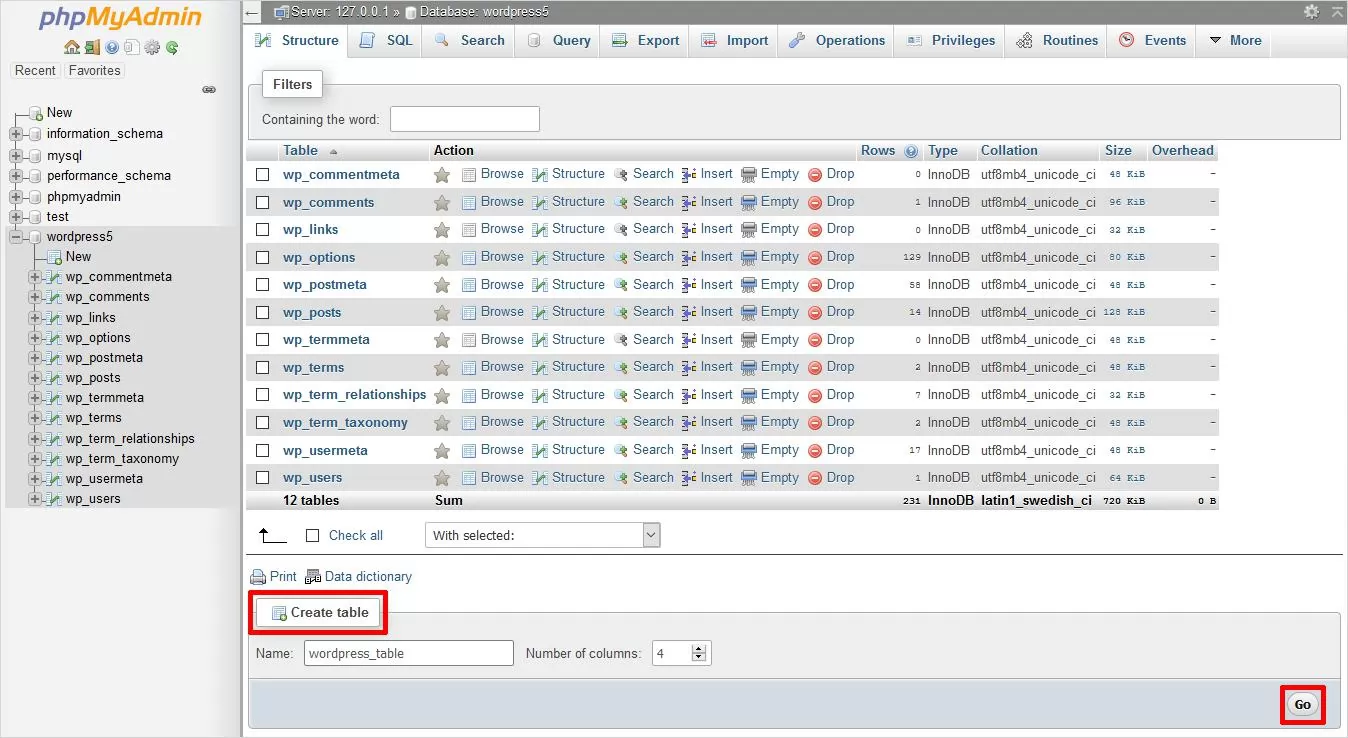
Once you have logged in, you will see a list of databases on the left-hand side of the screen. Click on the database that you want to open.
Step 3: Accessing the Database
After selecting the database, you will be able to access all the tables and data within that database. You can perform various operations such as querying data, adding new tables, and editing existing tables.
Step 4: Managing the Database
phpMyAdmin provides a user-friendly interface for managing your database. You can import and export data, create backups, and optimize tables for better performance.
Step 5: Editing Tables and Data
If you need to make changes to the tables or data within your database, phpMyAdmin makes it easy to do so. You can edit table structures, insert new data, and update existing records.
Step 6: Executing SQL Queries
For more advanced users, phpMyAdmin allows you to run SQL queries directly on your database. This gives you full control over the operations you want to perform.
Conclusion
Opening your database in phpMyAdmin is a simple and straightforward process that gives you access to all the tools you need to manage and manipulate your database efficiently. Whether you are a beginner or an experienced user, phpMyAdmin provides the functionality you need to work with your database seamlessly.