How to Make Columns in Mailchimp
Mailchimp is a popular email marketing platform that allows you to create beautiful and engaging emails to send to your subscribers. One of the ways you can make your emails more visually appealing is by using columns. Columns allow you to divide your content into multiple sections, making it easier for your readers to digest the information. In this article, we will show you how to create columns in Mailchimp.
Step 1: Log in to Your Mailchimp Account
The first step is to log in to your Mailchimp account. If you don’t have an account, you can sign up for free on the Mailchimp website. Once you’re logged in, navigate to the “Campaigns” tab and click on “Create Campaign.”
Step 2: Choose a Template
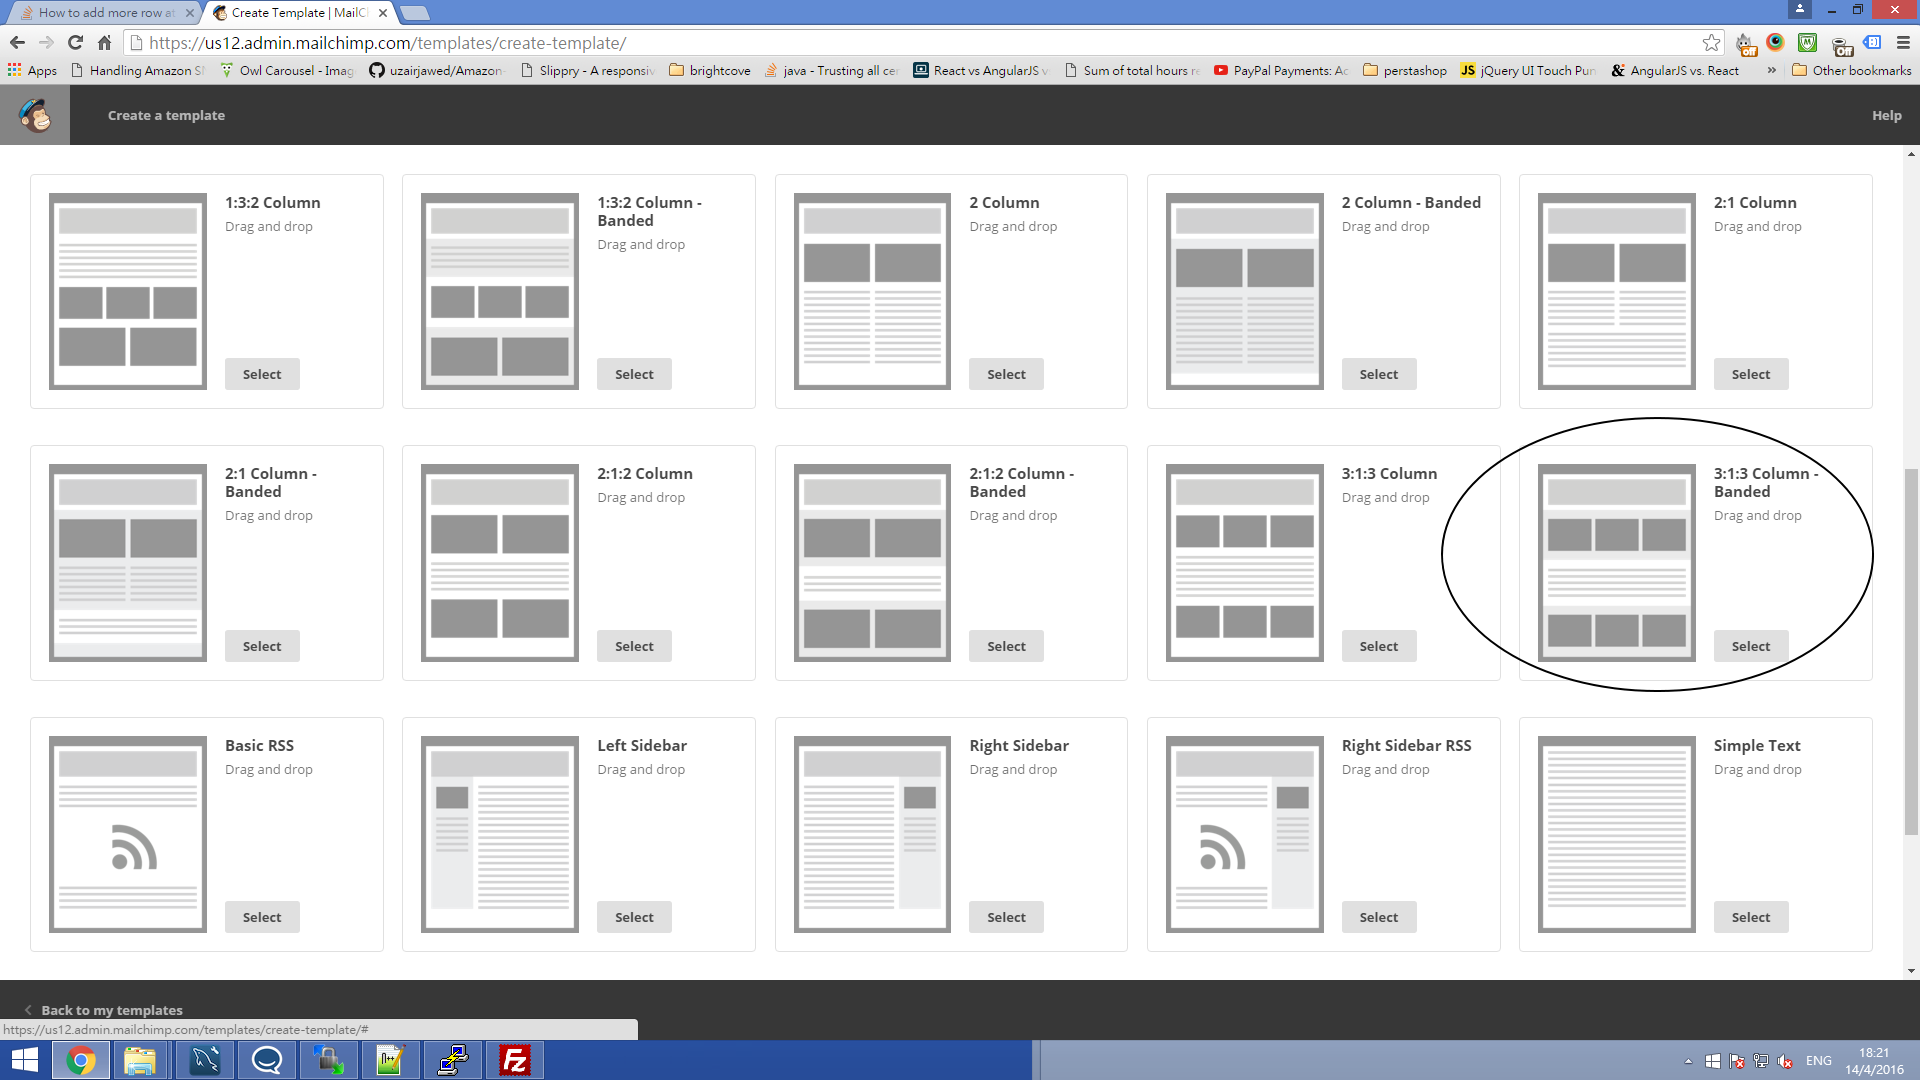
Mailchimp offers a variety of templates to choose from. You can pick a template that already has columns set up for you, or you can create your own custom template with columns. Select the template that best fits your needs and click on it to start editing.
Step 3: Add Content Blocks
Once you’re editing your template, you can start adding content blocks. To create columns, click on the “+” icon next to the content block you want to divide into columns. Then, select “Columns” from the dropdown menu. You can choose from different column layouts, such as two columns or three columns.
Step 4: Customize Your Columns
After you’ve added your columns, you can customize them to fit your design. You can change the width of each column, add padding or margins, and adjust the background color. You can also drag and drop content blocks within the columns to rearrange them.
Step 5: Preview and Test Your Email
Before you send out your email, it’s important to preview and test it. Make sure that your columns look good on both desktop and mobile devices. Mailchimp provides a preview feature that allows you to see how your email will appear to your subscribers.
Step 6: Send Your Email
Once you’re satisfied with how your email looks, you can send it out to your subscribers. Click on the “Send” button at the top of the page to schedule or send your campaign. You can also save your campaign as a draft if you want to make further edits later.
Conclusion
Creating columns in Mailchimp is a simple and effective way to make your emails more visually appealing and easier to read. By following the steps outlined in this article, you can create professional-looking emails that will engage your subscribers and drive results for your business. So why wait? Start creating stunning email campaigns with columns in Mailchimp today!
