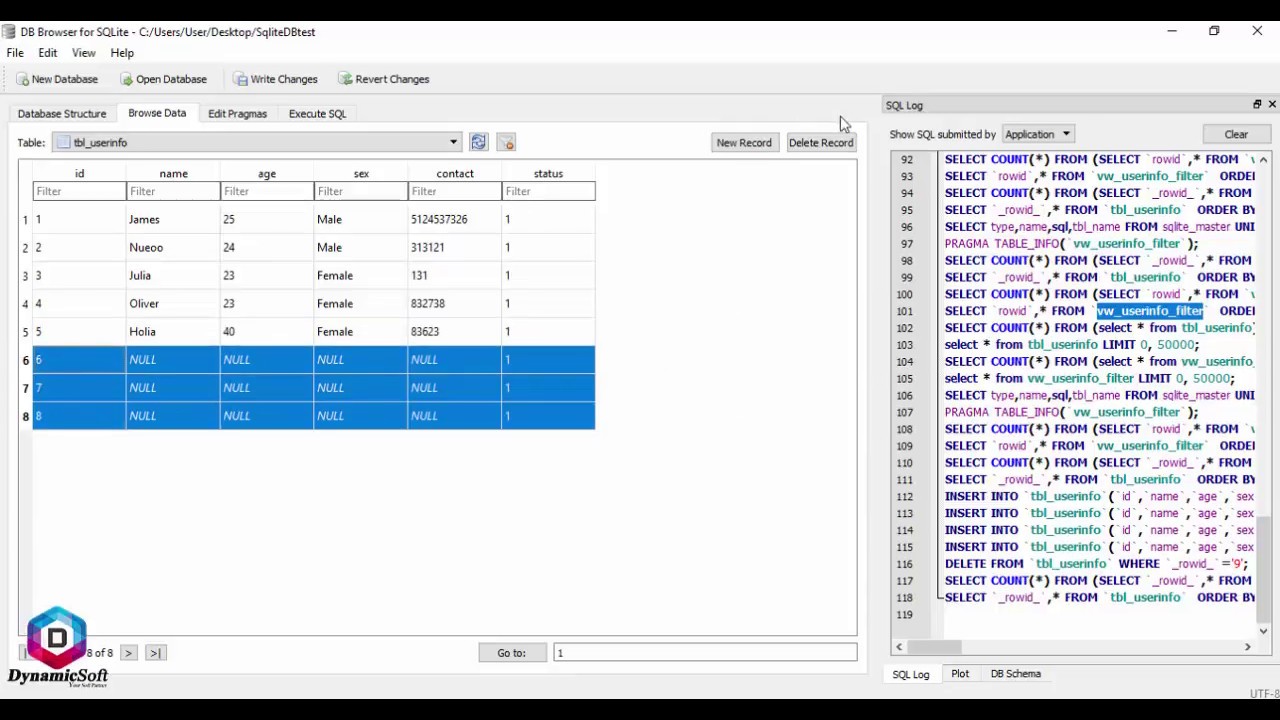
How to Make an SQLite Database
SQLite is a popular database management system that is lightweight, reliable, and easy to use. In this article, we will walk you through the process of creating your own SQLite database. Whether you are a beginner or an experienced developer, setting up an SQLite database is a useful skill to have.
Here are the steps to make an SQLite database:
Step 1: Download SQLite Tools
The first step is to download the SQLite tools that you will need to create and manage your database. You can download the SQLite tools from the official SQLite website at https://www.sqlite.org/download.html. Make sure to download the version that is compatible with your operating system.
Step 2: Install SQLite
Once you have downloaded the SQLite tools, you need to install them on your computer. Follow the installation instructions provided on the SQLite website to set up SQLite on your system.
Step 3: Create a New Database
Now that you have SQLite installed, you can create a new database. To create a new SQLite database, open the SQLite command-line interface by typing “sqlite3” in your terminal or command prompt. Then, use the following command to create a new database:
sqlite3 mydatabase.db
This command will create a new SQLite database file named “mydatabase.db” in the current directory. You can replace “mydatabase.db” with the name of your choice.
Step 4: Create Tables
After creating a database, you can create tables to store your data. To create a new table in your SQLite database, use the following SQL command:
CREATE TABLE mytable (id INTEGER PRIMARY KEY, name TEXT, age INTEGER);
This command will create a new table named “mytable” with three columns: id, name, and age. You can customize the table structure as per your requirements.
Step 5: Insert Data
Once you have created tables, you can insert data into your SQLite database. Use the following SQL command to insert a new record into the “mytable” table:
INSERT INTO mytable (name, age) VALUES ('John Doe', 30);
This command will insert a new record with the name “John Doe” and age 30 into the “mytable” table. You can insert multiple records into your table using the INSERT INTO command.
Step 6: Query Data
After inserting data, you can query your SQLite database to retrieve information. Use the SELECT statement to retrieve data from your SQLite database:
SELECT * FROM mytable;
This command will retrieve all records from the “mytable” table. You can use various operators and clauses to filter and sort the data as needed.
Step 7: Save and Exit
Once you have completed creating your SQLite database, tables, and data, you can save the changes and exit the SQLite command-line interface. Use the following command to save your changes and exit:
.exit
This command will save your database changes and exit the SQLite command-line interface.
Congratulations! You have successfully created your own SQLite database. SQLite is a powerful and versatile database management system that is widely used in various applications. With your new SQLite database, you can store, retrieve, and manage data efficiently. Explore more features and functionalities of SQLite to enhance your database skills.
