How to Install an SSL Certificate Manually
Securing your website with an SSL certificate is essential to protect your visitors’ data and establish trust with your audience. While many web hosting providers offer automated SSL certificate installation, you may still need to install one manually in some cases. In this guide, we will walk you through the process of manually installing an SSL certificate on your website.
Step 1: Purchase an SSL Certificate
The first step to installing an SSL certificate manually is to purchase one from a trusted certificate authority. You can choose from various types of SSL certificates, such as domain validation, organization validation, or extended validation certificates. Once you have purchased the SSL certificate, you will receive a certificate file and a private key file.
Step 2: Generate a Certificate Signing Request (CSR)
Before you can install the SSL certificate, you need to generate a Certificate Signing Request (CSR). This is a file that contains your website’s information, including your domain name and organization details. You can generate a CSR from your web hosting control panel or through a command line interface.
Step 3: Install the SSL Certificate
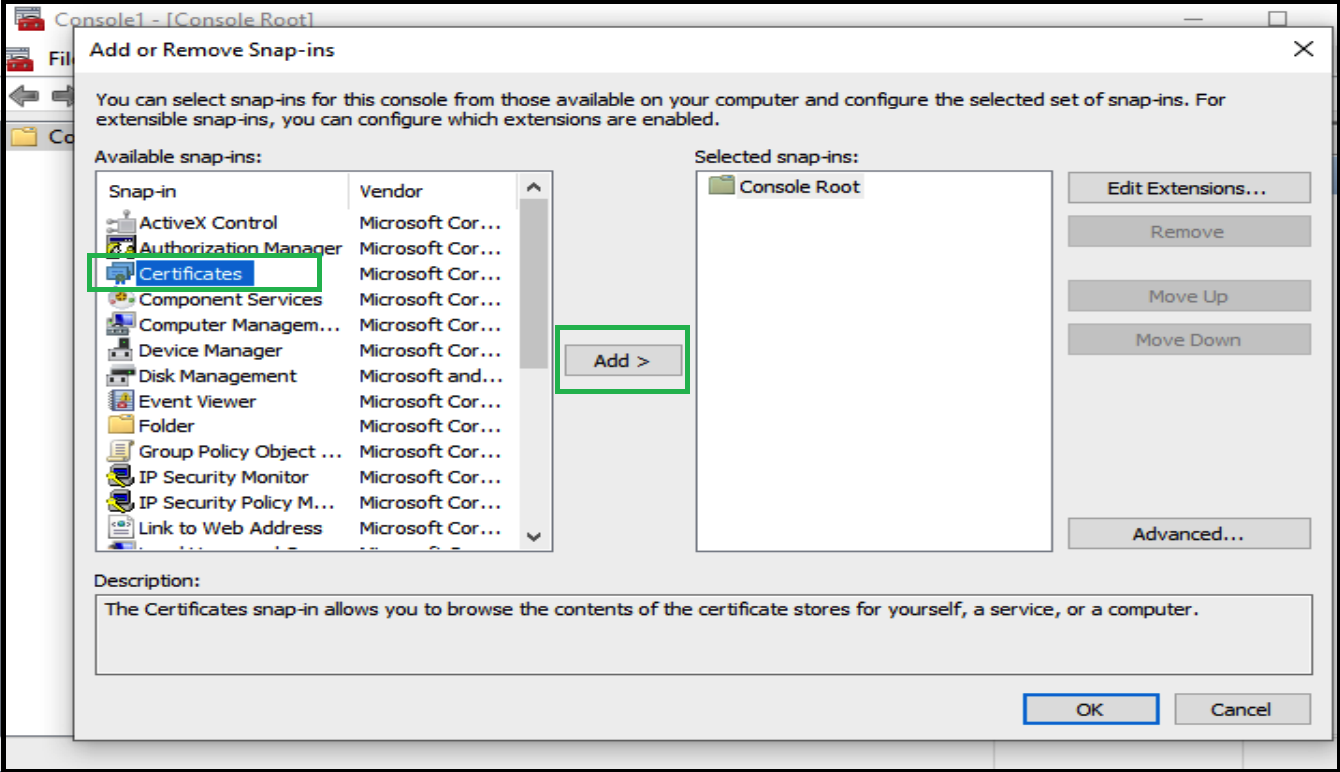
Once you have your SSL certificate and CSR ready, you can proceed with the installation process. Depending on your web server and hosting environment, the steps to install an SSL certificate may vary. Here are the general steps to install an SSL certificate manually:
- Log in to your web server using SSH or FTP.
- Upload your SSL certificate and private key files to the server.
- Update your web server configuration to point to the SSL certificate and private key files.
- Restart your web server to apply the changes.
After completing these steps, your website should now be secured with an SSL certificate, and visitors will see the padlock icon in their browser’s address bar, indicating a secure connection.
Step 4: Test the SSL Certificate
After installing the SSL certificate, it’s crucial to test it to ensure that it is functioning correctly. You can use online SSL checker tools to verify the installation and configuration of your SSL certificate. These tools will scan your website and provide a detailed report on the SSL certificate status.
Step 5: Set Up HTTPS Redirection
Once the SSL certificate is installed and tested, you should set up HTTPS redirection to ensure that all traffic to your website is encrypted. You can configure HTTPS redirection in your web server configuration or through a plugin if you are using a content management system like WordPress.
Conclusion
Installing an SSL certificate manually is a crucial step in securing your website and protecting your visitors’ data. By following the steps outlined in this guide, you can successfully install an SSL certificate and establish a trusted and secure connection with your audience. Remember to regularly update your SSL certificate to maintain the security of your website.
