How to Install Plesk on Ubuntu 20.04
Plesk is a powerful control panel that simplifies the management of your server and web hosting. In this article, we will guide you through the process of installing Plesk on Ubuntu 20.04. Follow these steps to get your Plesk up and running smoothly on your Ubuntu server.
Step 1: Prerequisites
Before you begin the installation, make sure you have a clean Ubuntu 20.04 server with root access. It is recommended to have a freshly installed server to avoid any conflicts with existing software.
Step 2: Update System Packages
First, update the system package list and install the latest updates by running the following commands:
sudo apt update
sudo apt upgrade
Step 3: Download the Plesk Installer
Next, download the Plesk installer script by running the following command:
wget https://installer.plesk.com/plesk-installer
Once the script is downloaded, make it executable using the following command:
chmod +x plesk-installer
Step 4: Run the Plesk Installer
Now, run the Plesk installer script by executing the following command:
sudo ./plesk-installer
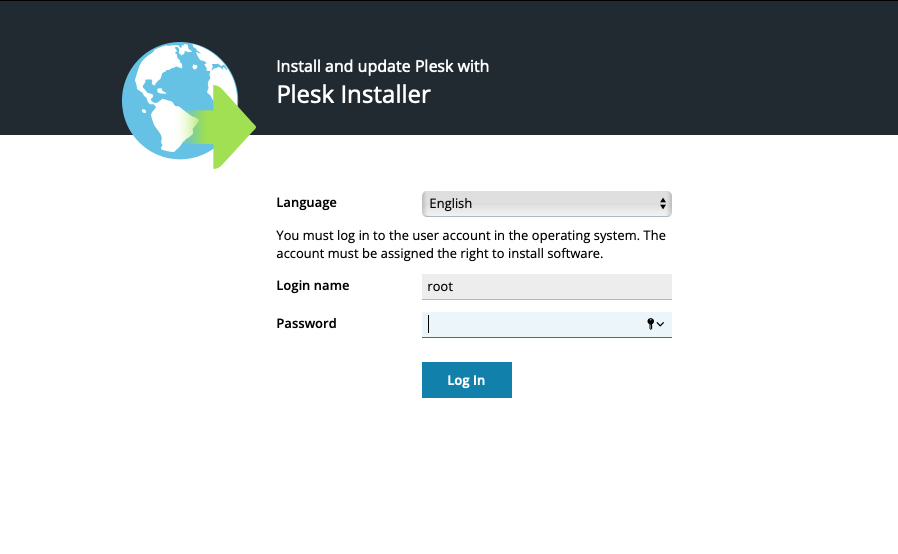
Follow the on-screen instructions to complete the installation process. You will be prompted to set up the administrator password and configure Plesk settings.
Step 5: Access Plesk Control Panel
Once the installation is complete, you can access the Plesk control panel by navigating to your server’s IP address or domain name in a web browser. Log in using the administrator credentials you set up during the installation.
Step 6: Secure Plesk Installation
It is crucial to secure your Plesk installation to prevent unauthorized access. Make sure to regularly update and patch Plesk to keep it secure.
Congratulations! You have successfully installed Plesk on your Ubuntu 20.04 server. Enjoy the ease of managing your server and hosting with Plesk’s user-friendly interface.
For more advanced configurations and settings, refer to the official Plesk documentation.
