How to Install Owncloud
OwnCloud is a self-hosted file sync and share server that allows you to access your data, sync files across devices, and share files with others. In this guide, we will walk you through the installation process of OwnCloud on your own server.
Step 1: Set Up Your Server
Before installing OwnCloud, you need to have a server with Apache, MariaDB, and PHP installed. If you don’t have these installed, you can follow our guides on how to set up a LAMP stack on Ubuntu or CentOS.
Once you have your server set up, you can proceed with the installation of OwnCloud.
Step 2: Download OwnCloud
Visit the OwnCloud website and download the latest version of OwnCloud. You can choose between the tar.bz2 and zip formats. Once the download is complete, extract the files to your webserver directory.
Step 3: Configure Apache
Next, you need to configure Apache to serve your OwnCloud installation. Create a new Apache configuration file for OwnCloud and add the following lines:
Alias /owncloud "/var/www/owncloud/"
Dav off
SetEnv HOME /var/www/owncloud
SetEnv HTTP_HOME /var/www/owncloud
After saving the configuration file, restart Apache for the changes to take effect.
Step 4: Create a Database
Use the MariaDB command line interface to create a new database for OwnCloud:
mysql -u root -p
CREATE DATABASE owncloud;
GRANT ALL ON owncloud.* to 'owncloud'@'localhost' IDENTIFIED BY 'password';
FLUSH PRIVILEGES;
EXIT;
Replace ‘password’ with a secure password of your choice.
Step 5: Finish the Installation
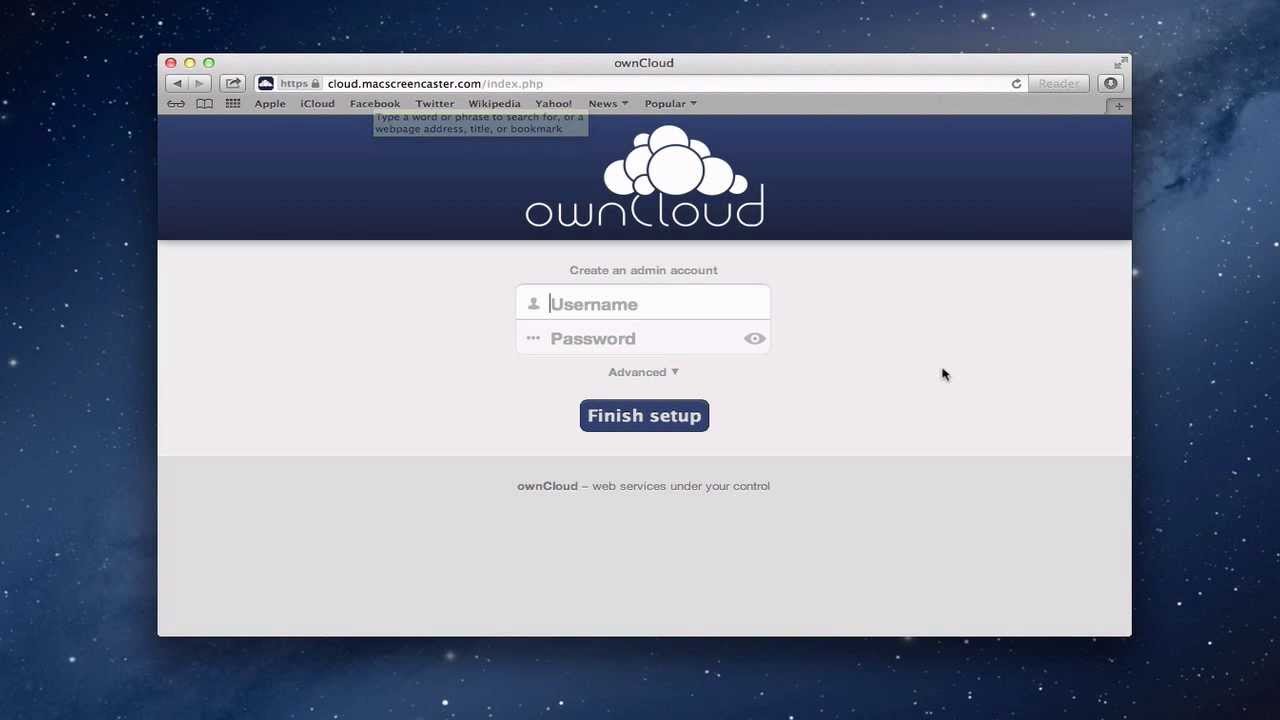
Finally, open a web browser and navigate to your server’s IP address followed by /owncloud. You will be prompted to create an admin account and connect OwnCloud to your database. Once the installation is complete, you can start using OwnCloud to sync, share, and access your files.
Congratulations! You have successfully installed OwnCloud on your server. Enjoy the convenience of having your own file sync and share server.
