How to Install NFS Server
If you are looking to set up a network file system (NFS) server on your Linux system, you’ve come to the right place. NFS allows you to share files across different networked devices, making it a convenient solution for transferring and accessing files. In this guide, we will walk you through the steps to install an NFS server on your system.
Step 1: Update Your System
Before you begin, it’s important to ensure that your system is up to date. This will help prevent any compatibility issues when installing the NFS server. You can update your system using the following command:
sudo apt update && sudo apt upgrade -y
Step 2: Install NFS Server Package
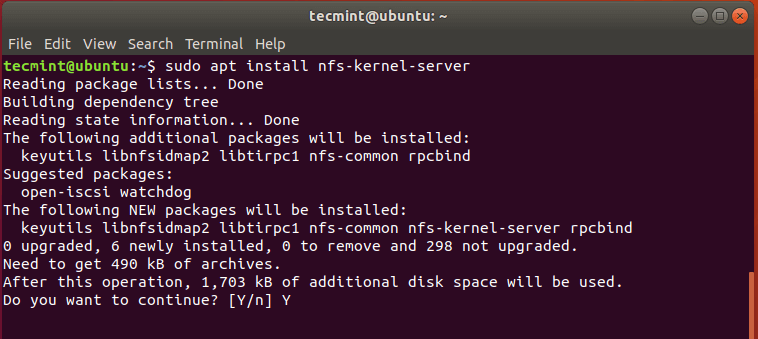
Next, you will need to install the NFS server package on your system. You can do this by running the following command:
sudo apt install nfs-kernel-server
Step 3: Configure NFS Exports
Once the NFS server package is installed, you will need to configure the directories you want to share over the network. You can do this by editing the exports file located at /etc/exports. Add the directories you want to share in the following format:
/path/to/directory client_ip(rw,sync,no_subtree_check)
Be sure to replace /path/to/directory with the actual path to the directory you want to share and client_ip with the IP address of the client machine that will be accessing the shared directory.
Step 4: Export Directories
After you have added the directories you want to share to the exports file, you will need to export them using the following command:
sudo exportfs -a
Step 5: Start NFS Server
Finally, you can start the NFS server using the following command:
sudo systemctl start nfs-server
You can also enable the NFS server to start automatically on system boot with the following command:
sudo systemctl enable nfs-server
That’s it! You have successfully installed and configured an NFS server on your system. You can now start sharing files over the network with other devices. If you encounter any issues, feel free to check the NFS server logs for troubleshooting.
