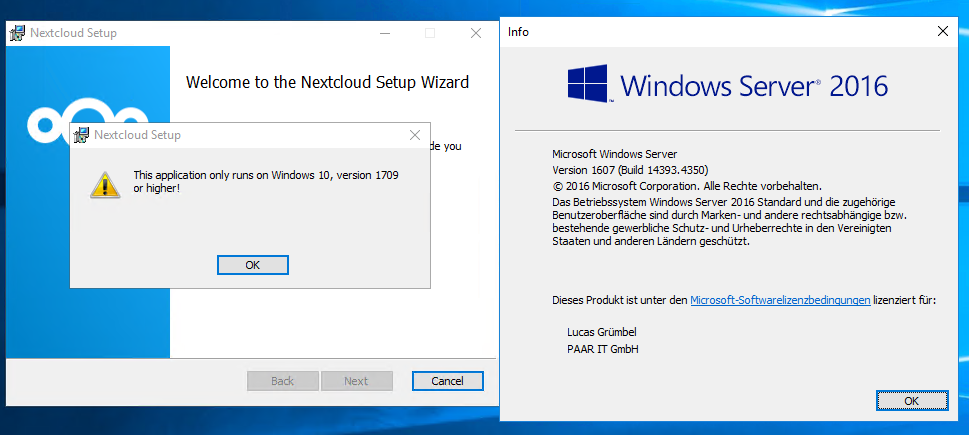
How to Install Nextcloud on Windows Server
Nextcloud is a powerful, open-source file sync and share software that allows you to store your files, contacts, calendars, and more on your own server. In this article, we will guide you through the process of installing Nextcloud on a Windows Server.
Prerequisites
Before you begin, make sure you have the following prerequisites:
- A Windows Server machine with administrative rights
- Internet Information Services (IIS) installed
- PHP installed
- MySQL or MariaDB installed
Step 1: Download and Install Nextcloud
1. Download the latest version of Nextcloud from the official website (https://nextcloud.com/install).
2. Extract the downloaded file to the root directory of your web server (e.g., C:\inetpub\wwwroot\).
3. Rename the extracted folder to nextcloud.
Step 2: Configure IIS
1. Open Internet Information Services (IIS) Manager.
2. In the left-hand panel, expand the server node and click on Sites.
3. Right-click on Default Web Site and select Add Application....
4. Enter nextcloud as the alias and browse to the path of the nextcloud folder.
5. Click OK to save the settings.
Step 3: Configure PHP
1. Open php.ini located in the PHP installation directory.
2. Uncomment the following lines by removing the semicolon (;):
extension=curlextension=gd2extension=mbstringextension=mysqli
Step 4: Create a MySQL Database
1. Open MySQL Command Line Client.
2. Enter your MySQL root password.
3. Create a new database for Nextcloud using the following command:
CREATE DATABASE nextcloud;
Step 5: Complete the Installation
1. Open your web browser and navigate to http://localhost/nextcloud.
2. Follow the on-screen instructions to complete the installation process.
Conclusion
Congratulations! You have successfully installed Nextcloud on your Windows Server. You can now start using Nextcloud to securely store and share your files. If you encounter any issues during the installation process, feel free to reach out for support.
