How to Get a VPS with cPanel
Are you looking to take your website to the next level? One of the best ways to do that is by getting a Virtual Private Server (VPS) with cPanel. This powerful combination gives you the flexibility and control you need to manage your website effectively. In this article, we’ll show you how to get a VPS with cPanel so you can start reaping the benefits right away.
Step 1: Choose a Hosting Provider
The first step in getting a VPS with cPanel is to choose a hosting provider that offers this service. There are many options available, so it’s important to do your research and find a provider that meets your needs and budget. Look for a hosting provider that has a good reputation, offers reliable services, and has excellent customer support.
Step 2: Select Your VPS Plan
Once you’ve chosen a hosting provider, the next step is to select a VPS plan that includes cPanel. Most hosting providers offer a variety of VPS plans with different features and pricing options. Take the time to review the plans and choose one that best suits your needs. Make sure that cPanel is included in the plan so you can easily manage your website.
Step 3: Set Up Your VPS
After you’ve selected your VPS plan, it’s time to set up your VPS. This typically involves creating an account with the hosting provider, selecting your operating system, and configuring your server settings. Your hosting provider should provide you with detailed instructions on how to set up your VPS, so be sure to follow them carefully to ensure a smooth setup process.
Step 4: Install cPanel
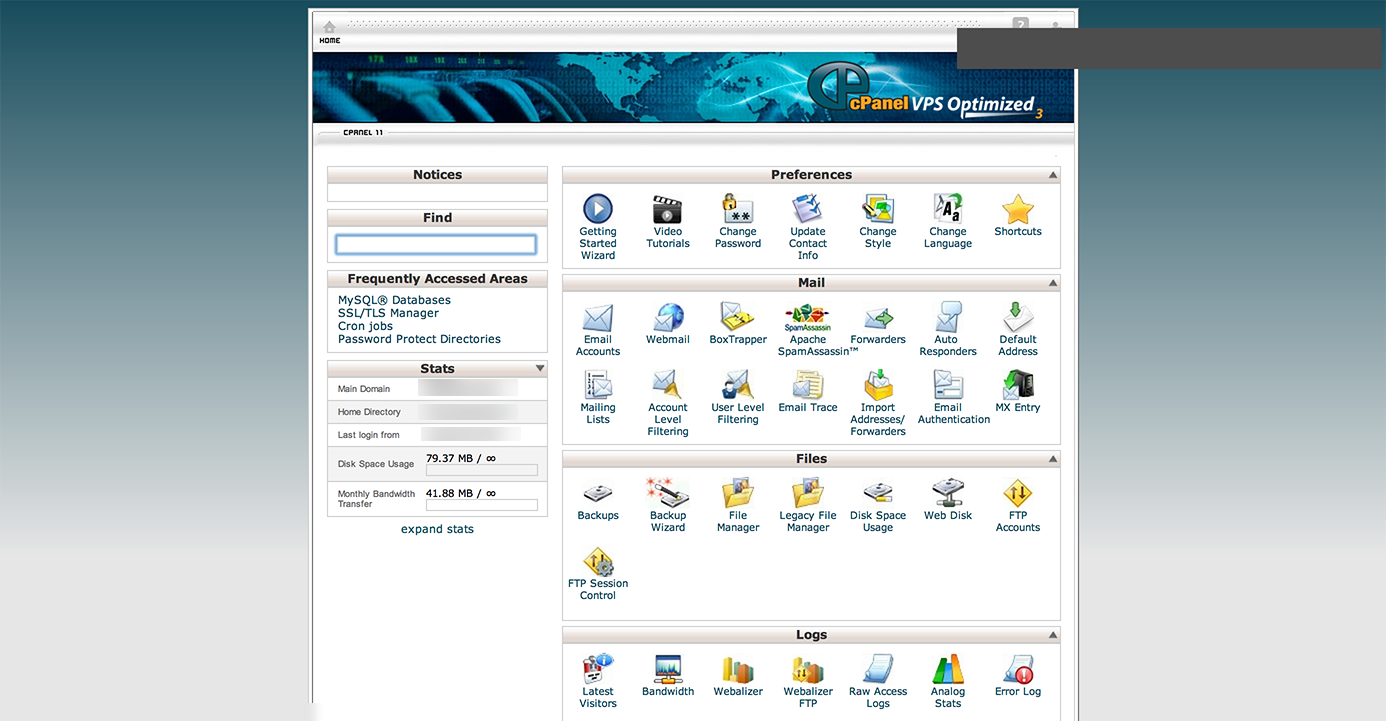
Once your VPS is set up, the next step is to install cPanel. Most hosting providers offer a one-click installation process for cPanel, making it quick and easy to get up and running. Simply follow the instructions provided by your hosting provider to install cPanel on your VPS. Once installed, you’ll have access to a user-friendly interface that makes managing your website a breeze.
Step 5: Customize Your cPanel Settings
After cPanel is installed on your VPS, it’s time to customize your settings to meet your specific needs. You can configure things like email accounts, security settings, and domain settings through the cPanel interface. Take the time to explore the different options available and make adjustments as needed to optimize your website’s performance.
Step 6: Manage Your Website
With cPanel installed on your VPS, you’ll have all the tools you need to effectively manage your website. From creating backups to managing databases to installing software, cPanel gives you complete control over your website. Take advantage of the many features cPanel offers to streamline your website management tasks and keep your site running smoothly.
Conclusion
Getting a VPS with cPanel is a great choice for those looking to take their website to the next level. By following the steps outlined in this article, you can easily get a VPS with cPanel up and running in no time. Take control of your website today and start enjoying the benefits of a powerful hosting solution.
