How to Filter Email: A Complete Guide
With the constant influx of emails in your inbox, it can be challenging to stay organized and focused. Filtering your emails is a powerful way to ensure that you only see the most important messages and avoid getting overwhelmed by unnecessary clutter. In this guide, we will walk you through the steps to effectively filter your emails and take control of your inbox.
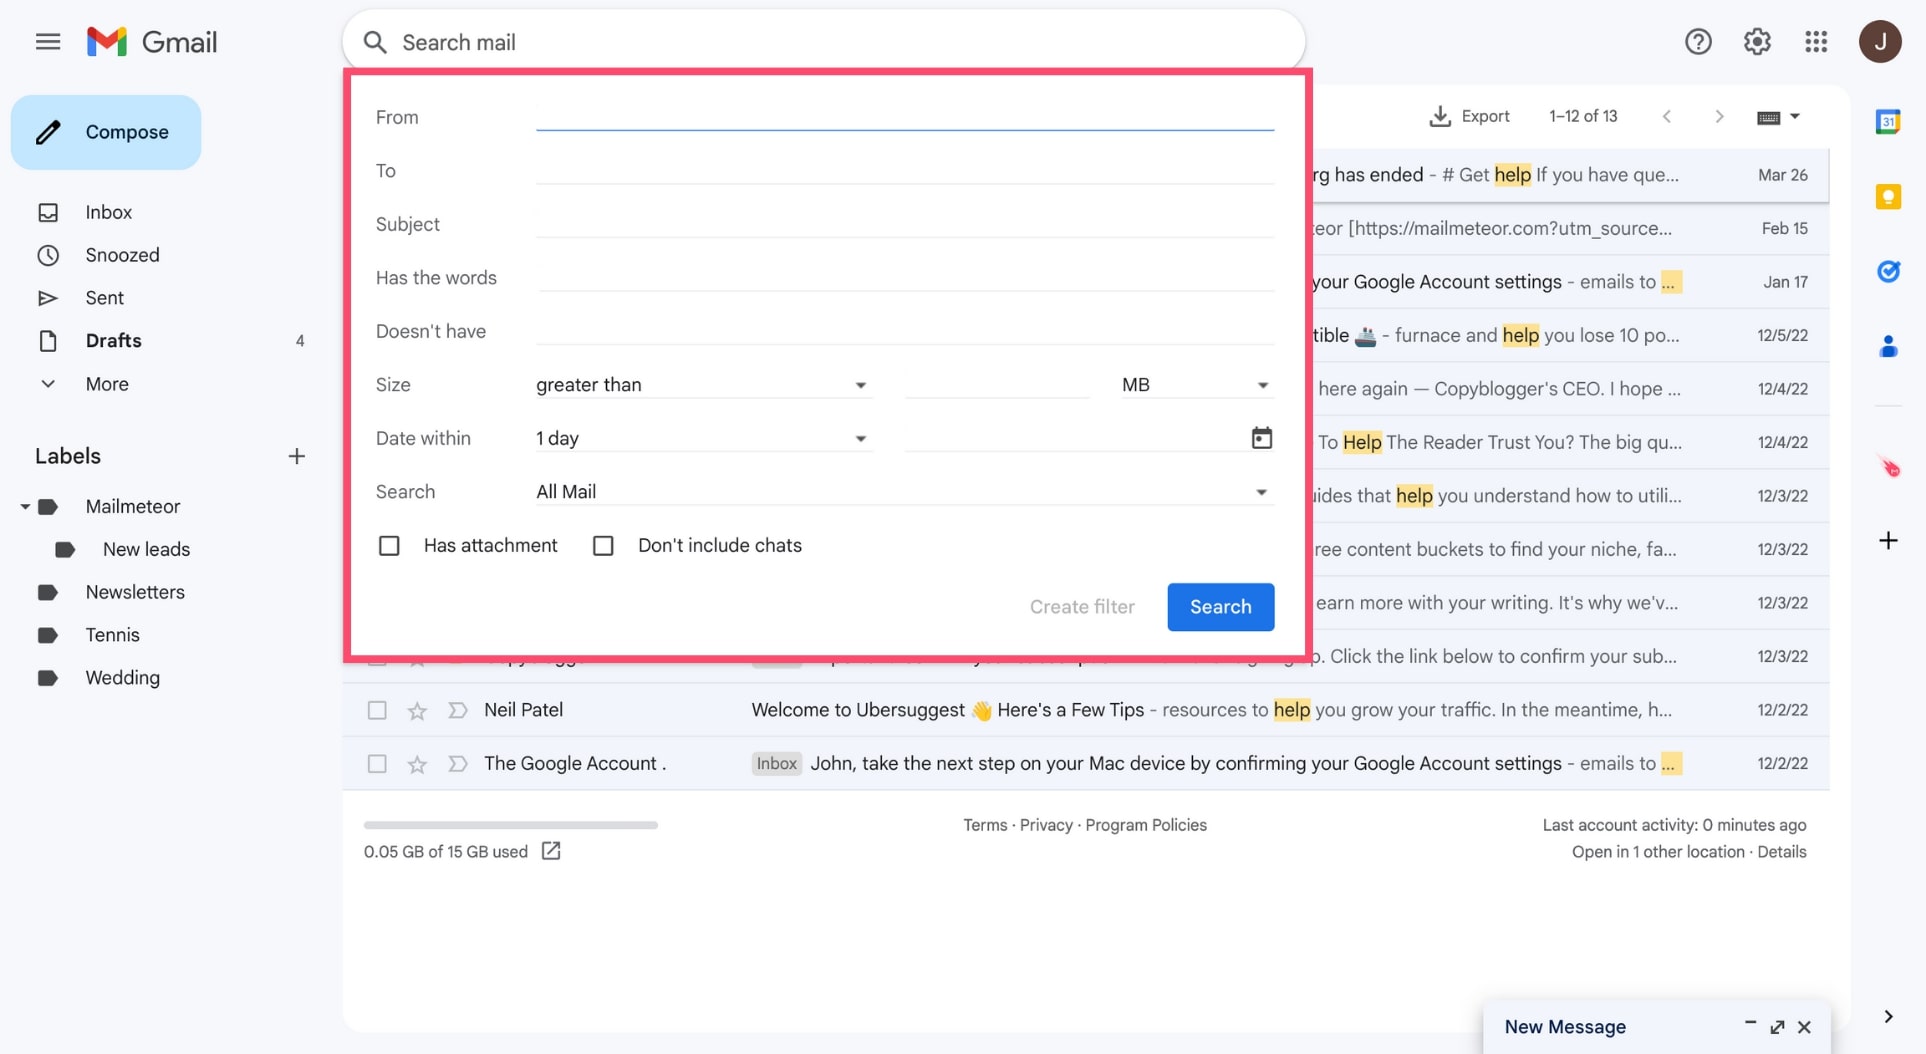
Step 1: Set up Filters
The first step in filtering your emails is to set up filters. Filters are rules that you can create to automatically sort incoming emails based on specific criteria. This can include the sender, subject line, keywords, or other factors. Most email providers, such as Gmail and Outlook, have built-in filter options that you can customize to meet your needs.
To set up filters in Gmail, for example, you can click on the gear icon in the top right corner of your inbox, then select “Settings” and go to the “Filters and Blocked Addresses” tab. From there, you can create new filters based on your desired criteria.
Once you have set up your filters, your emails will automatically be sorted into the corresponding folders or labels, making it easier for you to quickly locate and prioritize important messages.
Step 2: Prioritize Important Emails
While filters can help you stay organized, it’s essential to regularly check your filtered folders to ensure that you don’t miss any critical emails. Set aside designated time each day to review your filtered emails and respond to any time-sensitive messages.
You can also create separate folders or labels for emails that require immediate attention or follow-up. This way, you can easily distinguish between urgent emails and less important messages.
Step 3: Unsubscribe from Unwanted Emails
One of the most effective ways to reduce email clutter is to unsubscribe from unwanted emails. Take the time to unsubscribe from newsletters, promotional emails, and notifications that no longer serve a purpose or interest you.
Most emails have an “Unsubscribe” link at the bottom, which you can click to stop receiving further messages from that sender. By decluttering your inbox in this way, you can focus on the emails that truly matter and avoid distractions.
Step 4: Use Email Flags and Labels
Email flags and labels are useful tools for categorizing and prioritizing your emails. Flags can be used to mark important emails for follow-up or further action, while labels can help you organize your inbox by topic, project, or sender.
By utilizing flags and labels effectively, you can quickly identify emails that require your attention and easily sort through your inbox to find specific messages when needed.
Step 5: Regularly Review and Update Filters
As your email habits and preferences change, it’s essential to regularly review and update your filters. Check your filtered folders periodically to ensure that emails are being sorted correctly and adjust your filters as needed to capture new criteria or changes in your email patterns.
By staying proactive in managing your filters, you can maintain an organized inbox and ensure that you are not missing any important messages due to outdated or ineffective filters.
Conclusion
Filtering your emails is a simple yet powerful way to take control of your inbox and stay organized. By setting up filters, prioritizing important emails, unsubscribing from unwanted messages, using flags and labels, and regularly reviewing and updating your filters, you can streamline your email management process and focus on what truly matters.
Implement these steps today and watch as your email productivity and efficiency soar to new heights!