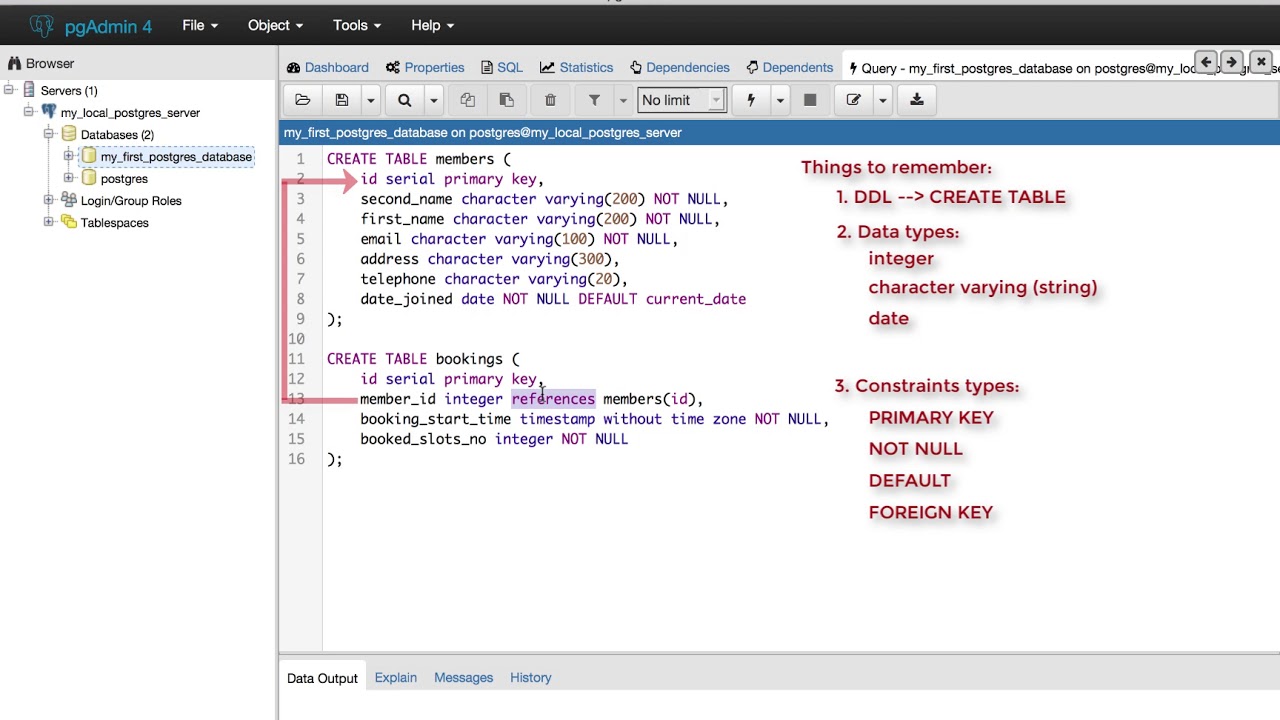
How to Create Table using pgAdmin
Are you looking to create a table in PostgreSQL using pgAdmin? Look no further! In this tutorial, we will guide you through the step-by-step process of creating a table using pgAdmin, a popular GUI tool for managing PostgreSQL databases.
PostgreSQL is a powerful, open-source relational database management system that is known for its robust capabilities and flexibility. With pgAdmin, you can easily create, manipulate, and manage database objects, including tables.
Step 1: Connect to your PostgreSQL database
The first step in creating a table using pgAdmin is to connect to your PostgreSQL database. Open pgAdmin and navigate to the ‘Servers’ section. Right-click on the server you want to work with and select ‘Connect’.
Enter your PostgreSQL database username and password when prompted, and click ‘OK’ to establish a connection to the database.
Step 2: Create a new table
Once you are connected to your PostgreSQL database in pgAdmin, you can begin creating a new table. Right-click on the ‘Tables’ folder under your database name and select ‘Create’ -> ‘Table’.
This will open a new window where you can define the table’s structure, including the column names, data types, and constraints.
Step 3: Define the table structure
In the ‘Create – Table’ window, you can start defining the structure of your table by adding columns. Click on the ‘Columns’ tab and then click the ‘+’ button to add a new column.
For each column, you will need to define the name, data type, and any constraints such as unique keys or not-null constraints.
Step 4: Define primary key and constraints
After defining the columns for your table, you can set a primary key and add any additional constraints. Click on the ‘Constraints’ tab and then click the ‘+’ button to add a new constraint.
Define the primary key by selecting the column(s) you want to use as the primary key. You can also add other constraints such as foreign keys, unique constraints, or check constraints.
Step 5: Save your table
Once you have defined the table structure and added any necessary constraints, click ‘Save’ to create the table in your PostgreSQL database. You can give your table a name and save it in a specific schema if needed.
Congratulations! You have successfully created a table using pgAdmin in your PostgreSQL database. You can now start inserting data into your new table and performing various database operations.
Creating tables in PostgreSQL using pgAdmin is a straightforward process that allows you to define the structure of your database tables with ease. With the intuitive interface of pgAdmin, managing your PostgreSQL databases has never been easier.
Stay tuned for more tutorials on PostgreSQL and pgAdmin to further enhance your database management skills! Happy querying!
