How to Create phpMyAdmin
Are you looking to set up phpMyAdmin for your website but don’t know where to start? Look no further! In this guide, we’ll walk you through the steps to create phpMyAdmin and manage your databases like a pro.
Step 1: Download phpMyAdmin
The first thing you need to do is download phpMyAdmin from the official website. You can find the latest version of phpMyAdmin on phpmyadmin.net. Once you have downloaded the file, extract it to a folder on your server.
Step 2: Configure phpMyAdmin
Next, you’ll need to configure phpMyAdmin to work with your MySQL server. Open the configuration file (config.inc.php) in a text editor and update the settings to match your server configuration. Make sure to set the correct MySQL server host, username, and password.
Step 3: Create Database User
Before you can start using phpMyAdmin, you’ll need to create a database user with the necessary permissions. Log in to your MySQL server using the command line or a GUI tool and create a new user with the appropriate privileges.
Step 4: Access phpMyAdmin
Now that phpMyAdmin is set up and configured, you can access it through your web browser. Simply type in the URL to your phpMyAdmin installation (e.g., http://yourdomain.com/phpmyadmin) and log in using the database user credentials you created in the previous step.
Step 5: Manage Your Databases
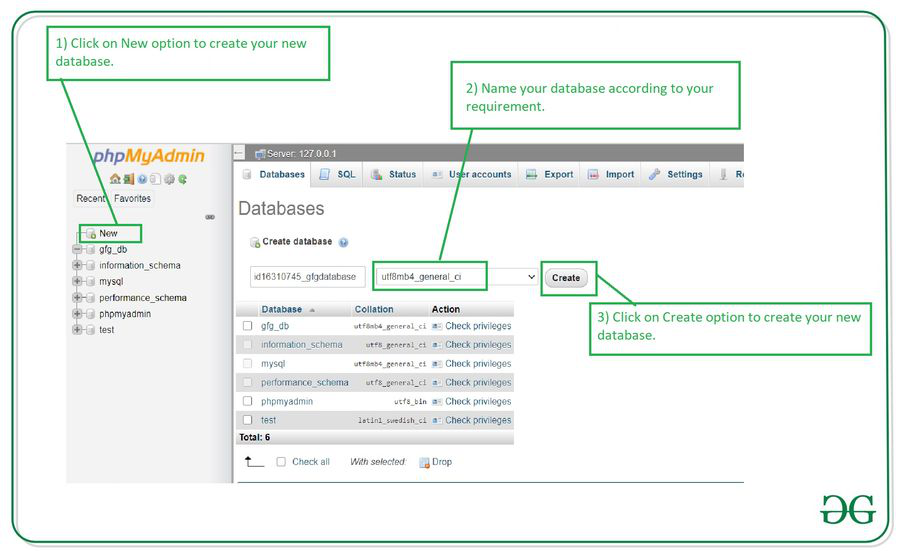
Congratulations! You now have phpMyAdmin up and running. You can use phpMyAdmin to create, edit, and delete databases, tables, and records with ease. Take some time to familiarize yourself with the interface, and you’ll be a database management pro in no time!
Conclusion
Creating phpMyAdmin doesn’t have to be a daunting task. By following the steps outlined in this guide, you can set up phpMyAdmin and start managing your databases like a pro. Remember to always keep your phpMyAdmin installation updated to ensure the security and stability of your databases.
