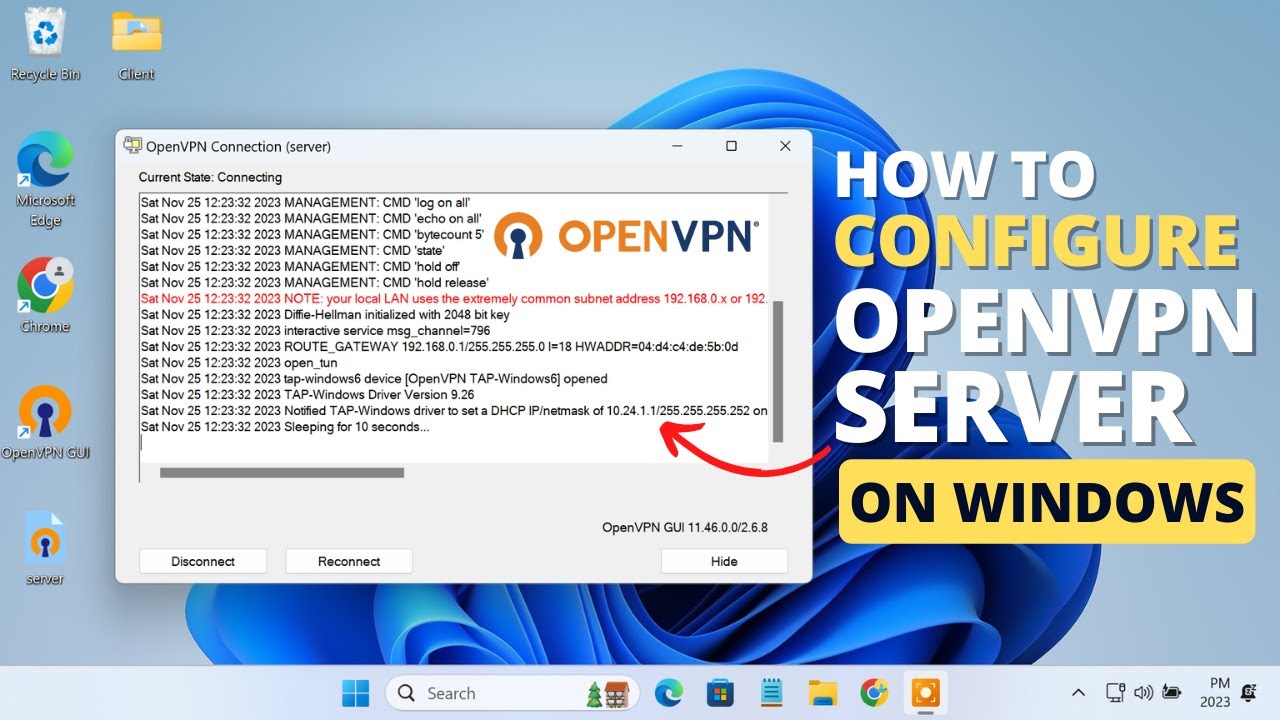
How to Create OpenVPN Server on Windows 10
Are you looking to set up your own OpenVPN server on Windows 10? This step-by-step guide will walk you through the process of creating your very own secure virtual private network. With just a few simple steps, you can have your own OpenVPN server up and running in no time!
Step 1: Download the OpenVPN Software
The first step in setting up your OpenVPN server is to download the OpenVPN software. You can download the latest version of the software from the official OpenVPN website. Make sure to download the Windows installer package.
After downloading the software, run the installer and follow the on-screen instructions to install OpenVPN on your Windows 10 machine.
Step 2: Configure OpenVPN Server
Once you have installed the OpenVPN software, the next step is to configure the OpenVPN server. To do this, you will need to create some configuration files.
Open a text editor and create a new file called server.conf. In this file, you will need to add the following configuration:
- dev tun
- proto udp
- port 1194
- ca /etc/openvpn/easy-rsa/keys/ca.crt
- cert /etc/openvpn/easy-rsa/keys/server.crt
- key /etc/openvpn/easy-rsa/keys/server.key
- dh /etc/openvpn/easy-rsa/keys/dh2048.pem
- server 10.8.0.0 255.255.255.0
- ifconfig-pool-persist ipp.txt
- push “redirect-gateway def1 bypass-dhcp”
- push “dhcp-option DNS 208.67.222.222”
- push “dhcp-option DNS 208.67.220.220”
Save the server.conf file and place it in the C:\Program Files\OpenVPN\config directory.
Step 3: Start OpenVPN Service
After configuring the OpenVPN server, the next step is to start the OpenVPN service. To do this, open the Command Prompt as an administrator and run the following command:
cd C:\Program Files\OpenVPN\binopenvpn --config "C:\Program Files\OpenVPN\config\server.conf"
Once the OpenVPN service is running, your server is now ready to accept incoming connections!
Step 4: Create Client Configuration
To connect to your OpenVPN server, you will need to create a client configuration file. Create a new file called client.ovpn and add the following configuration:
- client
- dev tun
- proto udp
- remote YourServerIP 1194
- resolv-retry infinite
- nobind
- persist-key
- persist-tun
- remote-cert-tls server
- comp-lzo
- verb 3
Save the client.ovpn file and provide it to the clients who wish to connect to your OpenVPN server.
Step 5: Connect to OpenVPN Server
To connect to your newly created OpenVPN server, download and install the OpenVPN client software on your client machine. Import the client.ovpn configuration file and connect to your server.
Congratulations! You now have your very own OpenVPN server running on Windows 10. Enjoy secure and private internet browsing with your personal VPN server.
