How to Create a New Database in GoDaddy phpMyAdmin
Creating a new database in GoDaddy phpMyAdmin is a simple process that allows you to store and manage your website’s data effectively. In this step-by-step guide, we will walk you through the process of creating a new database in GoDaddy’s phpMyAdmin interface.
Before we begin, please ensure that you have access to your GoDaddy hosting account and have logged in to the phpMyAdmin tool. If you are unsure how to access phpMyAdmin, you can contact GoDaddy’s customer support for assistance.
Step 1: Access phpMyAdmin
Once you have logged in to your GoDaddy hosting account, navigate to the Databases section and click on the phpMyAdmin tool. This will open the phpMyAdmin interface in a new browser tab.
Step 2: Create a New Database
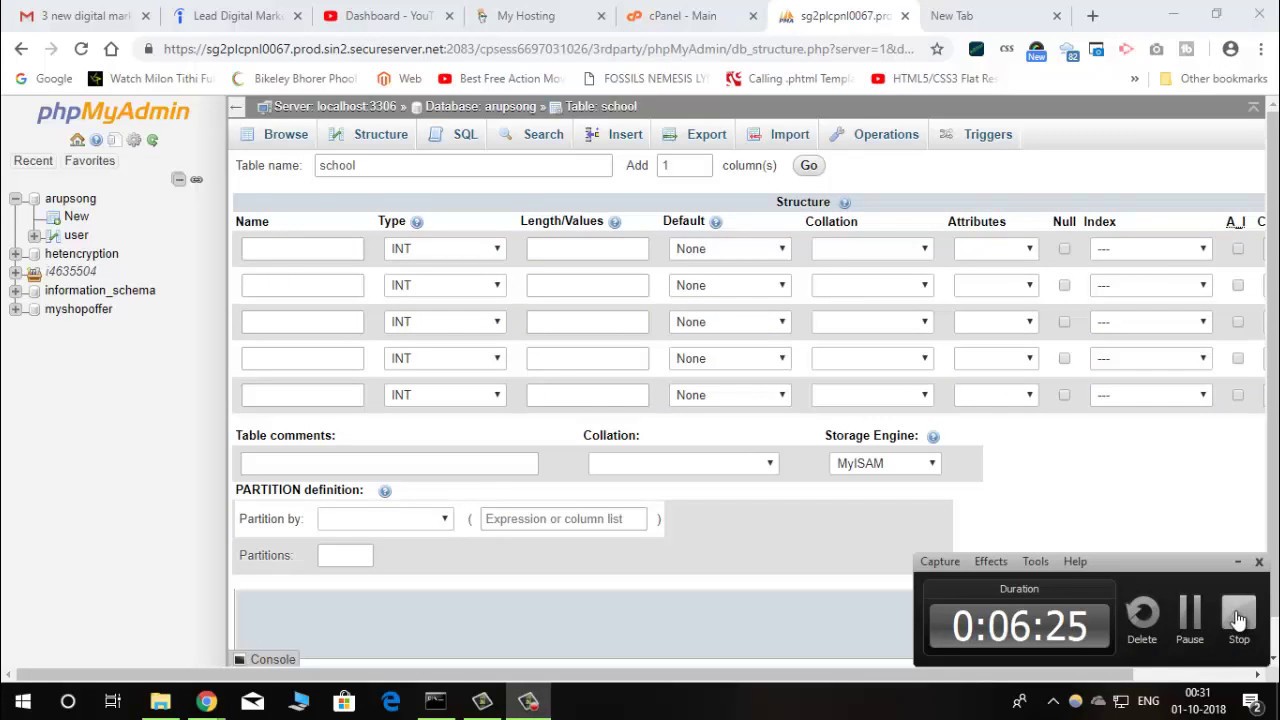
In the phpMyAdmin interface, you will see a list of databases on the left-hand side. To create a new database, click on the “New” button at the top of the page.
Enter a name for your new database in the “Database name” field. You can choose any name that is relevant to the data you will be storing in the database. Once you have entered the name, click the “Create” button to create the new database.
After creating the new database, you will see it appear in the list of databases on the left-hand side of the phpMyAdmin interface. You can now start adding tables and importing data into your new database.
Step 3: Configure Database Users
It is important to configure database users to access and manage the new database. To create a new database user, click on the “Privileges” tab in the phpMyAdmin interface.
Click on the “Add user account” link and enter a username and password for the new database user. You can also set the permissions for the user to control what actions they can perform on the database.
Once you have configured the database user, click the “Go” button to save the changes. You can now use this new database user to access and manage the data in your new database.
Step 4: Import Data into the Database
If you have existing data that you would like to import into the new database, you can do so using the import feature in phpMyAdmin. Click on the new database in the list of databases and select the “Import” tab.
Choose the file that contains the data you would like to import and click the “Go” button to start the import process. Once the import is complete, you will see your data appear in the new database.
Conclusion
Creating a new database in GoDaddy phpMyAdmin is a straightforward process that allows you to store and manage your website’s data efficiently. By following the steps outlined in this guide, you can create a new database, configure database users, and import data with ease.
If you have any questions or encounter any issues while creating a new database in GoDaddy phpMyAdmin, don’t hesitate to reach out to GoDaddy’s customer support for assistance. They will be happy to help you through the process and ensure that your new database is set up correctly.
With these steps, you can create a new database in GoDaddy’s phpMyAdmin and start managing your website’s data efficiently. Happy creating!