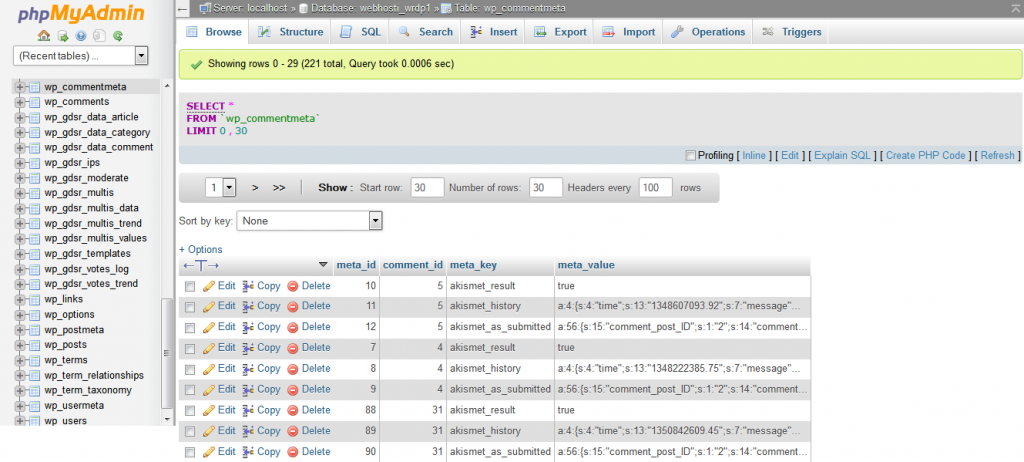
How to Create a New Database in cPanel PhpMyAdmin
Creating a new database in cPanel PhpMyAdmin is a simple process that can be completed in just a few steps. Whether you are a beginner or a seasoned website developer, this guide will walk you through the process of creating a new database in cPanel PhpMyAdmin.
Step 1: Log in to cPanel
The first step in creating a new database in cPanel PhpMyAdmin is to log in to your cPanel account. You can do this by entering your username and password on the cPanel login page.
Step 2: Locate the PhpMyAdmin Icon
Once you have logged in to your cPanel account, locate the PhpMyAdmin icon. This icon is usually located under the Databases section of your cPanel dashboard. Click on the icon to open PhpMyAdmin.
Step 3: Create a New Database
Now that you have opened PhpMyAdmin, you can create a new database. To do this, simply click on the “Databases” tab at the top of the PhpMyAdmin interface. Then, click on the “Create Database” button.
Step 4: Enter Database Name
After clicking on the “Create Database” button, you will be prompted to enter a name for your new database. Choose a name that is descriptive and easy to remember. Once you have entered the database name, click on the “Create” button.
Step 5: Database Created
Congratulations! You have successfully created a new database in cPanel PhpMyAdmin. You can now start adding tables and managing your database through the PhpMyAdmin interface.
Conclusion
Creating a new database in cPanel PhpMyAdmin is a straightforward process that can be completed in just a few simple steps. By following the steps outlined in this guide, you can easily create a new database for your website or web application.
Remember to always keep your database secure by using strong passwords and regularly backing up your data. If you have any questions or run into any issues while creating a new database in cPanel PhpMyAdmin, don’t hesitate to reach out to your web hosting provider for assistance.
