How to Create Email Alias
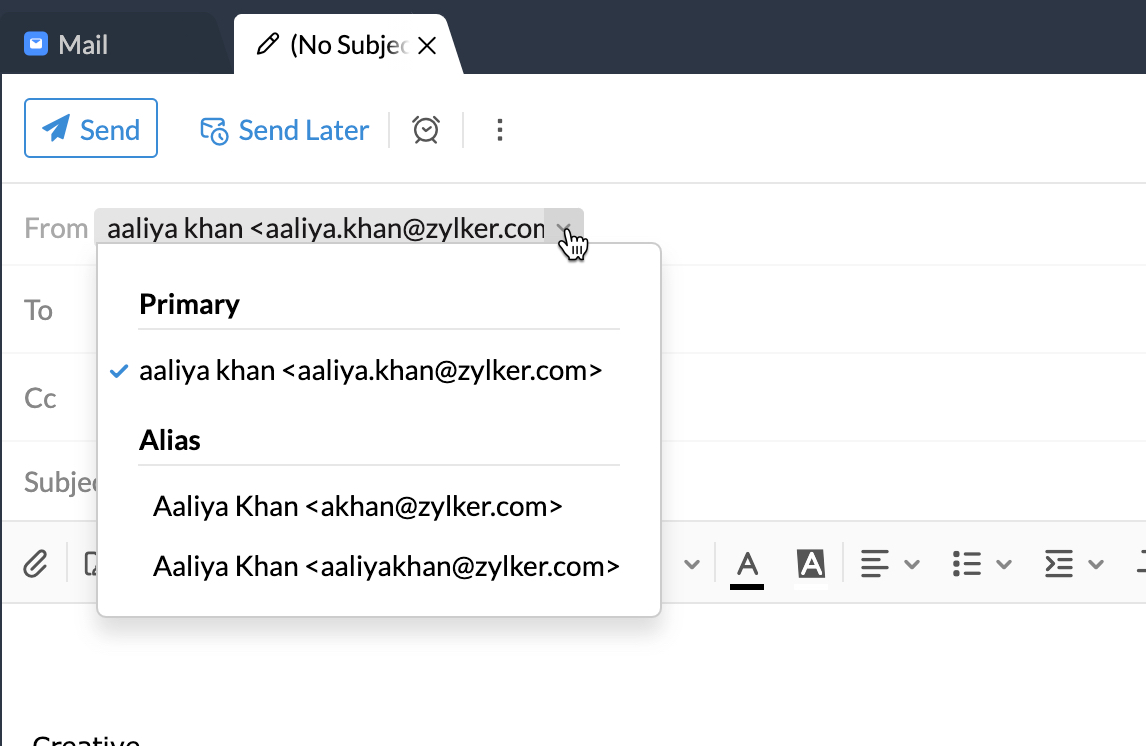
Do you want to separate personal and work emails, but don’t want to manage multiple accounts? Creating an email alias is the perfect solution. An email alias is a forwarding email address that directs messages to your primary inbox. This allows you to organize your emails more effectively without the hassle of logging in and out of multiple accounts.
Here’s a step-by-step guide on how to create an email alias:
1. Log in to Your Email Provider
The first step is to log in to your email provider’s website or app. Once you’re logged in, navigate to your account settings or preferences.
2. Find the Alias or Forwarding Section
Look for the alias or forwarding section in your account settings. This is where you can set up an email alias that will forward messages to your primary inbox.
3. Create a New Alias
Click on the option to create a new alias. You may be prompted to enter a name for your alias and the email address you want to forward messages to.
Choose a unique alias that is easy to remember and differentiate from your primary email address. This will make it easier for you to manage and filter incoming messages.
4. Verify Your Alias
Some email providers may require you to verify your new alias before it becomes active. Check your inbox for a verification email and follow the instructions provided.
5. Start Using Your Alias
Once your alias is set up and verified, you can start using it to receive emails. Share your alias with friends, colleagues, or websites that require an email address.
Any messages sent to your alias will be automatically forwarded to your primary inbox, allowing you to keep track of all your emails in one place.
Benefits of Using Email Alias
- Organize emails more effectively.
- Keep personal and work emails separate.
- Manage multiple email addresses from one inbox.
- Reduce the need to log in and out of multiple accounts.
Creating an email alias is a simple and efficient way to streamline your email management. Follow these steps to set up an email alias today and enjoy the benefits of a more organized inbox!
