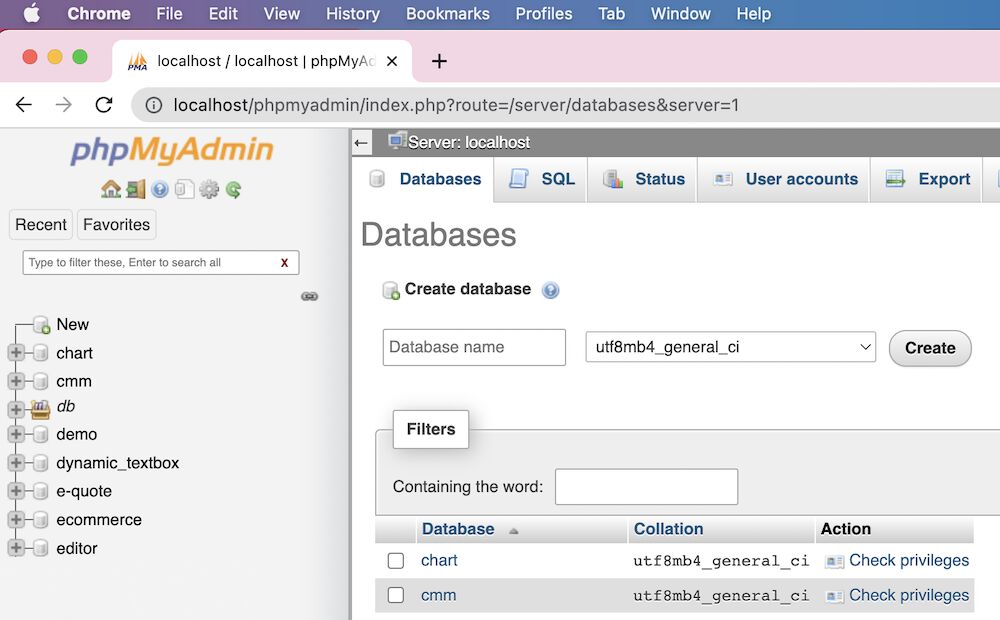
How to Create Database in phpMyAdmin Using PHP Code
Creating a database in phpMyAdmin using PHP code is a fundamental skill for web developers. In this step-by-step guide, we will walk you through the process of setting up a database in phpMyAdmin using PHP code.
Before we begin, make sure you have a local server environment set up with phpMyAdmin installed. If you haven’t done so already, you can easily install XAMPP or WAMP for Windows, or MAMP for Mac.
Once you have your local server environment set up, follow these steps to create a database in phpMyAdmin using PHP code:
Step 1: Connect to the Database Server
First, you need to establish a connection to the MySQL database server using PHP code. You can do this by creating a new PHP file and writing the following code:
$servername = "localhost";
$username = "root";
$password = "";

// Create a connection
$conn = new mysqli($servername, $username, $password);

// Check connection
if ($conn->connect_error) {
    die("Connection failed: " . $conn->connect_error);
}
echo "Connected successfully";
Step 2: Create a New Database
Once you have successfully connected to the database server, you can create a new database using PHP code. Add the following code to your PHP file:
// Create a new database
$sql = "CREATE DATABASE my_database";
if ($conn->query($sql) === TRUE) {
    echo "Database created successfully";
} else {
    echo "Error creating database: " . $conn->error;
}
Step 3: Close the Database Connection
After creating the database, it is important to close the connection to the database server. Add the following code to your PHP file to close the connection:
// Close the connection
$conn->close();
And that’s it! You have successfully created a database in phpMyAdmin using PHP code. You can now use this database to store and retrieve data in your web applications.
Remember to always secure your database credentials and follow best practices when working with databases in PHP.
We hope this guide has been helpful in teaching you how to create a database in phpMyAdmin using PHP code. If you have any questions or need further assistance, feel free to reach out to us.
