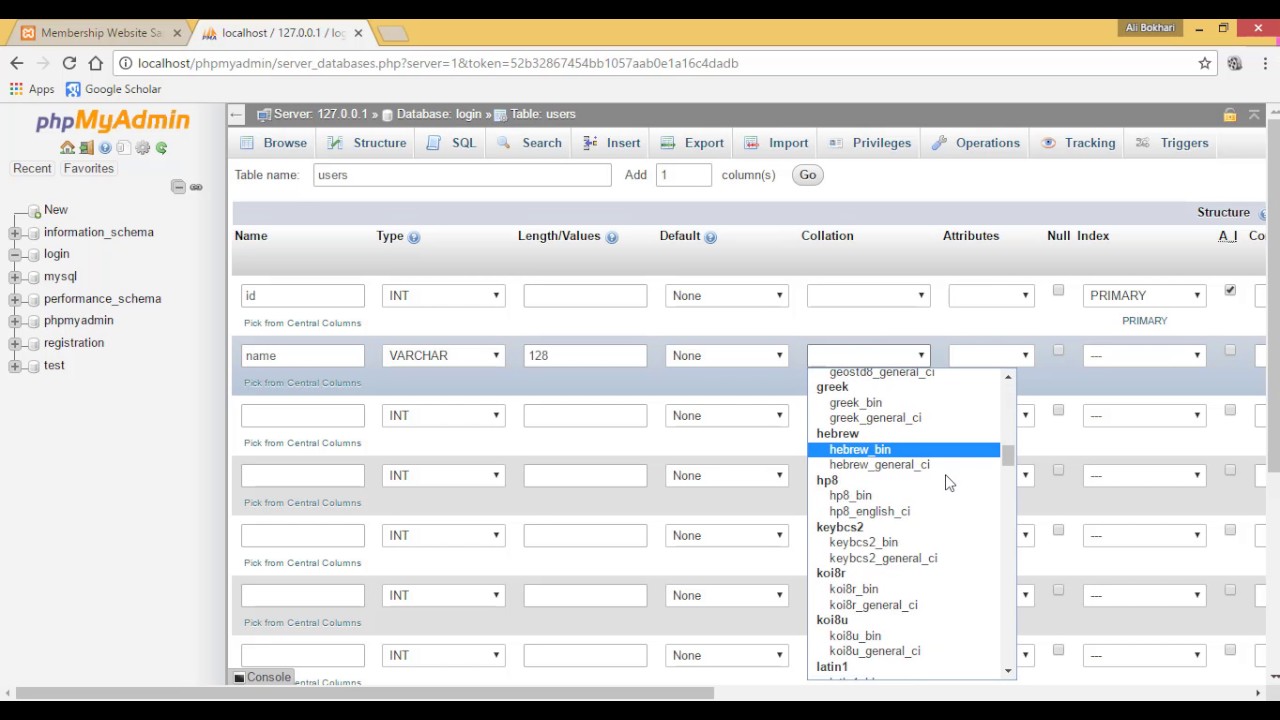
How to Create a Database in phpMyAdmin for a Login Page
If you are looking to create a login page for your website, you will need to set up a database to store user information securely. One popular tool for managing databases is phpMyAdmin, which is a web-based tool that allows you to create, edit, and manage databases easily.
In this tutorial, we will walk you through the steps of creating a database in phpMyAdmin specifically for a login page. By the end of this guide, you will have a fully functional database ready to be integrated into your login page.
Step 1: Access phpMyAdmin
The first step is to access your phpMyAdmin dashboard. You can do this by logging into your web hosting account and navigating to the phpMyAdmin section. Once you are in phpMyAdmin, you will see a list of all the databases currently available.
Step 2: Create a New Database
Click on the “Databases” tab at the top of the phpMyAdmin dashboard. This will take you to a page where you can create a new database. Enter a name for your database, such as “login_page_db”, and click on the “Create” button.
Your new database should now appear in the list of databases on the phpMyAdmin dashboard. Click on the database name to select it.
Step 3: Create a Table for User Information
Once you have selected your database, click on the “SQL” tab at the top of the page. This will open a SQL query box where you can enter commands to create tables and manage your database.
Copy and paste the following SQL query into the query box to create a table for user information:
CREATE TABLE users (id INT(6) UNSIGNED AUTO_INCREMENT PRIMARY KEY, username VARCHAR(30) NOT NULL, password VARCHAR(30) NOT NULL)
Click on the “Go” button to execute the query and create the table. Your new table should now appear under your database name in the phpMyAdmin dashboard.
Step 4: Insert Sample Data
To populate your user table with sample data, click on the “Insert” tab in the phpMyAdmin dashboard. Enter a username and password into the fields provided and click on the “Go” button to insert the data into the table.
Your user table should now have one row of sample data that you can use to test your login page functionality.
Step 5: Connect Your Login Page to the Database
Finally, you will need to connect your login page to the database you have created. This can be done using PHP and SQL queries to retrieve user information from the database and authenticate users.
Make sure your login page has form fields for users to enter their username and password, and include PHP code to validate the user input against the database records.
Once you have successfully connected your login page to the database, users should be able to log in using the credentials stored in the database.
By following these steps, you can create a secure and functional database in phpMyAdmin for your login page. Remember to always handle user information with care and implement proper security measures to protect sensitive data.
We hope this tutorial has been helpful in guiding you through the process of creating a database for a login page. If you have any questions or need further assistance, feel free to reach out to our support team for help.
