How to Create a List in Mailchimp
Creating a list in Mailchimp is one of the first steps in building your email marketing strategy. A well-organized list can help you segment your subscribers, send targeted campaigns, and ultimately drive better results for your business. In this guide, we will walk you through the process of creating a list in Mailchimp step by step.
Step 1: Log in to Your Mailchimp Account
The first step is to log in to your Mailchimp account. If you don’t have an account yet, you can sign up for free on the Mailchimp website. Once you are logged in, you will be taken to your dashboard where you can access all of the features and tools Mailchimp has to offer.
Step 2: Navigate to the Audience Dashboard
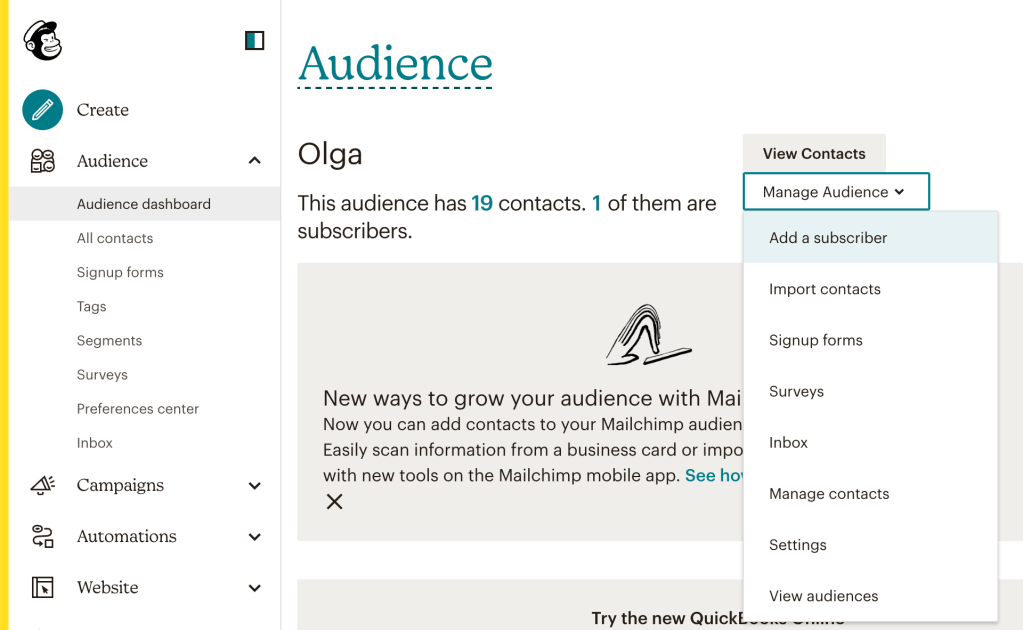
Next, navigate to the Audience dashboard by clicking on the “Audience” tab at the top of the page. This is where you will find all of your lists, segments, and tags. Click on “Audience dashboard” to access your lists.
Step 3: Create a New List
Once you are on the Audience dashboard, click on the “Create Audience” button to create a new list. You will be prompted to enter some basic information about your list, such as the name of the list, the default “from” email address, and the default “from” name. Fill in the required fields and click “Save” to create your list.
Step 4: Add Subscribers to Your List
Now that you have created your list, it’s time to add subscribers. You can add subscribers manually by entering their information one by one, or you can import a list of subscribers from a CSV file. To add subscribers manually, click on the “Add a subscriber” button and enter their information in the form provided. To import a list from a CSV file, click on the “Import” button and follow the instructions.
Step 5: Segment Your List
Segmenting your list is an important part of email marketing. It allows you to send targeted campaigns to specific groups of subscribers based on their interests, behaviors, or demographics. To segment your list, click on the “Manage Audience” tab and then select “Segments.” You can create segments based on criteria such as location, engagement, or purchase history.
Step 6: Send Campaigns to Your List
Once you have created your list and segmented your subscribers, you can start sending campaigns. Click on the “Campaigns” tab and then select “Create Campaign” to create a new campaign. Choose the type of campaign you want to send, select your list, add your content, and schedule your campaign. Click “Send” to send your campaign to your subscribers.
Conclusion
Creating a list in Mailchimp is a simple process that can have a big impact on your email marketing strategy. By following the steps outlined in this guide, you can create a well-organized list, add subscribers, segment your list, and send targeted campaigns to drive better results for your business. Start building your list today and see the benefits for yourself!
