How to Create a Filter in Email
Email filters are a great way to organize your inbox, prioritize important emails, and reduce the clutter of unwanted messages. By setting up filters, you can automatically move emails to specific folders, mark them as important, delete them, or apply labels. In this guide, we’ll walk you through the steps to create filters in popular email services like Gmail, Outlook, and Yahoo Mail. Let’s get started!
Creating Filters in Gmail
If you’re using Gmail, follow these steps to create filters:
- Open Gmail and log in to your account.
- Click on the gear icon in the top right corner and select “Settings” from the dropdown menu.
- Go to the “Filters and Blocked Addresses” tab.
- Click on “Create a new filter.”
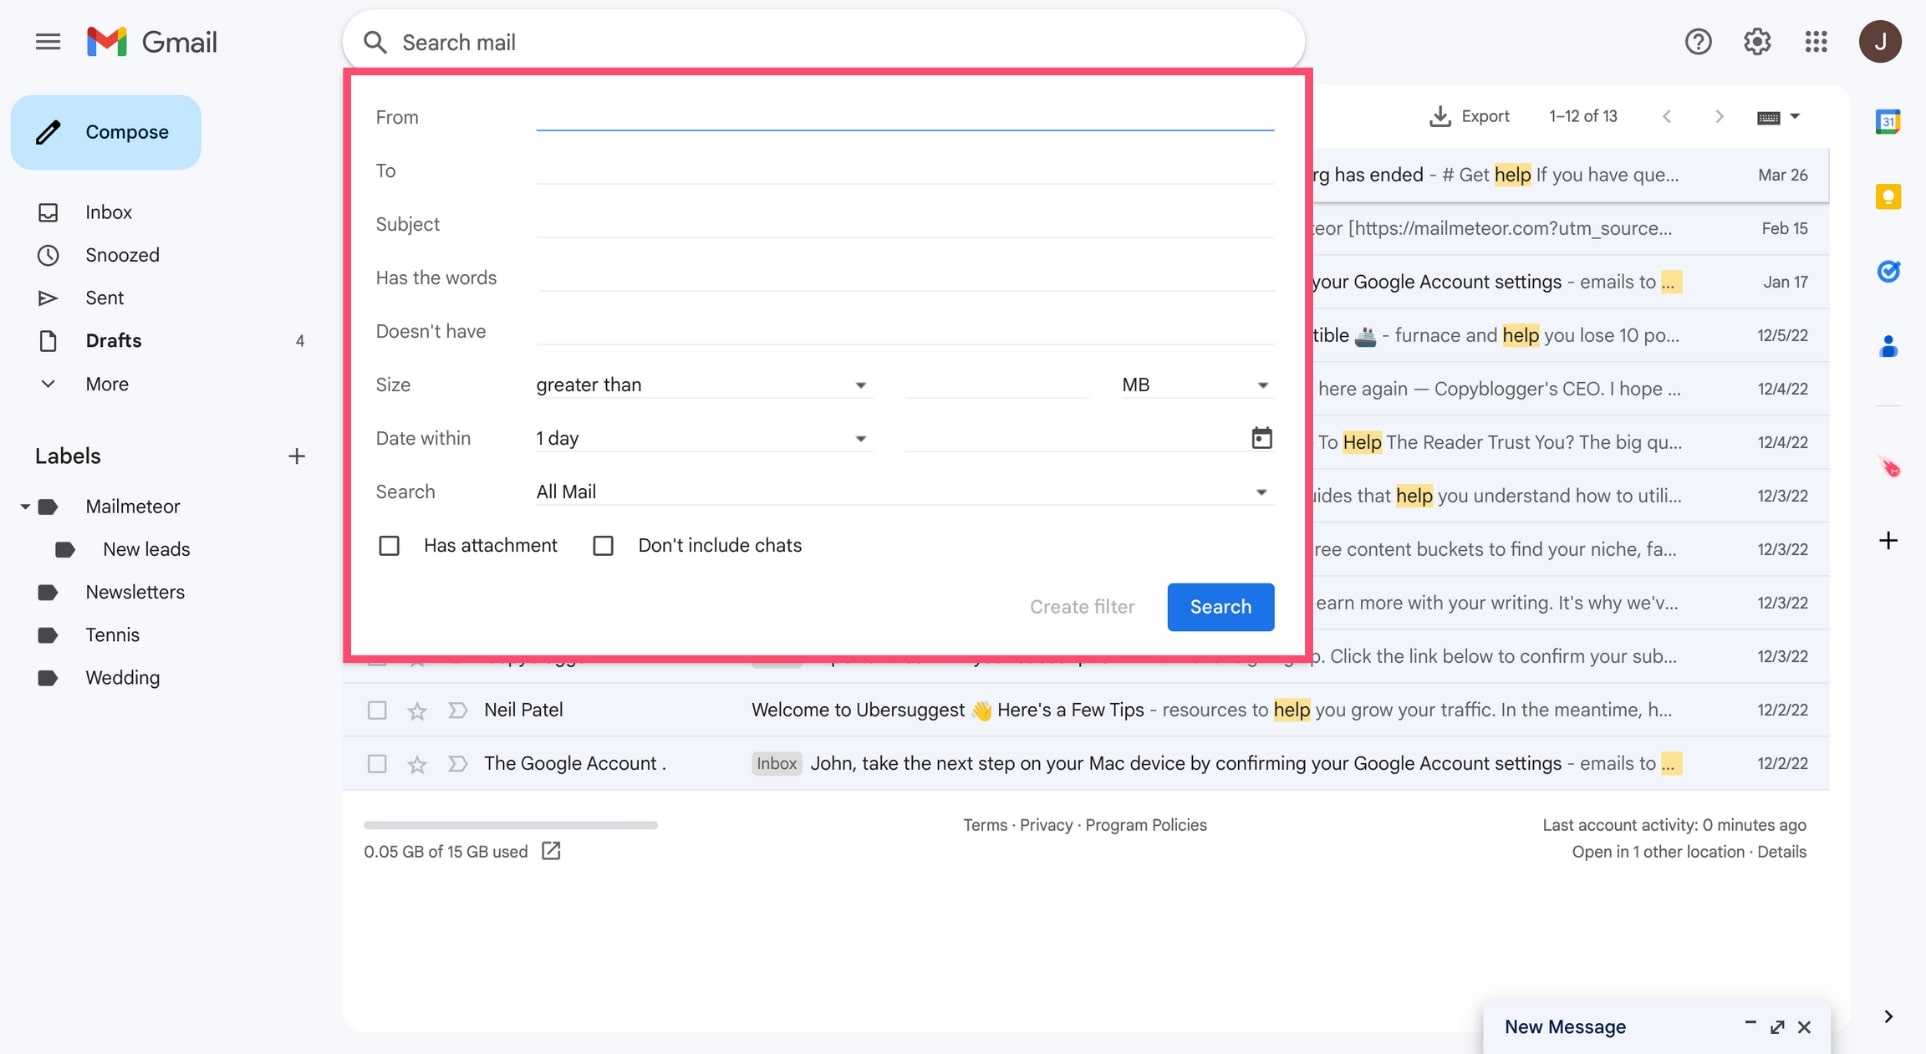
- Enter the criteria for your filter, such as specific sender, subject, keywords, or attachments.
- Click on “Create filter.”
- Choose what action you want to apply to the filtered emails, like moving them to a folder, marking them as important, or labeling them.
- Click on “Create filter.”
Setting Up Filters in Outlook
For Outlook users, here’s how you can create filters:
- Open Outlook and sign in to your account.
- Go to the “Settings” menu and click on “View all Outlook settings.”
- Click on “Mail” and then “Rules.”
- Click on “Add a new rule.”
- Enter the conditions for your filter, such as sender, subject, keywords, or attachments.
- Select the action you want to take on the filtered emails, like moving them to a folder or marking them as read.
- Click on “Save” to create the filter.
Creating Filters in Yahoo Mail
If you’re a Yahoo Mail user, here’s how you can set up filters:
- Open Yahoo Mail and log in to your account.
- Click on the gear icon in the top right corner and select “More Settings.”
- Go to the “Filters” tab.
- Click on “Add” to create a new filter.
- Enter the criteria for your filter, such as sender, subject, keywords, or attachments.
- Choose the action you want to apply to the filtered emails, like moving them to a folder or marking them as read.
- Click on “Save” to create the filter.
By setting up filters in your email account, you can save time, stay organized, and ensure that important emails are not missed. Experiment with different filter criteria and actions to find the setup that works best for you. Happy filtering!
