How to Create a Database Table in PhpMyAdmin
Creating a database table in PhpMyAdmin is an essential skill for anyone working with databases. Whether you are a developer, a blogger, or a business owner, knowing how to create and manage database tables can be extremely beneficial. In this guide, we will walk you through the step-by-step process of creating a database table in PhpMyAdmin.
Step 1: Access PhpMyAdmin
The first step in creating a database table in PhpMyAdmin is to access the PhpMyAdmin interface. To do this, you will need to log in to your web hosting control panel and locate the PhpMyAdmin icon. Click on the icon to launch PhpMyAdmin.
Step 2: Select Database
Once you are in the PhpMyAdmin interface, you will see a list of databases on the left-hand side of the screen. Click on the database in which you want to create the new table. This will open up a list of tables within that database.
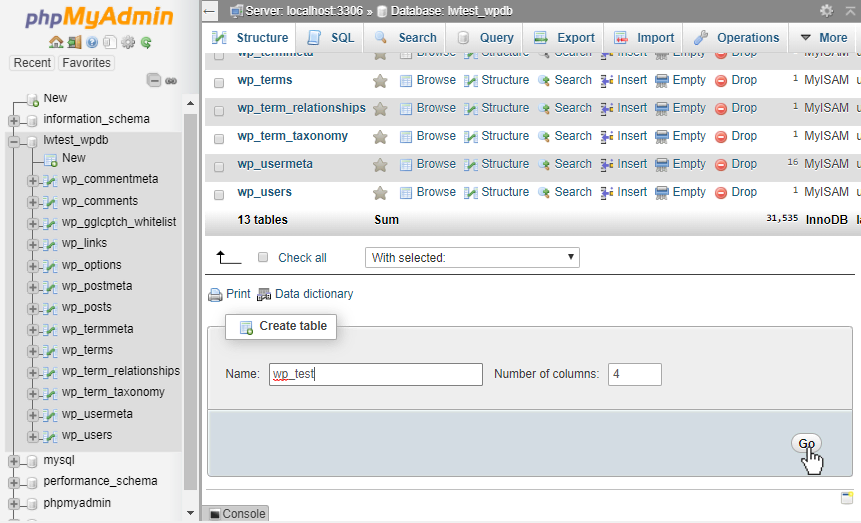
Step 3: Create a New Table
To create a new table, click on the “Create Table” button at the top of the screen. You will be prompted to enter a name for the new table and specify the number of columns it will have. You can also set other properties for the table, such as the engine type and the character set.
Step 4: Define Table Columns
After creating the table, you will need to define the columns that will make up the table. For each column, you will need to specify a name, data type, and length. You can also set other properties for the column, such as whether it can contain NULL values or is a primary key.
Step 5: Set Primary Key
It is best practice to set a primary key for each table to uniquely identify each row. To do this, select the column that you want to use as the primary key and click on the “Primary” button next to it. This will set that column as the primary key for the table.
Step 6: Save the Table
Once you have defined all the columns and set the primary key, click on the “Save” button to create the new table. PhpMyAdmin will generate the necessary SQL queries to create the table based on the information you provided.
Step 7: Verify the Table
To verify that the table has been successfully created, you can refresh the list of tables in PhpMyAdmin and look for the new table you just created. You should see the table listed along with its columns and properties.
Conclusion
Congratulations! You have successfully created a database table in PhpMyAdmin. Whether you are creating a table for a personal project or for a business application, knowing how to create and manage database tables is a valuable skill that will serve you well in your endeavors.