How to Connect to OVH Dedicated Server
Connecting to your OVH dedicated server is essential for managing your hosting environment efficiently. Whether you’re setting up a website, managing applications, or running security updates, knowing how to access your server is the first step.
Follow these steps to connect to your OVH dedicated server:
Step 1: Obtain Server Access Information
Before you can connect to your OVH dedicated server, you need to gather the necessary access information. This typically includes the server IP address, username, and password provided by OVH when you set up your server.
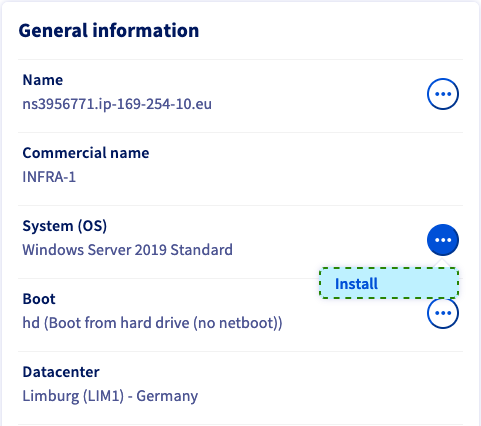
If you don’t have this information readily available, you can find it by logging into your OVH account and accessing the server details section.
Step 2: Choose a Connection Method
There are several ways to connect to your OVH dedicated server, depending on your operating system and personal preferences. The most common methods include using SSH (Secure Shell) or a remote desktop connection.
- SSH: If you’re comfortable with the command line interface, using SSH to connect to your server is a secure and efficient option.
- Remote Desktop: For those who prefer a graphical user interface, setting up a remote desktop connection allows you to access your server visually.
Step 3: Connect to Your OVH Dedicated Server
Once you have your access information and chosen a connection method, it’s time to connect to your OVH dedicated server. Here’s a general outline of the process:
SSH Connection:
To connect via SSH, open your terminal or command prompt and enter the following command:
ssh username@server_ip_address
When prompted, enter your password to authenticate the connection. You should now have access to your server’s command line interface.
Remote Desktop Connection:
If you’re using a Windows operating system, you can set up a remote desktop connection by following these steps:
1. Open the Microsoft Remote Desktop application.
2. Enter your server’s IP address and login credentials.
3. Click ‘Connect’ to establish a remote desktop connection to your OVH dedicated server.
Step 4: Manage Your Server
Once you’re connected to your OVH dedicated server, you can start managing your hosting environment. This may include setting up websites, installing software, configuring security settings, and performing system updates.
Remember to follow best practices for server management to ensure optimal performance and security.
By following these steps, you can easily connect to your OVH dedicated server and begin managing your hosting environment effectively.
