How to Connect a VPS
Connecting to a Virtual Private Server (VPS) can be a daunting task for beginners, but with the right guidance, it can be a seamless process. In this article, we will walk you through the steps on how to connect to your VPS in no time. Let’s dive in!
Step 1: Obtain Your VPS Credentials
The first step in connecting to your VPS is to obtain your login credentials from your hosting provider. This typically includes the server IP address, username, and password. Make sure to keep this information secure and easily accessible for future reference.
Step 2: Select Your Connection Method
There are several ways to connect to your VPS, but the most common methods include using an SSH client or a remote desktop protocol. Choose the method that best suits your preferences and technical expertise.
Step 3: Connecting via SSH
If you prefer using SSH to connect to your VPS, you will need to have an SSH client installed on your computer. Once you have the client installed, open it and enter the server IP address, username, and password when prompted. You should now be connected to your VPS via SSH.
Step 4: Connecting via Remote Desktop Protocol
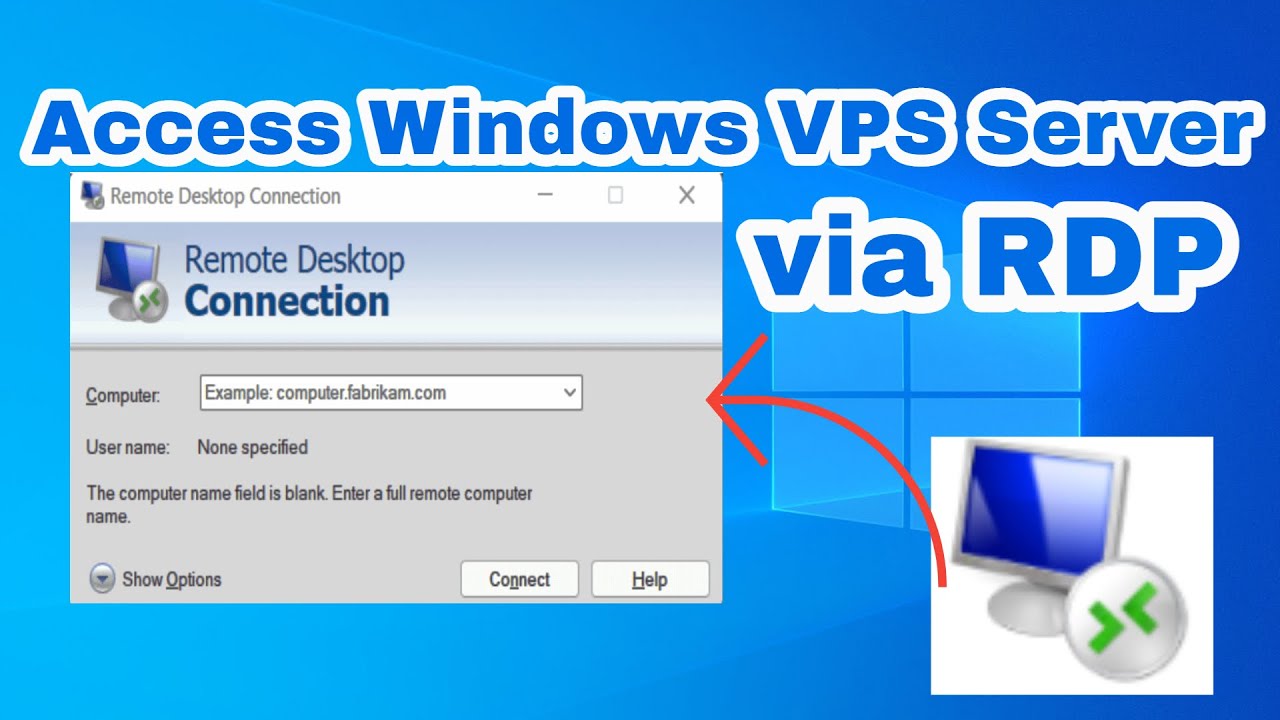
For those who prefer using a graphical interface, connecting to your VPS via Remote Desktop Protocol (RDP) is a great option. To do this, you will need to download an RDP client on your computer, enter the server IP address, username, and password, and you should be able to access your VPS in no time.
Step 5: Manage Your VPS
Once you are connected to your VPS, you can start managing your server by installing applications, configuring settings, and more. Remember to keep your VPS secure by regularly updating your software and implementing security measures.
Conclusion
Connecting to a VPS may seem intimidating at first, but with the right steps and guidance, it can be a straightforward process. By following the steps outlined in this article, you should be able to connect to your VPS with ease and start managing your server efficiently. Happy connecting!
