How to Configure RAID on Dell PowerEdge
Are you looking to boost the performance and reliability of your Dell PowerEdge server? Configuring RAID (Redundant Array of Independent Disks) can be a great solution. RAID allows you to combine multiple hard drives into a single storage unit which can improve performance, protect against data loss, and increase overall storage capacity. In this article, we will walk you through the steps to configure RAID on your Dell PowerEdge server.
Step 1: Backup Your Data
Before you start configuring RAID on your Dell PowerEdge server, it is crucial to back up all your data. RAID configurations involve making changes to the disk setup, and there is always a risk of data loss. By creating a backup, you can ensure that your data is safe in case anything goes wrong during the configuration process.
Step 2: Enter the RAID Configuration Utility
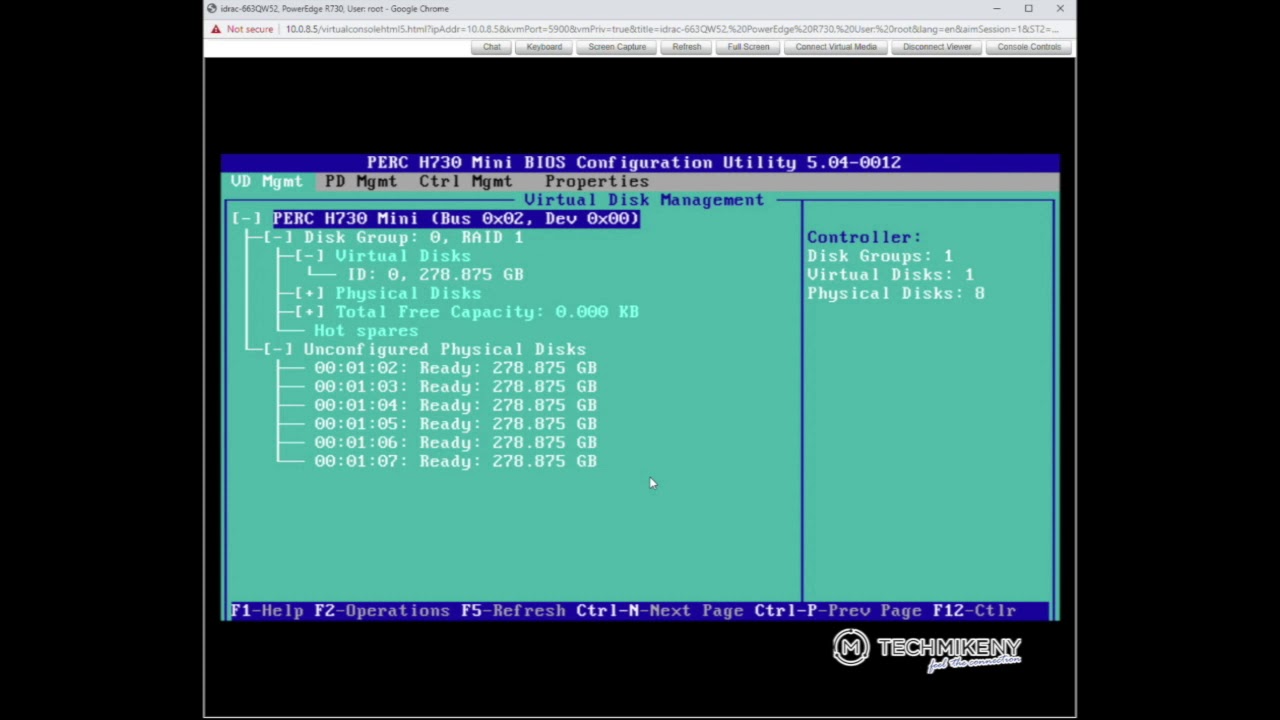
To configure RAID on your Dell PowerEdge server, you will need to enter the RAID configuration utility. This can usually be accessed during the server’s boot-up process by pressing a specific key such as Ctrl+R or Ctrl+C. Once you are in the RAID configuration utility, you will see options to create, modify, or delete RAID arrays.
Step 3: Create a RAID Array
Now that you are in the RAID configuration utility, you can start creating your RAID array. Depending on your requirements, you can choose from different RAID levels such as RAID 0, RAID 1, RAID 5, RAID 10, etc. Each RAID level offers different benefits in terms of performance, data protection, and storage efficiency.
Step 4: Select the Physical Disks
After selecting the RAID level, you will need to choose the physical disks that will be a part of the RAID array. Make sure to select the correct disks and verify that they are not being used for any other purpose. Once you have selected the disks, you can proceed with creating the RAID array.
Step 5: Configure RAID Settings
Once you have created the RAID array and selected the physical disks, you can configure additional settings such as stripe size, cache policy, read/write policy, etc. These settings can have an impact on the performance and reliability of your RAID array, so it is essential to choose the right settings based on your requirements.
Step 6: Initialize the RAID Array
After configuring the RAID settings, you will need to initialize the RAID array. This process will format the disks and prepare them for use in the RAID configuration. Once the initialization is complete, your RAID array will be ready for use, and you can start utilizing its benefits in terms of performance and data protection.
Step 7: Install Your Operating System
After configuring RAID on your Dell PowerEdge server, you will need to install your operating system on the newly created RAID array. During the installation process, make sure to select the RAID array as the destination for your operating system. Once the installation is complete, your server will be up and running with the benefits of RAID configuration.
Conclusion
Configuring RAID on your Dell PowerEdge server can provide several benefits in terms of performance, data protection, and storage efficiency. By following the steps outlined in this article, you can easily configure RAID on your server and enjoy the advantages that come with it. Remember to back up your data before starting the configuration process and carefully select the RAID level and settings based on your requirements.
