How to Configure NFS Server in Linux
Network File System (NFS) is a client/server protocol used for sharing files and directories between Linux systems. In this article, we will guide you through the process of configuring an NFS server on a Linux system.
Step 1: Install NFS Server
The first step is to install the NFS server on your Linux system. You can do this by running the following command:
sudo apt-get install nfs-kernel-server
For Red Hat-based systems, you can use the following command:
sudo yum install nfs-utils
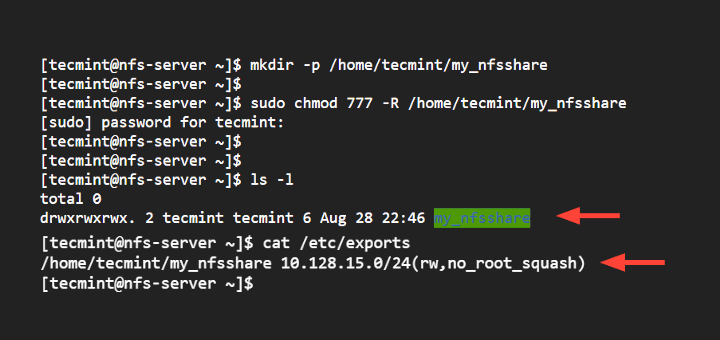
Step 2: Configure the Export Directory
Next, you need to specify which directory you want to share with other systems. Edit the NFS exports file by running:
sudo nano /etc/exports
Inside the file, add the directory you want to share in the following format:
/path/to/directory *(rw,sync,no_subtree_check)
Step 3: Export the Directory
After adding the directory to the exports file, run the following command to export the directory:
sudo exportfs -a
Step 4: Start the NFS Server
Start the NFS server by running the following command:
sudo systemctl start nfs-kernel-server
To ensure that the NFS server starts automatically on boot, run:
sudo systemctl enable nfs-kernel-server
Step 5: Configure Firewall
If you have a firewall enabled on your system, you need to allow NFS traffic. Run the following commands:
sudo ufw allow from remote_ip to any port 2049
sudo ufw allow from remote_ip to any port 111
Replace remote_ip with the IP address of the remote system you want to allow NFS traffic from.
Step 6: Mount NFS Share on Client
Finally, you can mount the NFS share on your client system by running the following command:
sudo mount nfs_server_ip:/path/to/directory /mnt
Replace nfs_server_ip with the IP address of your NFS server and /mnt with the directory where you want to mount the NFS share.
That’s it! You have successfully configured an NFS server on your Linux system. Now you can easily share files and directories with other systems on your network.
