How to Backup cPanel
Backing up your cPanel is crucial to ensure that you don’t lose your website data in case of server failure or other unforeseen circumstances. In this article, we will guide you through the process of backing up your cPanel so you can have peace of mind knowing that your data is safe and secure.
Step 1: Log in to your cPanel
The first step in backing up your cPanel is to log in to your cPanel account. You can do this by entering your username and password in the login page provided by your web hosting provider.
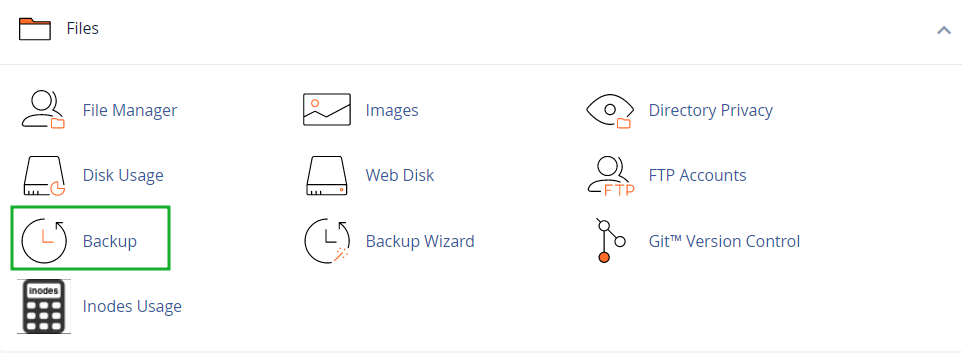
Step 2: Navigate to the Backup Wizard
Once you are logged in, navigate to the Backup Wizard icon in your cPanel dashboard. Click on the icon to open the Backup Wizard tool.
Step 3: Choose Backup Option
In the Backup Wizard tool, you will be given the option to either backup your entire website or specific parts of your website. Choose the option that best suits your needs and click on the “Backup” button.
Step 4: Download Backup File
Once the backup process is complete, you will be prompted to download the backup file to your computer. Click on the “Download” button to save the backup file to your local machine.
Step 5: Store Backup File Securely
It is important to store your backup file securely in a safe location. Consider using cloud storage services like Google Drive or Dropbox to store your backup files so you can easily access them in case of emergencies.
Step 6: Schedule Regular Backups
To ensure that your website data is always up to date, it is recommended to schedule regular backups of your cPanel. You can set up automated backups in your cPanel dashboard to run at specified intervals.
By following these steps, you can easily backup your cPanel and have peace of mind knowing that your website data is safe and secure. Remember, it’s better to be safe than sorry when it comes to backing up your valuable data!
